

Enable Manifests
The option to enable manifest requirements is set when configuring a location in KCCP.- Go to Main > Orders > Locations.
- Click the location you want to edit to open its settings.
- In the general Location section, toggle Requires Manifest on.

Print Manifests
No manifests will be ready for generation or printing until there are shipments ready to be handed over to the carrier. During the Ship to Home (STH) fulfillment flow, the Prepare for Shipment step is the trigger that will mark a shipment as ready for the carrier.- Enter the usual package information: select a carrier, service type, box type, dimensions and weight, and tracking number(s).
- Click Print Shipping Label to print the label for this individual shipment.
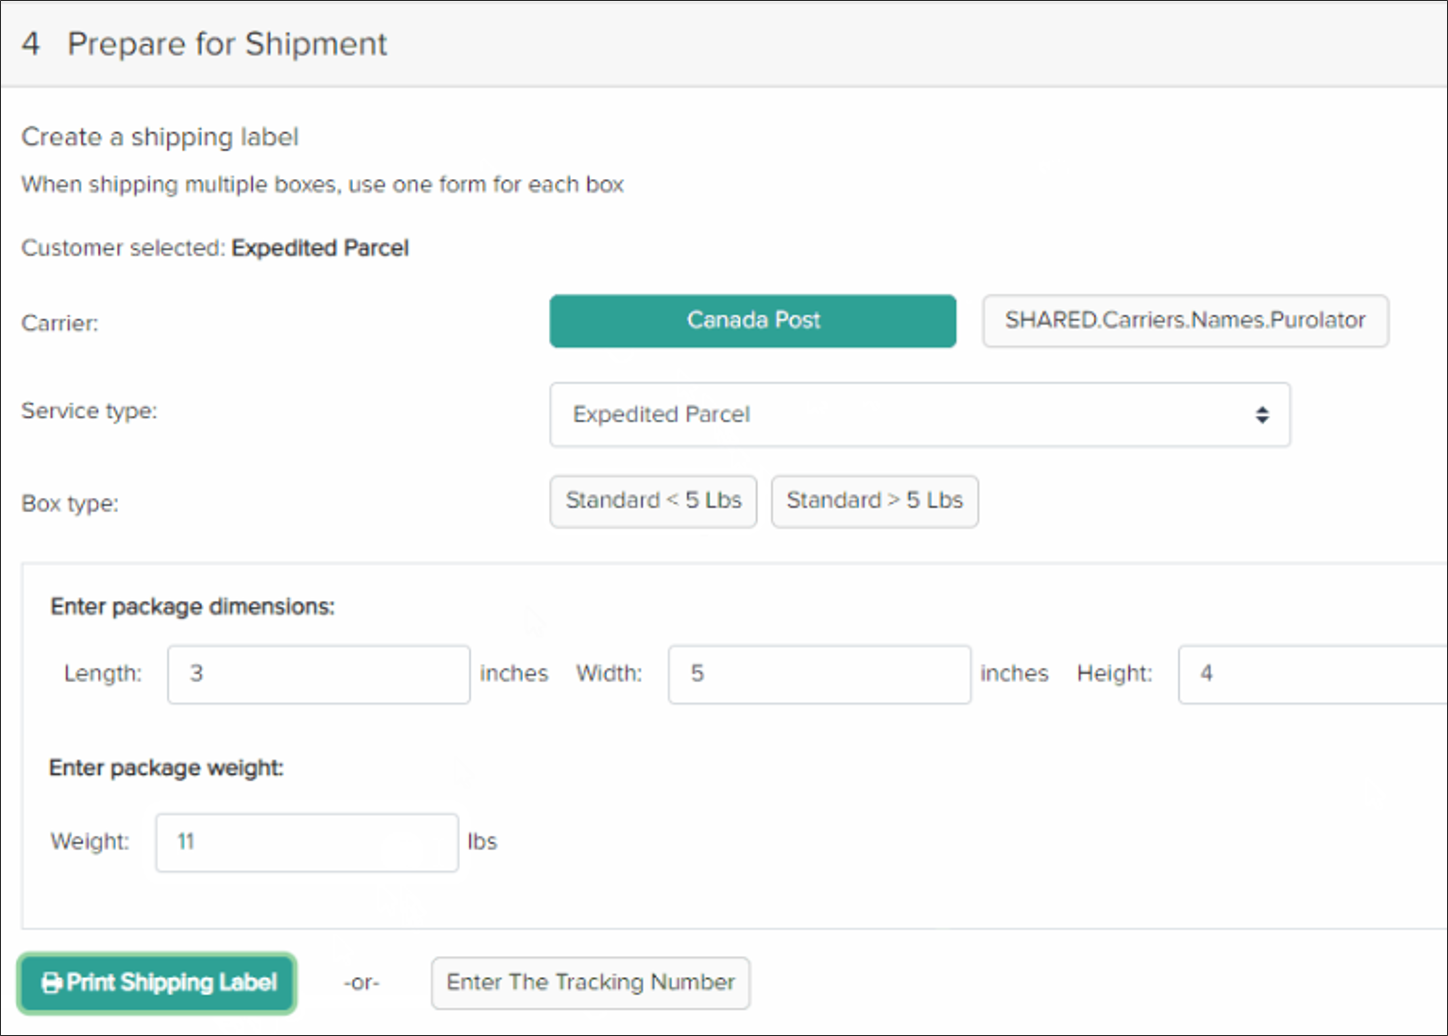
- Prepare any other shipments that will be handed over to the same carrier.
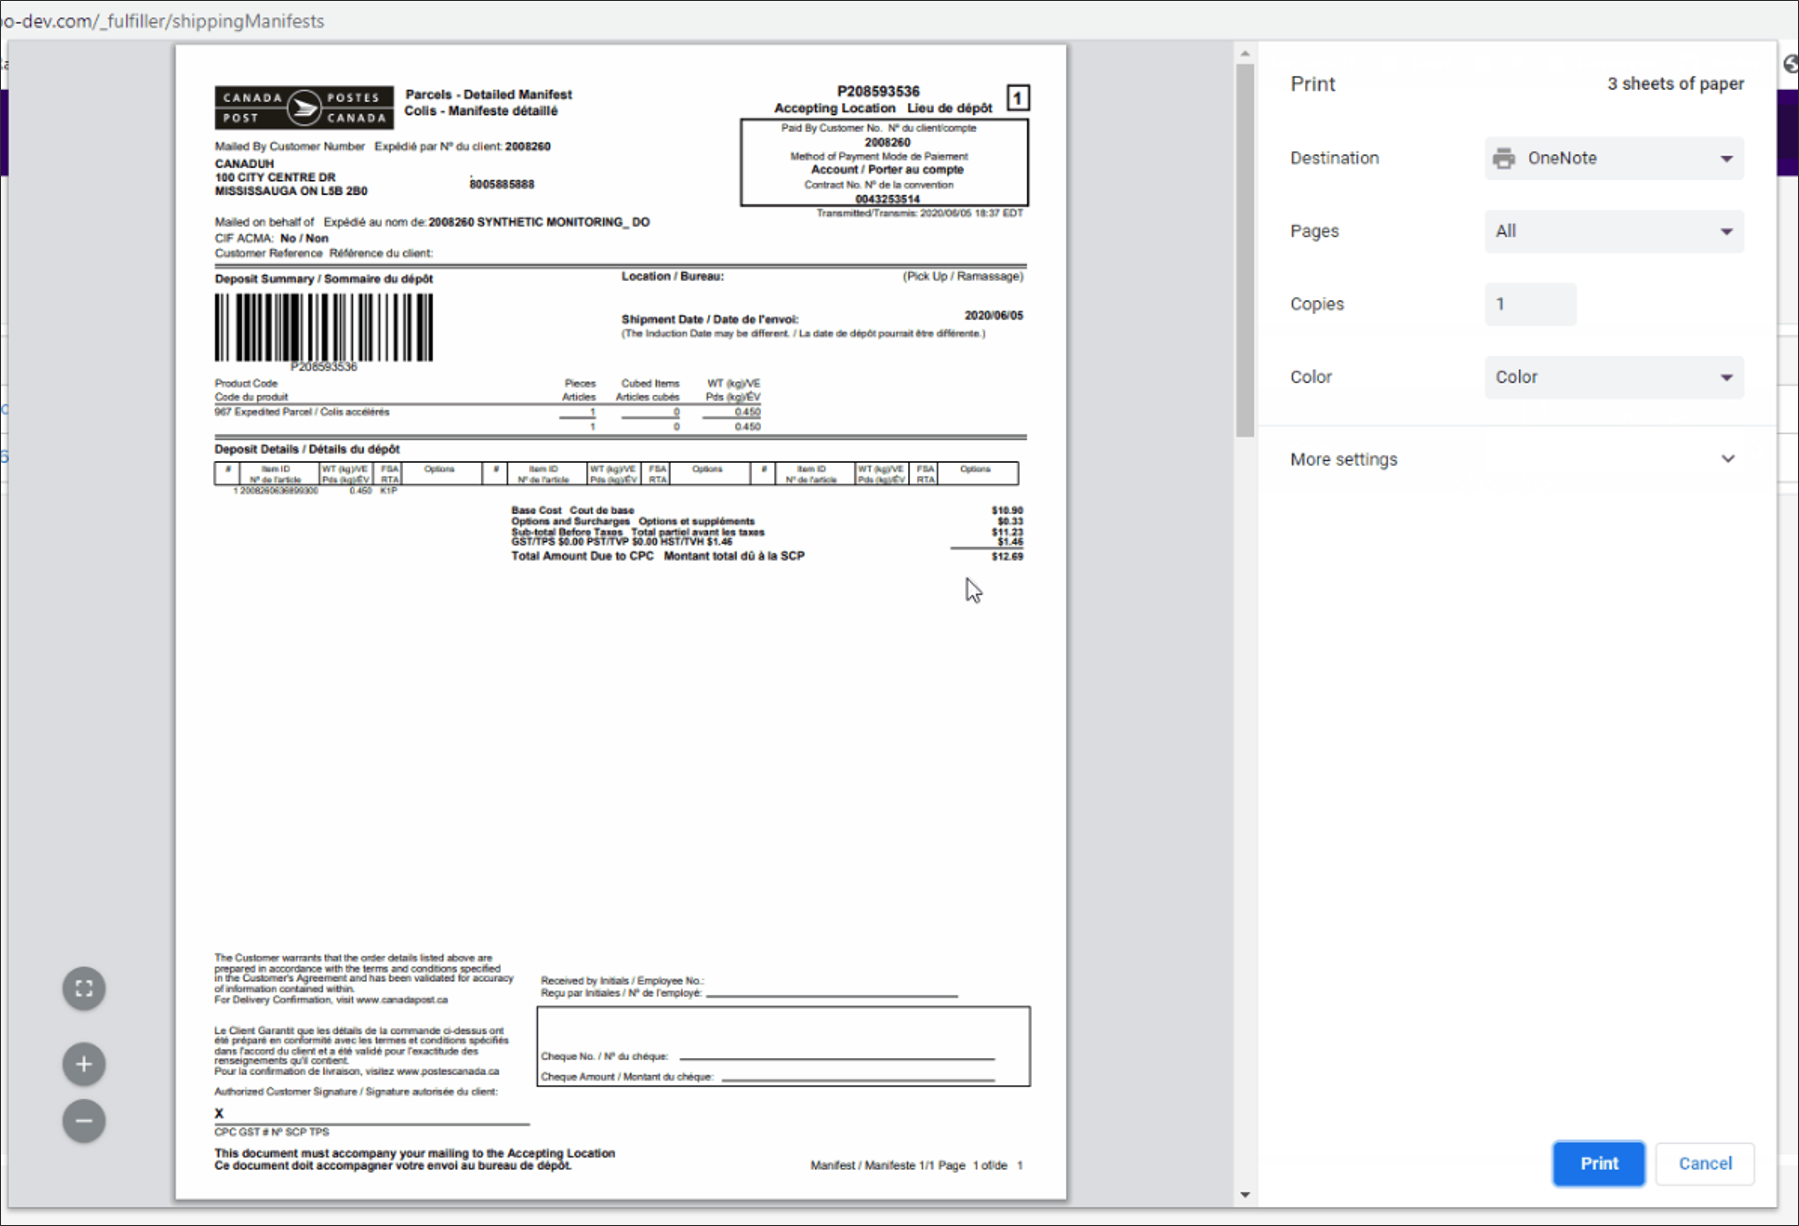
- Go to Shipping Manifests > Create Manifest.
- Out of the box, this page displays all prepared shipments. But if desired, you can request Kibo Support to enable “multi day manifests” in your tenant settings which will add a dropdown menu for Number of Days (not shown in Step #5). This will allow you to filter for eligible shipments within a certain time frame, between now and the past 1-7 days. Once this dropdown is enabled, you can change the default selection and maximum number of days in the tenant settings of your Fulfiller theme:
- Out of the box, this page displays all prepared shipments. But if desired, you can request Kibo Support to enable “multi day manifests” in your tenant settings which will add a dropdown menu for Number of Days (not shown in Step #5). This will allow you to filter for eligible shipments within a certain time frame, between now and the past 1-7 days. Once this dropdown is enabled, you can change the default selection and maximum number of days in the tenant settings of your Fulfiller theme:
- Check the boxes in the righthand column to select all shipments that should be included in the manifest.

- Click Create And Print.
- After confirmation, a pop-up will display a preview and printing options.
View All Manifests
After shipments have been included in a generated manifest, they will be removed from the table in the Create Manifest page. However, you can still view a record of all past manifests:- Go to Shipping Manifests > Shipping Manifests.
- Manifests are listed in the below table with basic information about their dates, package count, and shipment count. By default, this page displays manifests from the last 15 days.
- Click Reprint to immediately reprint the manifest document, or click the Manifest ID to view a page with only the details of that manifest. The document can also be printed from this details page.
