- Adding image groups to a product and having multiple sets of images
- Selecting specific options (such as color) to have specific image groups
- Easily viewing the option images assigned to a product
- Assigning default images to display on the base product when a variant has not been specified
How to Use Dynamic Imaging
Enable Dynamic Imaging for a Product
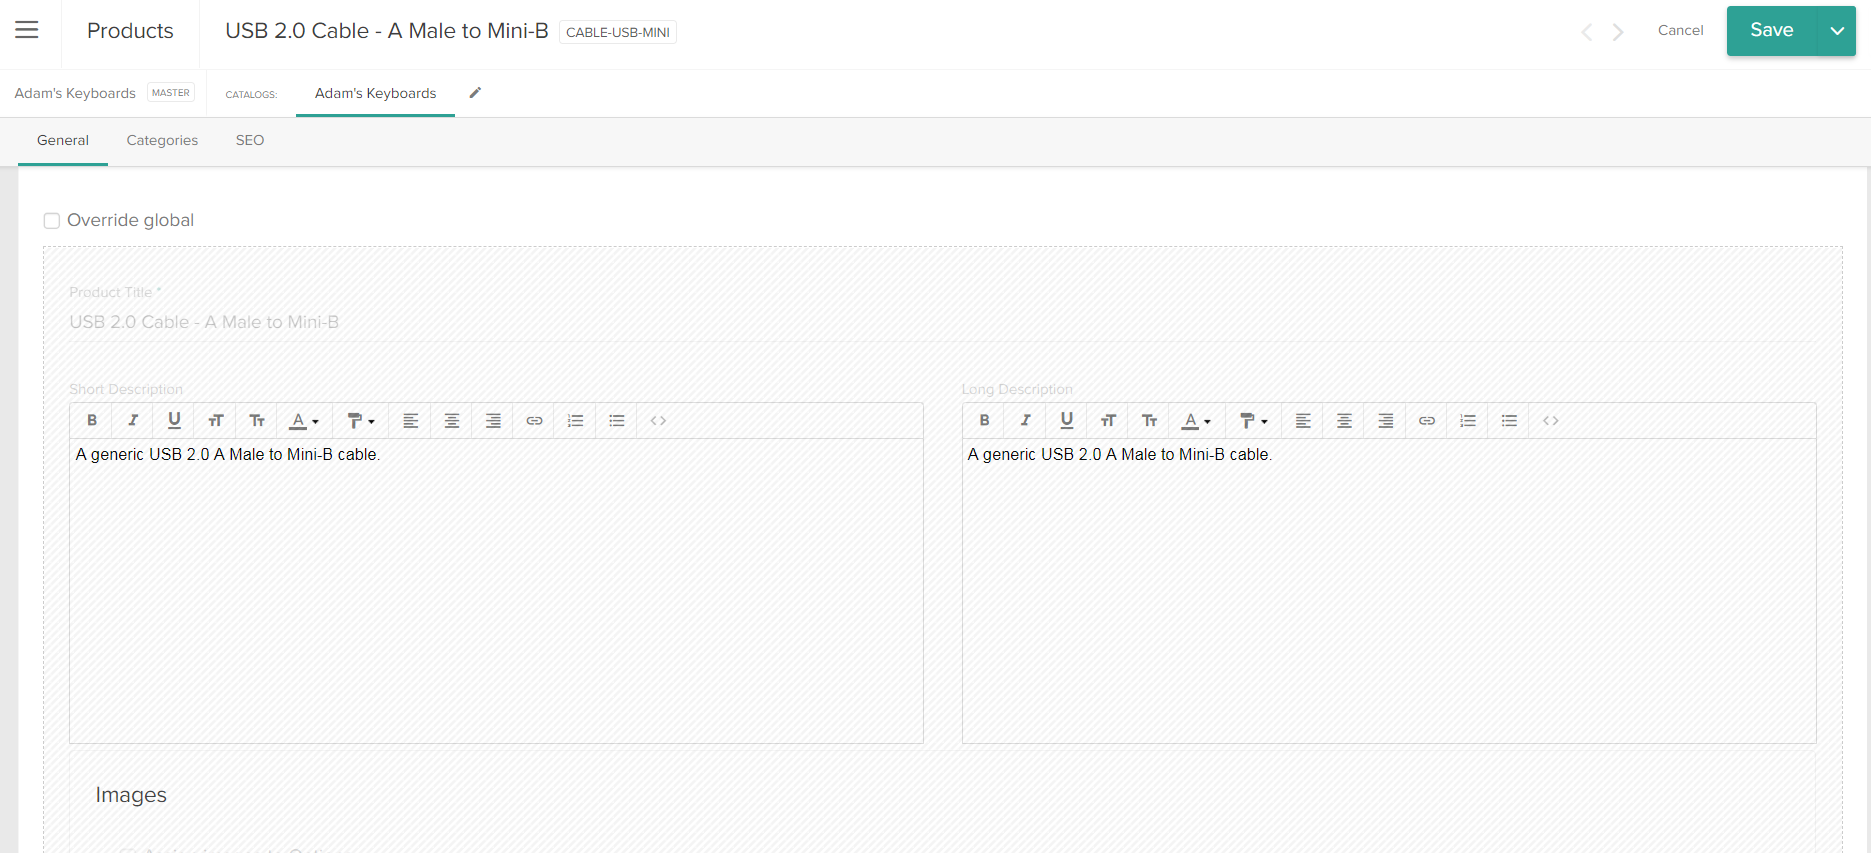
Dynamic Imaging is enabled on the individual product level, allowing you to use this flexible image management for more complex products while using the basic image tool for others.- Go to Catalog > Products and click the product you wish to upload images for.
-
For configurable products, scroll down to the Images section or click the quick link on the Product page. When Dynamic Imaging is not in effect, this section appears as shown below:
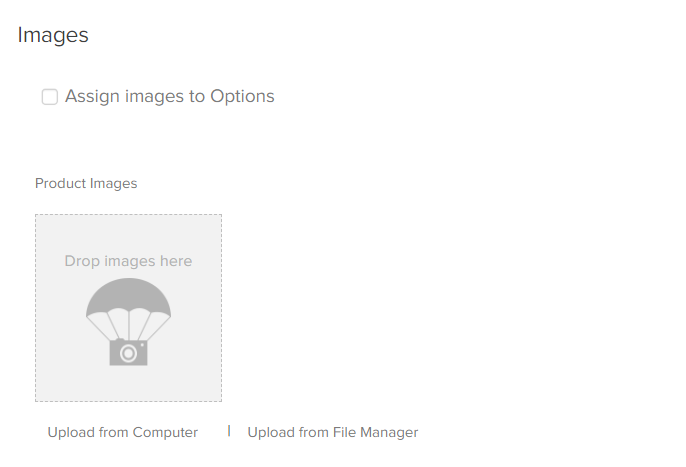
- Select the Assign images to Options checkbox to begin using Dynamic Imaging for that particular product. When selected, all existing product images will now be part of the default group. For more information, see the following section titled Default Groups.
Create an Image Group
Once enabled, you can start creating image groups associated with the available product variants. Images can belong to more than one image group, and will display when the conditions for the option values are selected on the storefront. All image organization is done through these groups. If only one image needs to be associated with a variant, then you should create a group that consists of just that one image.-
Select a product option from the dropdown next to the enabled checkbox. Only one option can be selected at a time. If switched all image groups will be removed and need to be recreated.

- Click Create Image Group.
- Give the group a unique code. For example, if you are creating a group for a certain color variant then you may want to name the group after that color.
-
Select the option values that these images will be associated with from the dropdown.
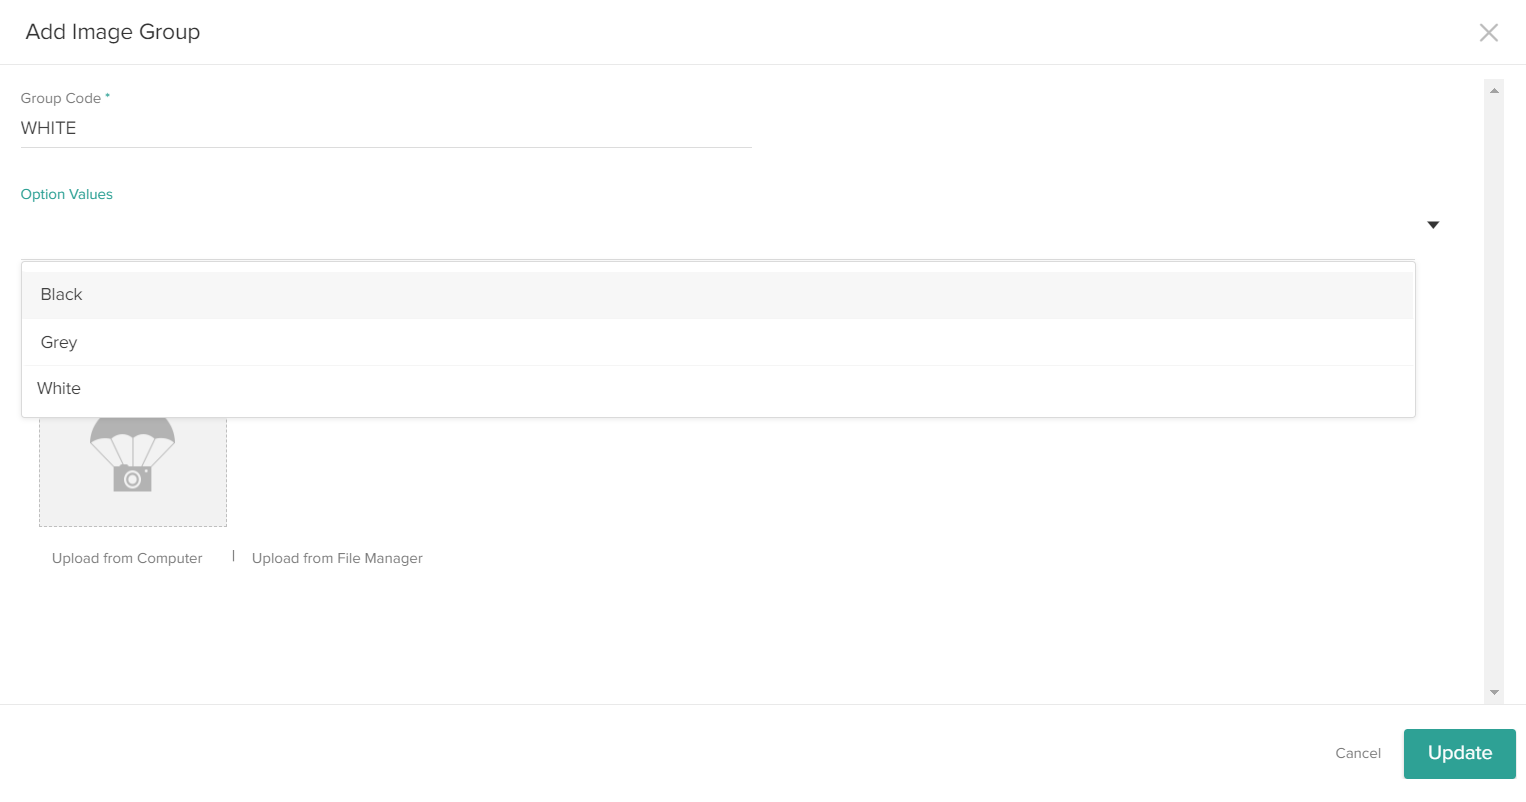
- Upload images from either the Computer or File Manager.
- Click Update to finish creating the group.
Edit an Existing Image Group
Image groups that have already been created will appear in a table when a product option is selected in the Images section.-
Select an option from the dropdown list next to the checkbox. In the below example, there are various image groups for the “Color” product option. Each corresponds with a different color variant.
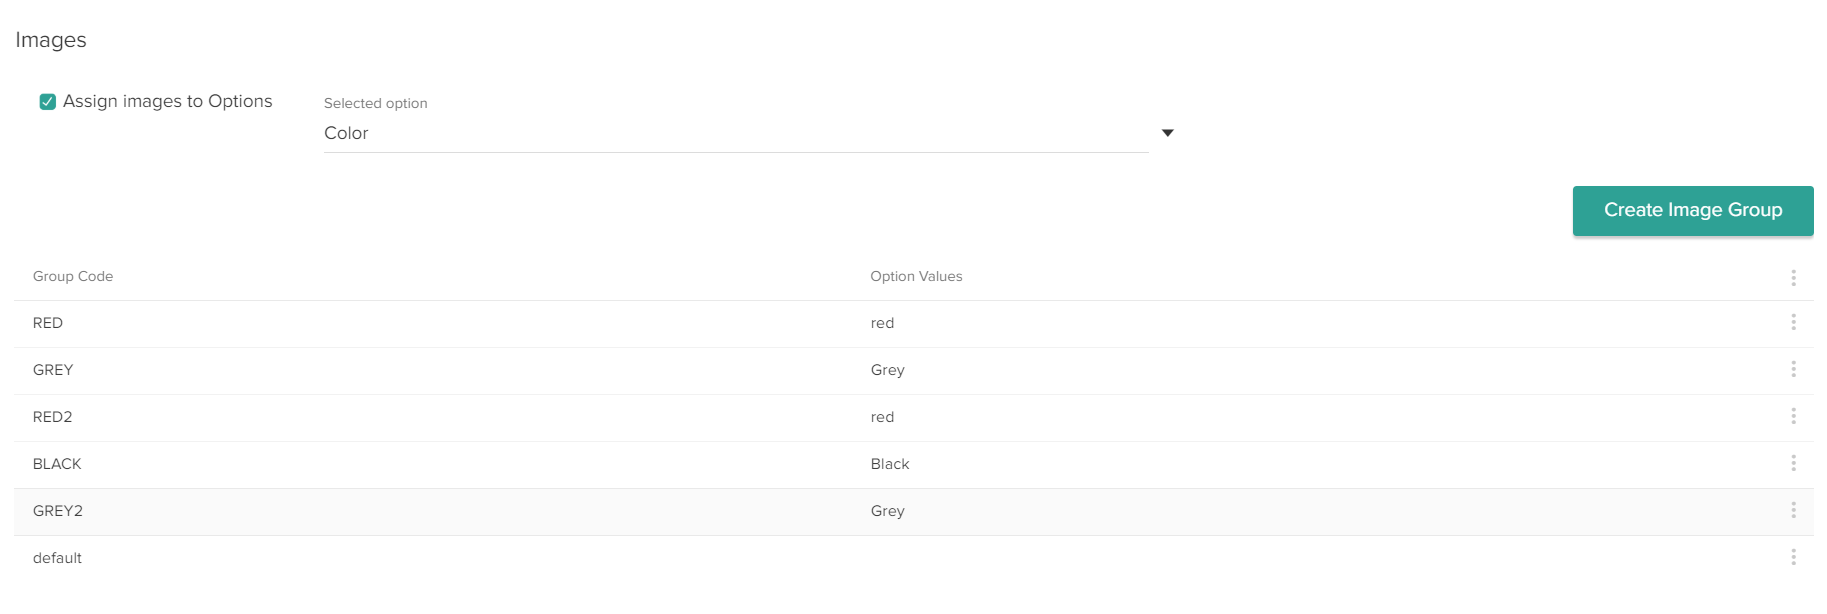
- Click on a group’s row in the table or select Edit from the drop-down menu on the right.
- A menu similar to that of creating a new image group appears. Change the group code, remove images, or add images as needed. The group cannot be associated under a new option value through Edit. If you wish to change the option value of a group or add another value to it, you will have to create a new group.
Default Groups
There is one default group that is automatically created for each product by eCommerce and cannot be deleted – this contains all images that an existing product had before the implementation of Dynamic Imagery. More images can be added to this group and will display when the product does not have option-specific images or when they are base product images that should display when an option value is not selected. The below example is of a product that just had Dynamic Imaging enabled for the first time. Although no image groups have been created by the user yet, the default group was generated and visible once a product option is selected.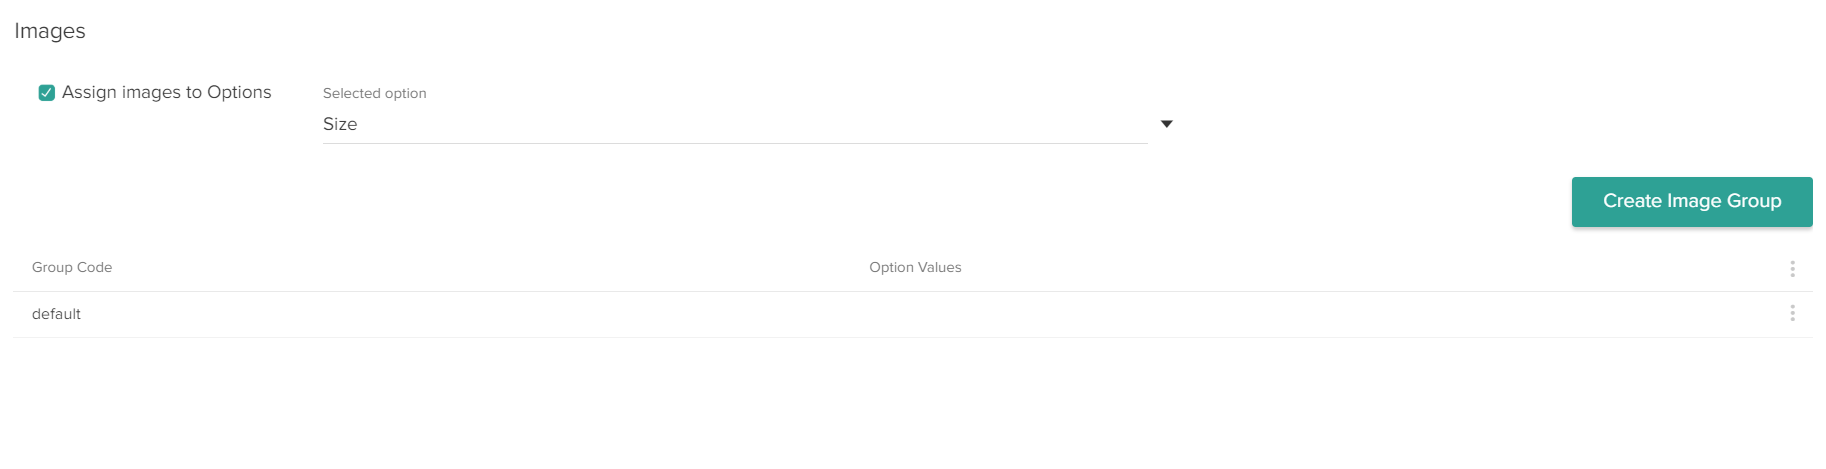
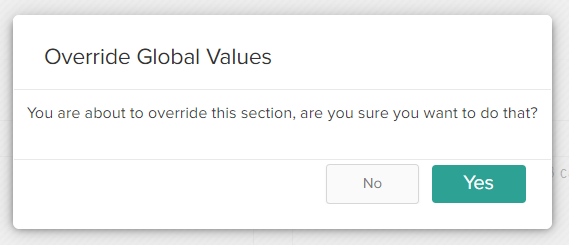
Images in Overridden Catalogs
If images are overridden in specific sub-catalogs, image groups can have a set of images that only display in those sub-catalogs. To enable:- Go to Catalog > Products and click on a product to edit it.
-
Click the sub-catalog name in the header.
-
Select the override flag that now appears in the edit view.