

Data lists allow for custom information to be stored and utilized in filters, letting you further fine-tune how specific routing cases are handled. For instance, if a scenario cannot fulfill certain product UPCs then a data list could be created that contains those UPCs. A filter could then be created with that data list applied to the “Item UPC” attribute, so that those items would not be assigned to locations in that scenario. Note that changes to Order Routing settings may not immediately take effect when processing orders. It may take up to 15 minutes for updates to be reflected in the system while the cache refreshes. The Order Routing UI has been overhauled in August 2025 with an updated look and feel, as well as some functional changes. This new UI is now available to be enabled in your sandboxes. Contact Kibo Support to opt in and begin using it. All sandbox tenants will receive the new UI on September 3, unless you have specified to opt out by notifying Kibo Support. The UI will also be available for production tenants on September 3. Coordinate with Kibo to migrate your production tenants at any point between September and end of January 2026. Expand the below sections to view the data list details for the appropriate UI version.Documentation Index
Fetch the complete documentation index at: https://docs.kibocommerce.com/llms.txt
Use this file to discover all available pages before exploring further.
Classic Order Routing UI
If you have not yet upgraded to the new Order Routing UI, then you are using the Classic UI. Here, custom data lists exist within a strategy and can be reused by any filters defined in that strategy.Data Lists Page
The Data Lists page displays all existing lists. On the right of the table, not pictured in the screenshot, are additional notes about the list and the icons to edit or delete each list.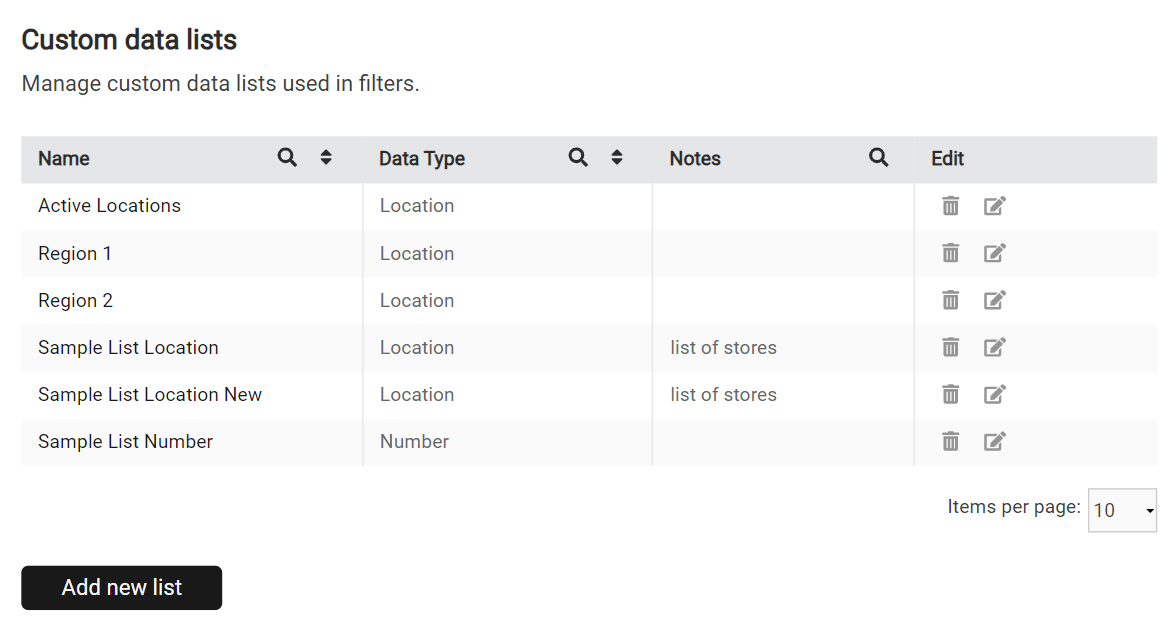
Creating a Data List
Click Add New List to create a new list. When creating a data list, enter the name, data type, and any custom notes that describe the purpose of the list. The values that are included in the list can then be provided via .CSV file upload. A template for building this file can be downloaded from the Download Template action of the navigation menu. Once the list is initially uploaded and created, the individual values can then be modified and new values can be added.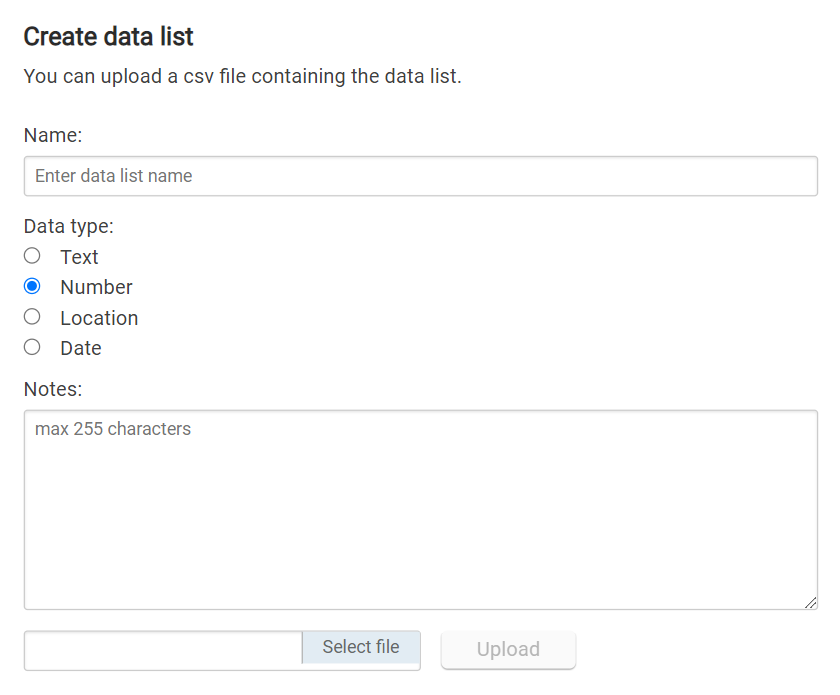
Edit Data Lists
Clicking an existing list will open a detailed list of the individual data values, which can then be edited or added to.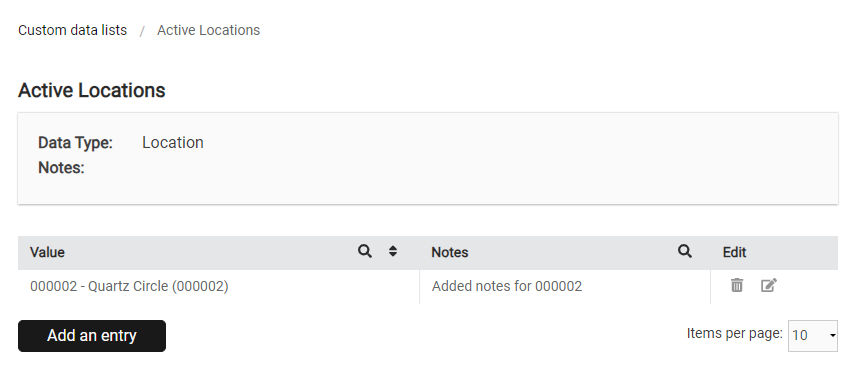
New Order Routing UI
In the new UI, custom data lists are now known as “filter data lists” and are independent global entities, not defined for a specific strategy. They can be used as filters across any strategy or scenario.Data Lists Page
The Filter Data Lists page displays all existing data lists in a table. Click the Current Site selector in the top right to switch to a different site and view its data lists instead.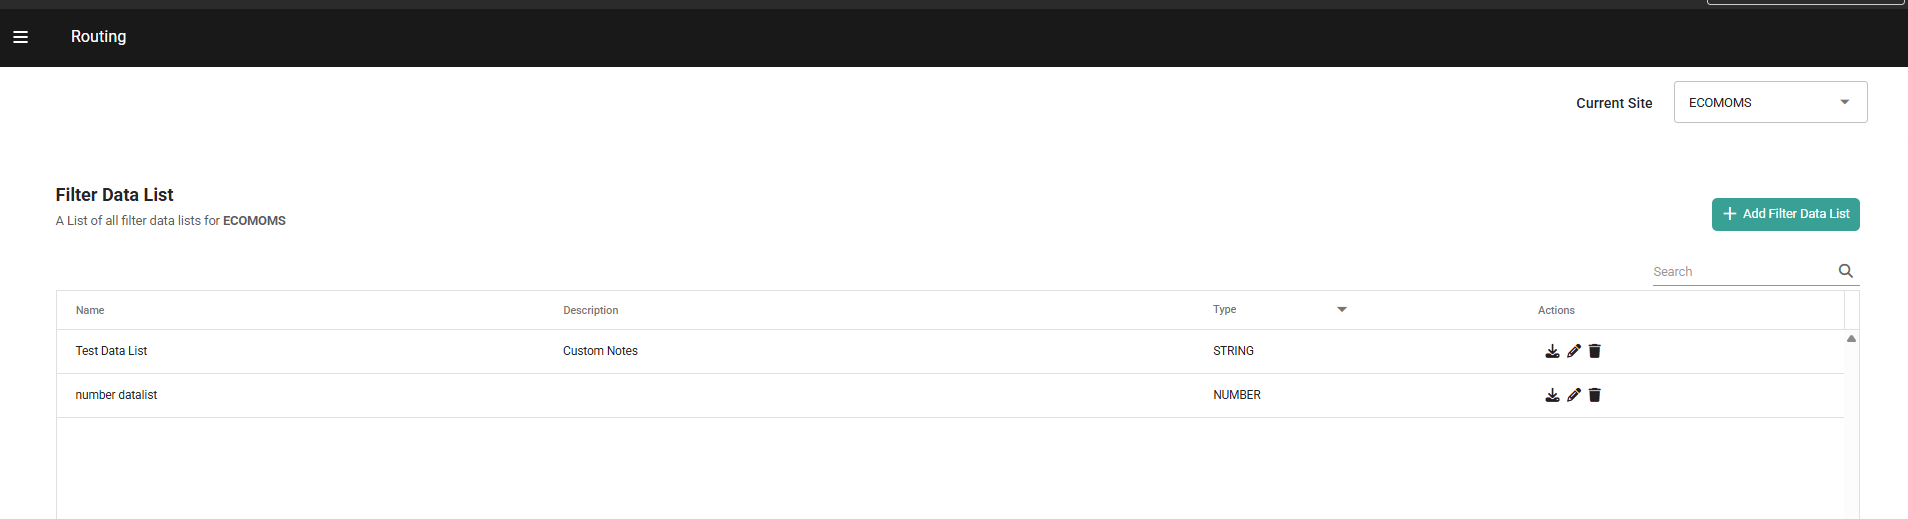

Create a New Data List
To create a new data list:- Go to the Filter Data Lists page.
- Click Add Filter Data List.
- Enter a Name for the data list.
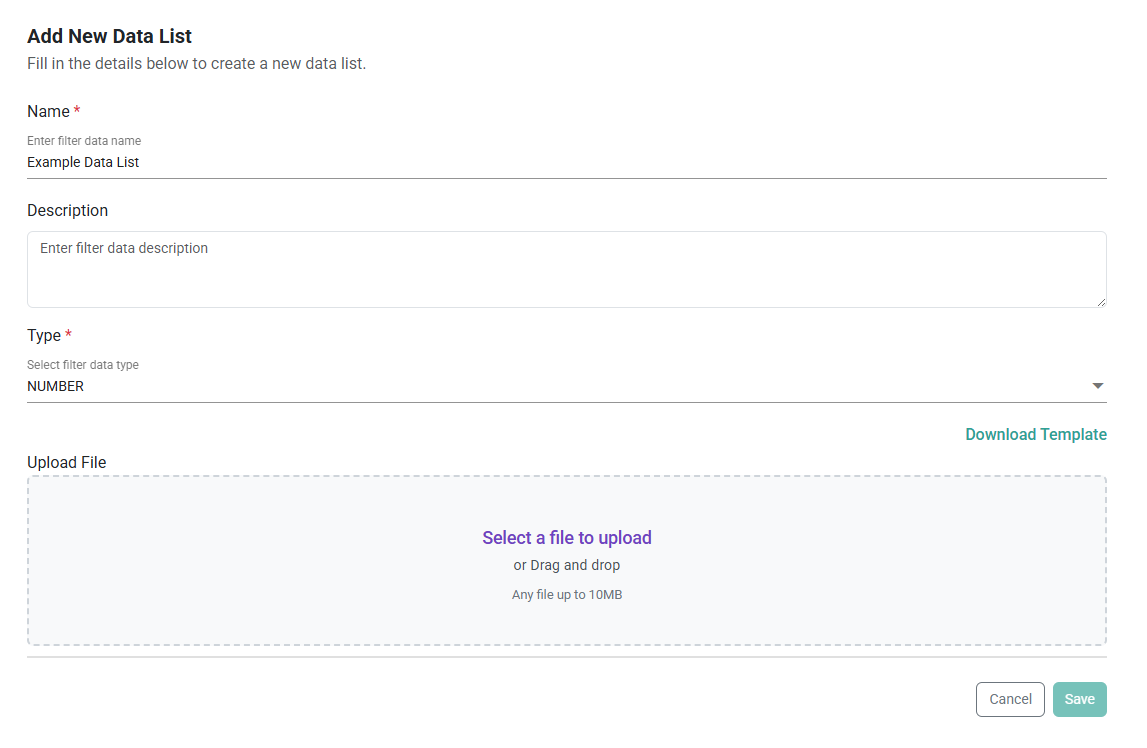
- Select the Data Type (Text, Number, Location, or Date) you want to use for the list values.
- Enter an optional Description.
- When initially creating a data list, its values should be provided via .CSV file upload. A template for building this file can be downloaded from the Download Template button.
- Click Save.
Edit Data Lists
Once a list has been created, it can be managed or edited from the Filter Data Lists page. Click the Delete icon in the Actions column to remove a data list entirely. If you want to delete a data list, you must first remove it from any filters it’s currently used in. To update a data list and its values instead:- Click the Edit icon in the Actions column of any list to view its configurations.
- Edit the list’s Name or Description as needed.
- Use the action icons in the values table to modify or delete any existing fields.
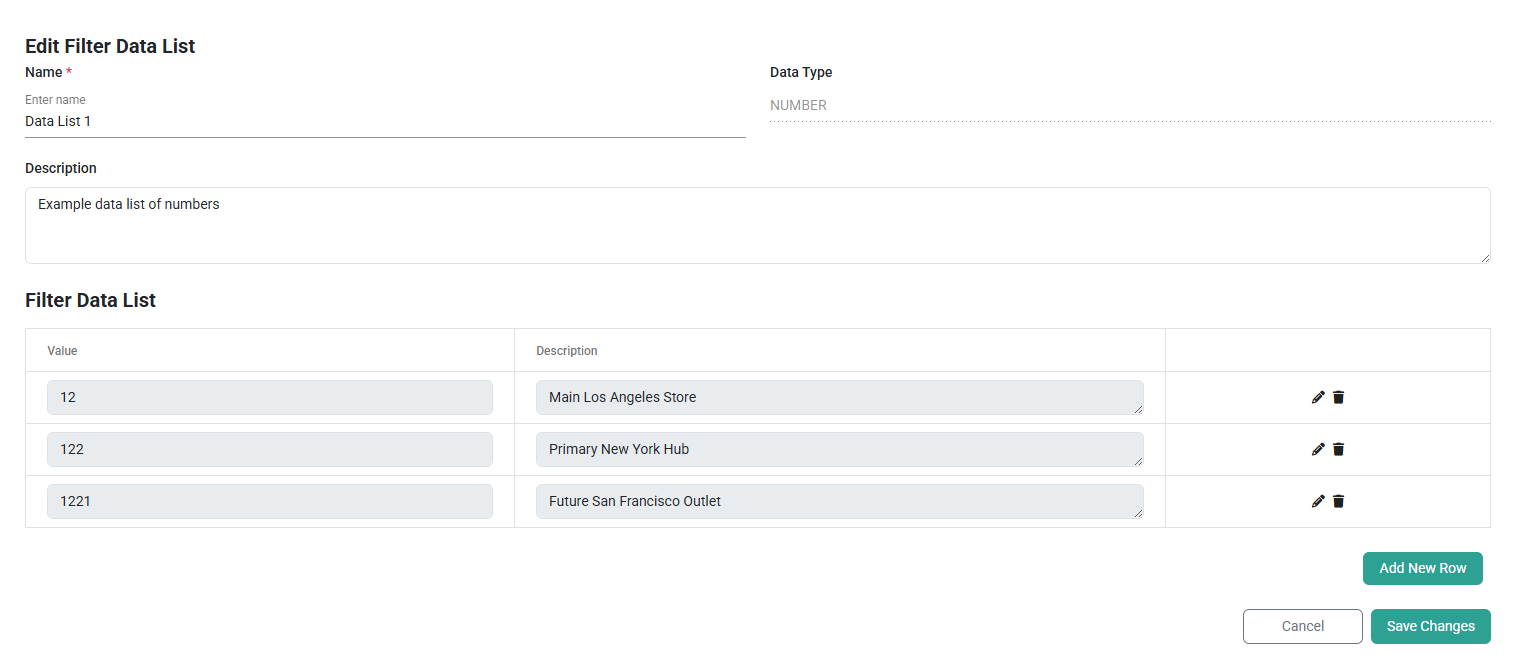
- Click Add New Row to define additional value:description data pairs.
- To export the current data list as a CSV file, click the Download as CSV button located to the right of the Add New Row button
- Click Save Changes.
Export a Data List as CSV
There are two ways to export a data list: From within a Data List (Data List Detail Page)- Open a data list by clicking the Edit icon in the Actions column on the Filter Data Lists page.
- Click the Download as CSV button, located to the right of the Add New Row button.
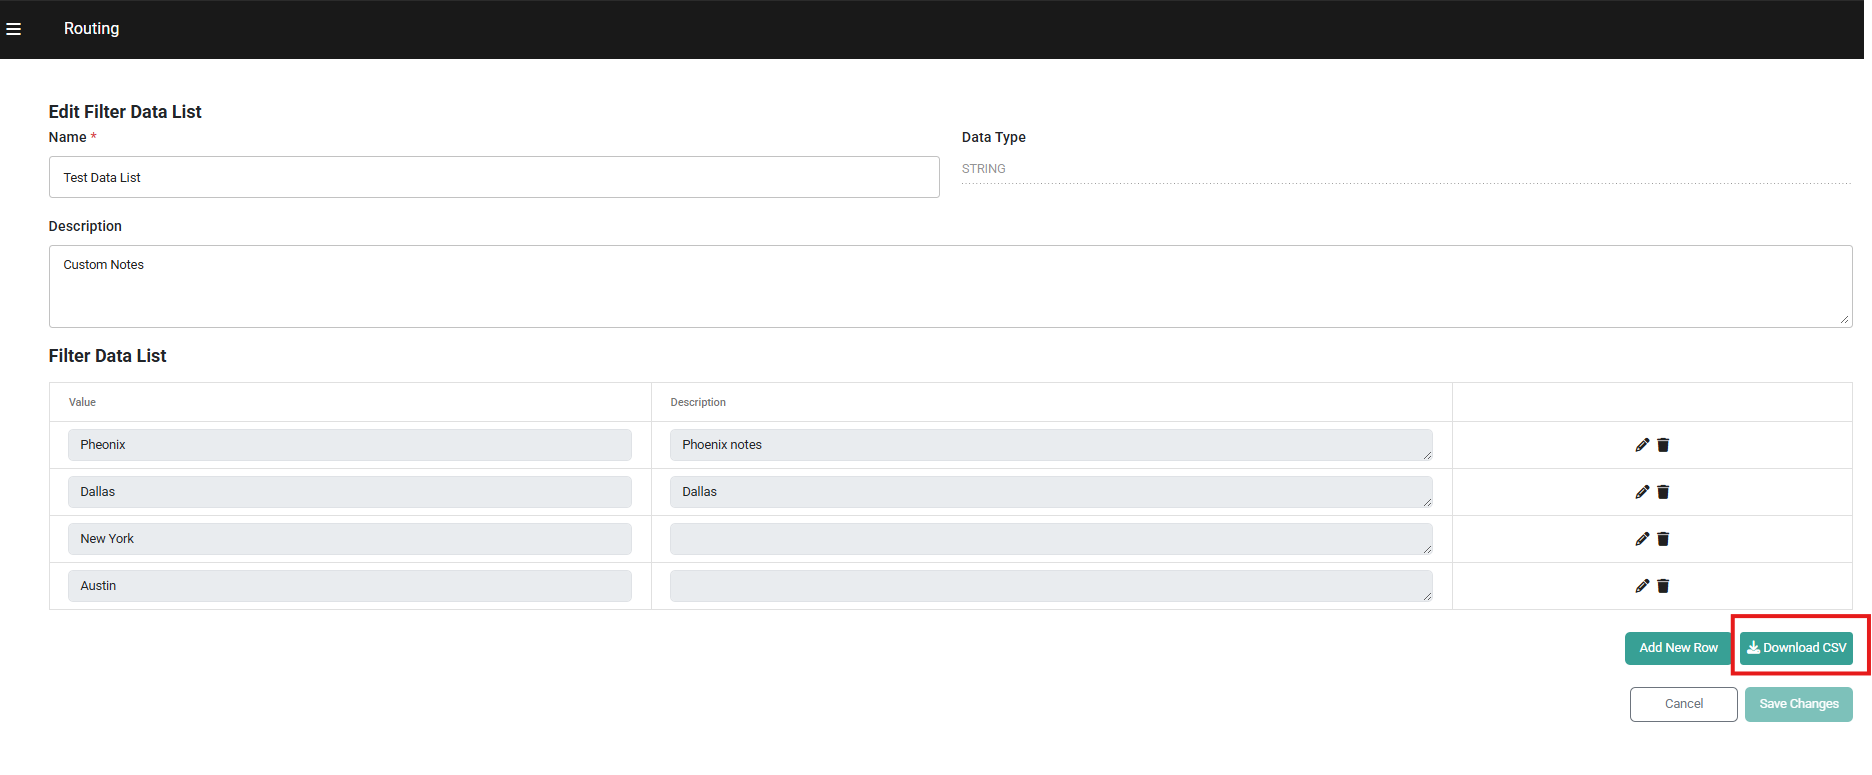
- The file downloads automatically and includes the following columns:
- Value — the stored value for each entry
- Description — the full description for each entry (untruncated)
- The export reflects all entries for the currently selected site.
- Navigate to the Filter Data Lists page.
- In the Actions column of the data list you want to export, click the Export icon.
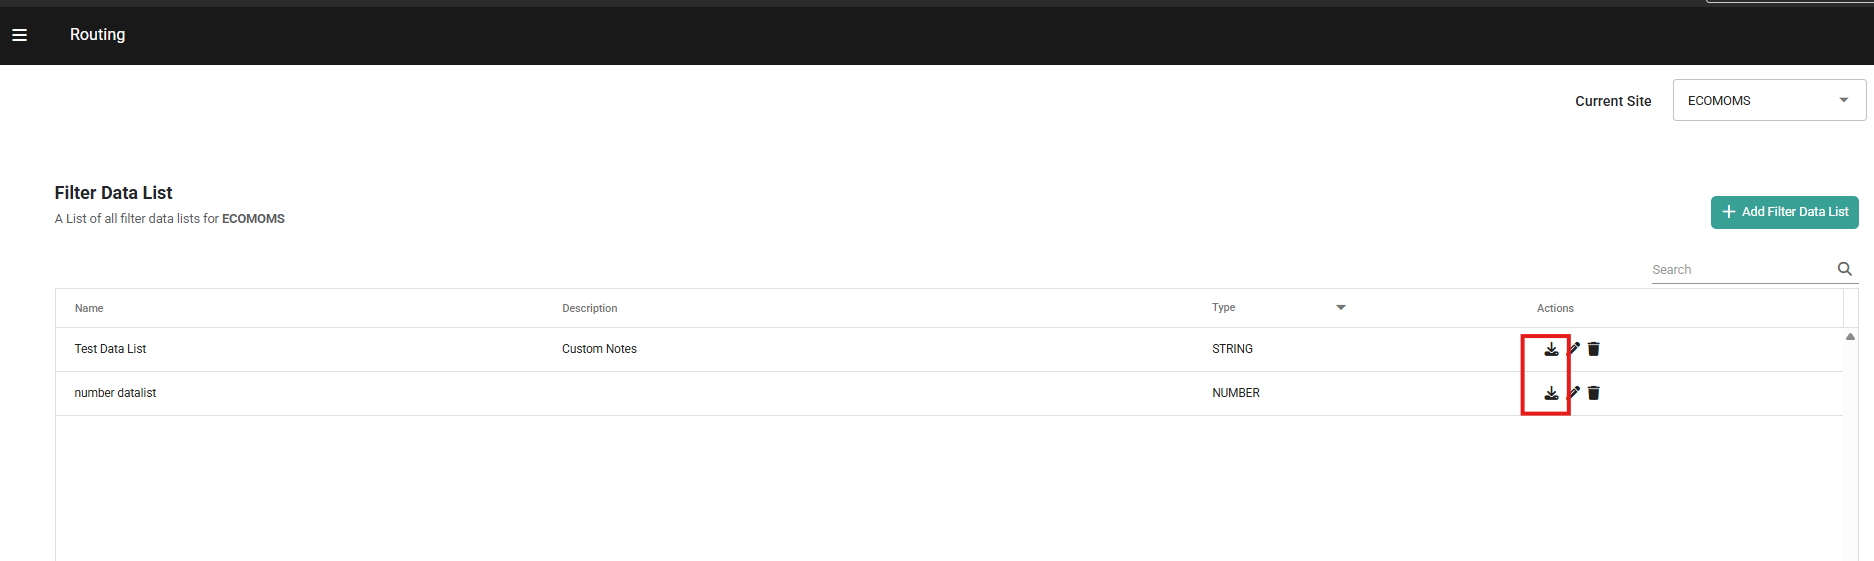
- The CSV file for that specific data list downloads automatically.