How Splitting Works
During fulfillment you can create up to the set maximum of packing slips, as long as each slip includes at least one item. For example, if you generate 3 packing slips then you could place Item A in Packing Slip #1, Items B and C in Packing Slip #2, and Item D in Packing Slip #3. If you were to only create one packing slip, then all items would be automatically placed in Packing Slip #1. If there are multiple of the same item in the shipment, you can also split the item into separate packing slips by dividing its quantity. For example, if only 4 out of 5 shirts fit in one box then you can pack the 5th into its own box. If a product has been configured to ship by itself then it will be locked to its own packing slip. This configuration is located in the product’s settings as the “Ships by itself” option in the Shipping section (shown below). If enabled, the item will be assigned to Packing Slip #1 and the option to change the package quantity or slip number will be greyed out. The other items in the shipment will default to Packing Slip #2 and cannot be placed into Packing Slip #1.
Enable Splitting
Splitting packing slips is configured as part of location group configuration at Main > Orders > Location Groups. In the Other Settings section shown below, you can set the maximum number of packing slips that can be generated for one shipment. If left blank, the limit will default to 10. Setting this field to any other number will override that default. Splitting also requires the “Auto generate packing list” location group configuration to be disabled. If enabled, you will not be able to manually create multiple slips for different packages in one shipment.
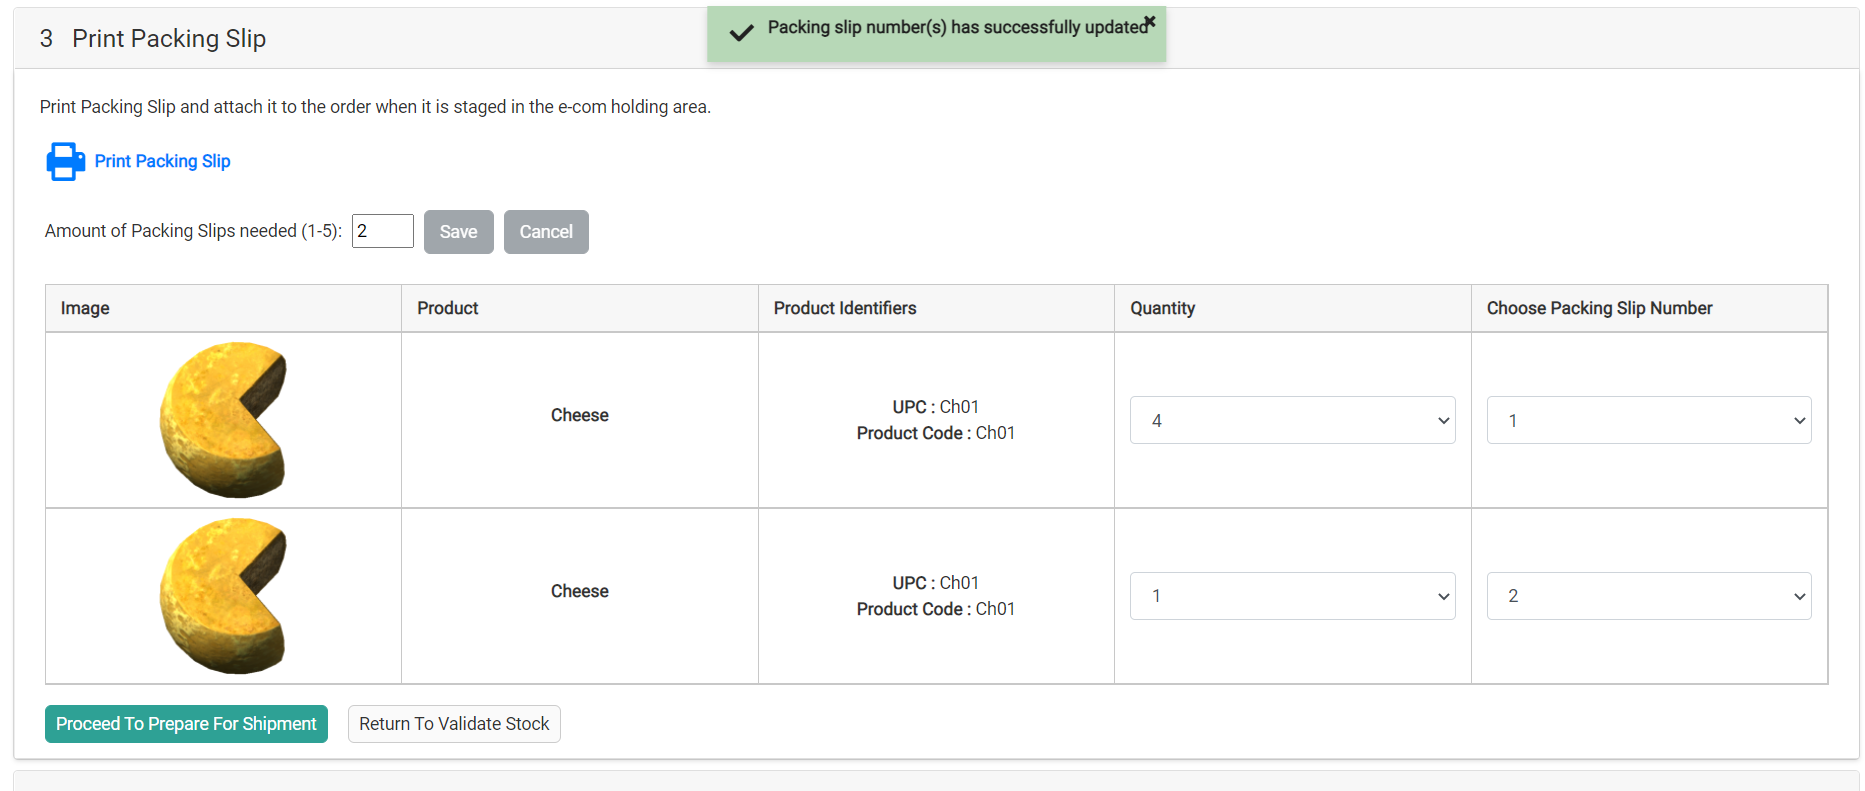
Fulfillment Step: Print Packing Slip
By default, shipments only have one packing slip for all items when you arrive at this step and you are able to continue without splitting. But once you change the amount of packing slips, you will only be able to print the slip(s) once all items have been assigned to a slip AND you have clicked Save. Otherwise, the Print and Proceed to Prepare for Shipment buttons will be greyed out.- Indicate how many packing slips you need using the dropdown above the item table.
- For every line item, indicate which packing slip you want to add it to by selecting a packing slip number in the dropdown for that item, as well as the quantity to be included in that packing slip.
- Click Save to finalize your packing slip organization.
Fulfillment Step: Prepare for Shipment
Each packing slip will be displayed in a separate tab within the Prepare for Shipment step. Switch between tabs to input label details and tracking information for each slip, as well as print each label separately. Only one tracking number may be entered per tab and it will be automatically saved on entry. In order to change the tracking number, you will need to remove the existing one first.
Email Notifications
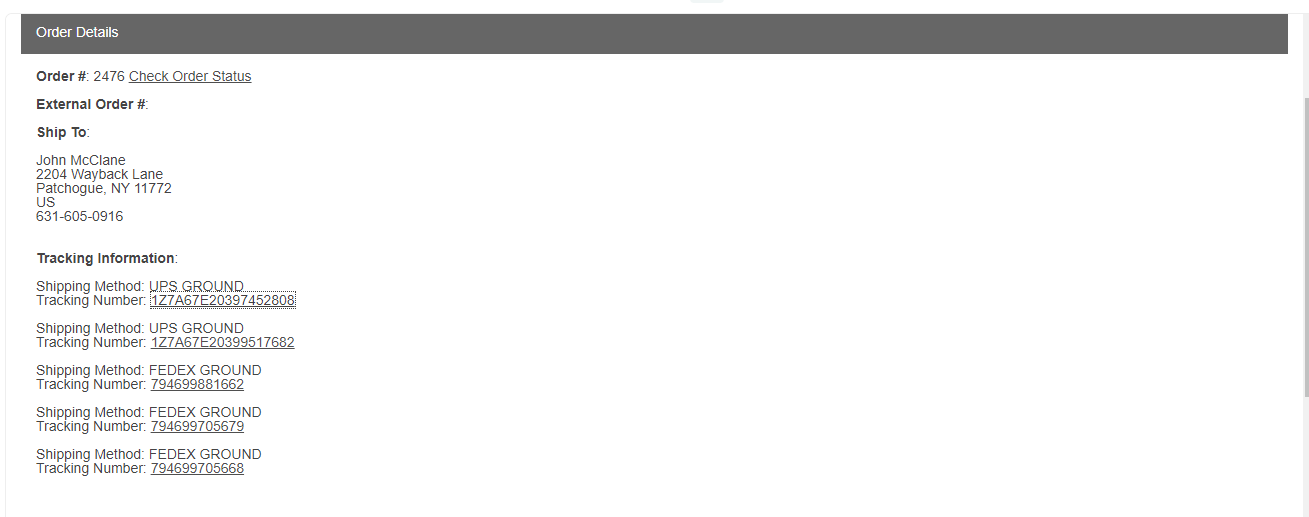
After a shipment has been split into multiple packing slips, each of the tracking numbers will be listed in the customer’s shipment confirmation email. The default email template is shown below.