

Watch: Returns for Refund
See the end-to-end process of handling a customer return and issuing a refund
- Go to Main > Orders > Orders.
- Click the order you want to start a return for.
-
Click the Returns tab to see a list of returnable items in the order (as well as any existing returns).
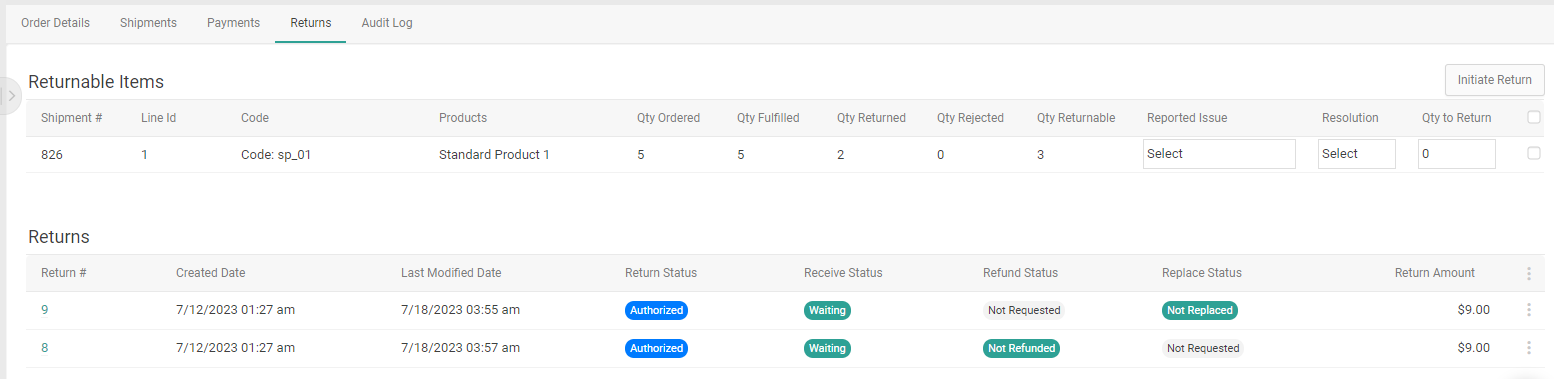
- Use the checkboxes on the right of the Returnable Items table to select the product(s) to return. You will be able to create multiple returns for a single order as needed. You can also return products and extras as a whole, or select only certain items from within the bundle to return. If you are using return rules that restrict a product to a maximum quantity and/or return window and that limit has been reached, then the line item will be disabled and the reason will be displayed. Customer service representatives and admins can still initiate a return for items regardless of any rule restrictions by checking an Override option that appears above the table.
-
For each selected product, select the reason for the return using the Reported Issue drop-down menu. The default reasons that are available out-of-the-box are listed below, but you can customize your list of return reasons with an API Extension action.
- Damaged
- Defective
- Missing Parts
- Different Expectations
- Late
- No Longer Wanted
- Other
-
For each selected product, select the resolution type that the shopper seeks under Resolution:
Type Description Replace Select this option if the shopper desires a replacement product. You can still provide a refund to the shopper under this option. Refund Select this option if the shopper only desires a refund. You can still send a replacement if conditions change later in the process. - For each selected product, enter the Qty to Return.
- Click Initiate Return.
-
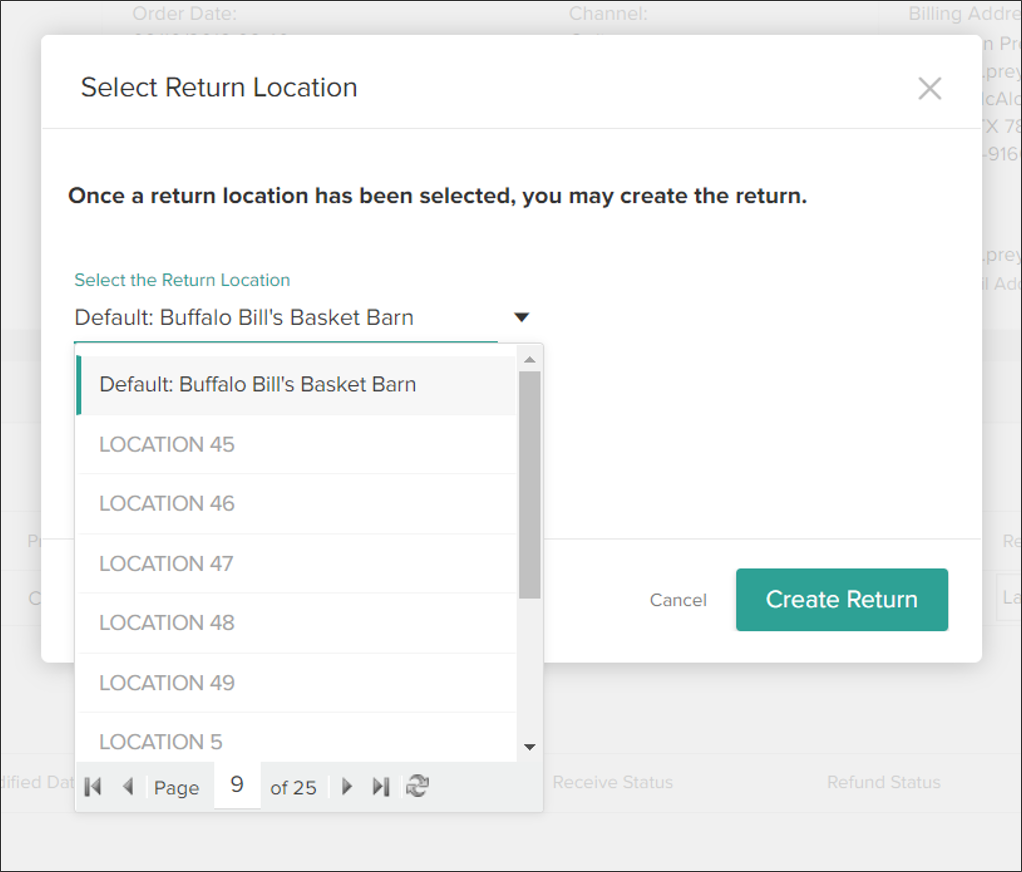
Select a return location from the drop-down menu that appears.
- The selected option will be the location that should expect all of the returned items to be delivered to them by the customer, and a generated return label will display this location on it.
- If a default return location has been designated in settings, it will be the first result displayed. To select another option, begin typing a location name in the text field and matching results will be displayed.
- If the Reverse Logistics feature is enabled, then this modal will display a table of all return items with individual return locations instead of a single location for the entire return. The system will retrieve a suggestion for the best return location for each item from Order Routing and prepopulate those selections in the table, but you can manually select a different location if needed. If multiple locations are selected across all items, then a separate return will be created for each location.
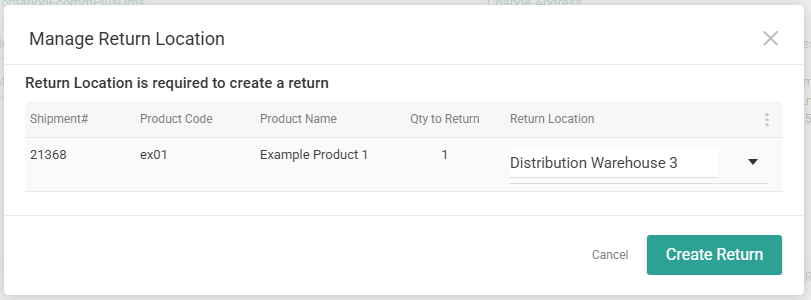
- Click Create Return.