The address validator is an application capability, in which you implement a REST endpoint that accepts a request and returns a response for the given capabilities. This validates that street and postal addresses exist. 

Add Address Validator

Follow the below steps to add an address validator:
  1. In Dev Center, navigate to Develop > Applications > Packages > Capabilities. 
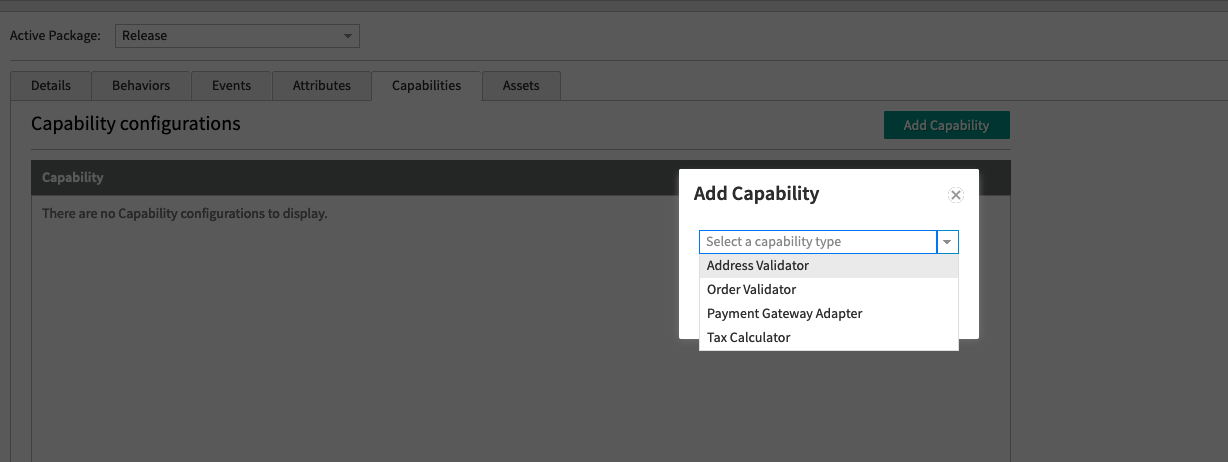
  2. Click Add Capability.  
  3. Search for Address Validator in the Add Capability modal and click Ok.\ Add Capability modal with capabilities suggestions
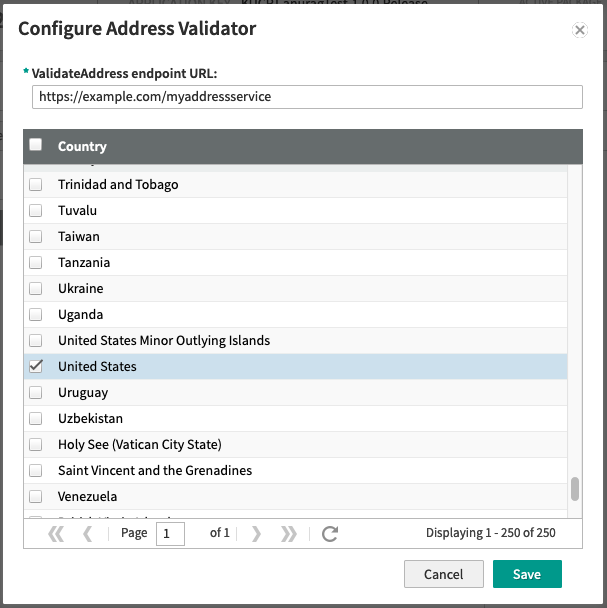
  4. Add a URL for a web service that you host externally (or an API Extension http.storefront.routes function if you want it hosted in Kibo).
  5. Select the validator country from the list of countries.
By default, Kibo uses USPS as the validator. As long as your service returns addresses in the below formats you can create your own address validator using any other service (FedEx, Google, etc).

Validate Address API

Your service must accept an addressvalidation request. Use the below template to create your API request:
{  
  address: {
    address1: string | null
    address2: string | null
    address3: string | null
    address4: string | null
    cityOrTown: string | null
    stateOrProvince: string | null
    postalOrZipCode: string | null
    countryCode: string | null
    addressType: string | null
    isValidated: boolean | null
  }
}
and must reply with a response in this form:
{  
  addressCandidates: [{
    address1: string | null
    address2: string | null
    address3: string | null
    address4: string | null
    cityOrTown: string | null
    stateOrProvince: string | null
    postalOrZipCode: string | null
    countryCode: string | null
    addressType: string | null
    isValidated: boolean | null
  }]
}
Like the tax integrations, you can also implement Address Validation (Before) and Address Validation (After).

Installing and Testing

Once you have the service hosted at a given URL (and tested with Postman to make sure the responses are coming out as expected), you can install it on a tenant. Follow the below steps for testing.
  1. After the application is installed, go to Applications Page and click on the Application.
  2. Click the toggle to “Enabled”. This will enable your address validator. 
  3. You can test the validator using the storefront theme, or by making API calls to the Address Validation API.