Watch: Explore and Modify Reports
Learn how to explore and customize reports
Apply Report Filters
Most reports will automatically open with the default filter options. However, some may require the user to provide a filter value before loading the report. Two common filters that are used for all dashboards are:- Site: A multi-value filter to select specific sites in the organization. Set to all sites by default.
- Date: A single value filter indicating the date range in which to evaluate orders/shipments based on their creation date. This is set to the current month by default.

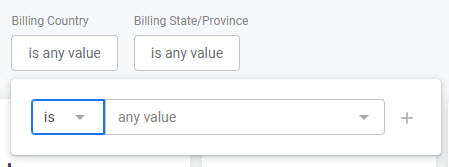
- Click the box underneath a filter name that indicates the current value.
- Editable fields appear in which you can select the filter’s comparison logic and value.
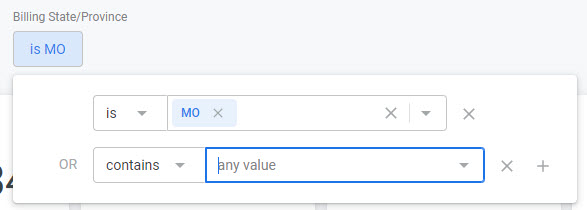
- Add additional criteria with the plus sign. Clicking the X will remove a criterion.
- Click Reload in the top right to update the report with the new configuration.

View Custom Attributes
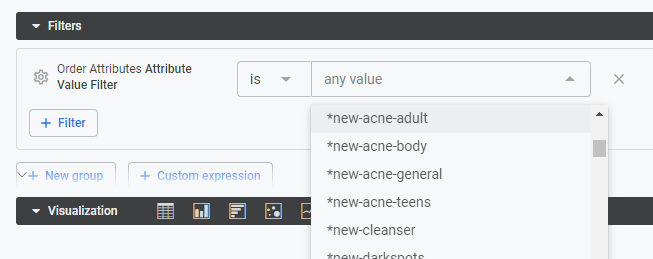
While custom order attributes are not included in Standard Reports by default, you can access them through explores. You can either filter for orders that contain a certain attribute value or add custom attributes to the report data for visualization.Filter on Attributes
To use custom attributes as a filter:- Select an explore from Kibo Standard Reports > Explores, such as the Orders Explore.
- In the left-hand fields menu, expand Order Attributes.
- Hover over Attribute Value Filter in the Filter-Only Fields and click Filter by field.
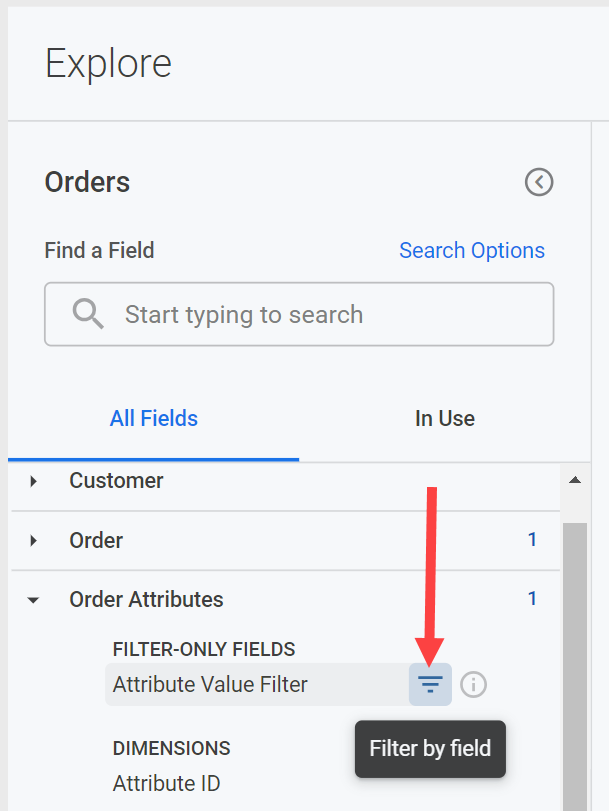
- Select a value from the drop-down filter menu that appears at the top of the reporting pane.
Add Custom Attributes
Add custom attributes to reports by pulling in the attribute name and value type:- Select an explore from Kibo Standard Reports > Explores, such as the Orders Explore.
- In the left-hand fields menu, expand Order Attributes.
- Click the Fully Qualified Name field from the Dimensions. This will add it to the Data section of the reporting pane.
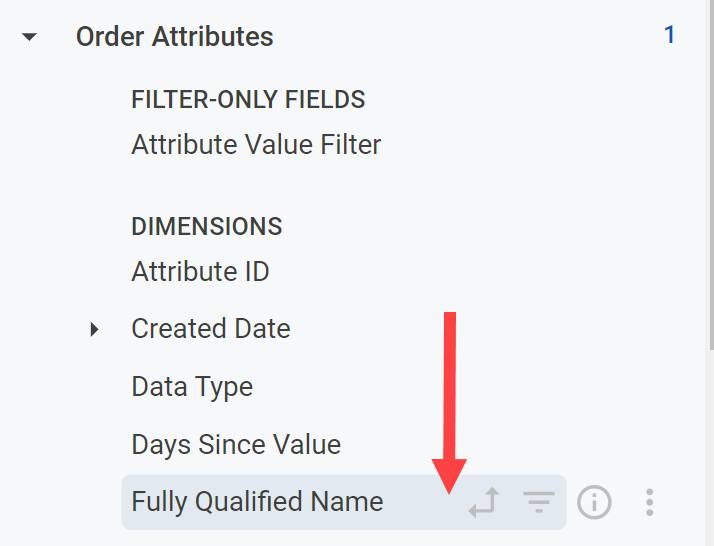
- Scroll down and click the Value (String) field as well, or another appropriate data type for your attribute.
- Click Run to view the updated report with attribute data.
Display Multiple Attributes
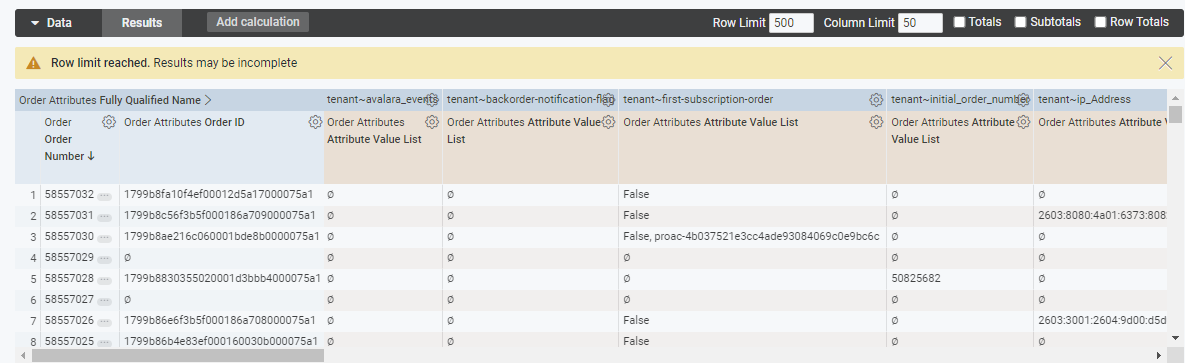
If you add multiple custom attributes to a report, you’ll notice that a separate table row is created for each attribute on every order. To improve readability and condense the data into a single line per order:- Expand the settings icon on the Fully Qualified Name column and click Pivot.
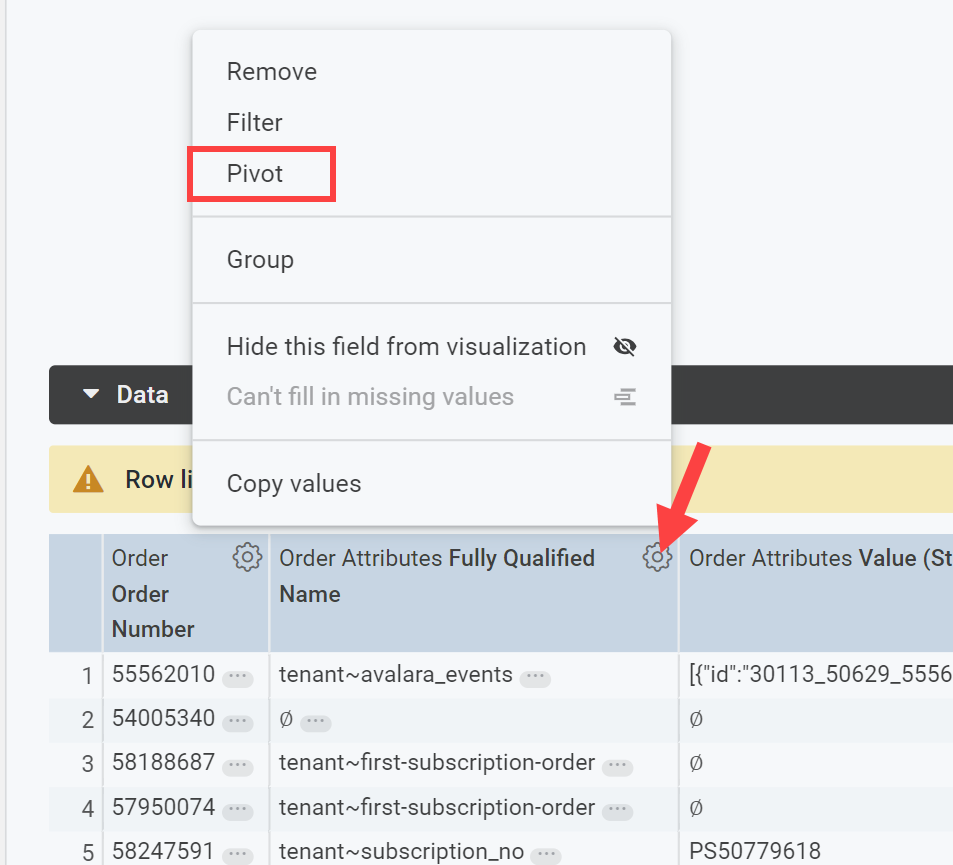
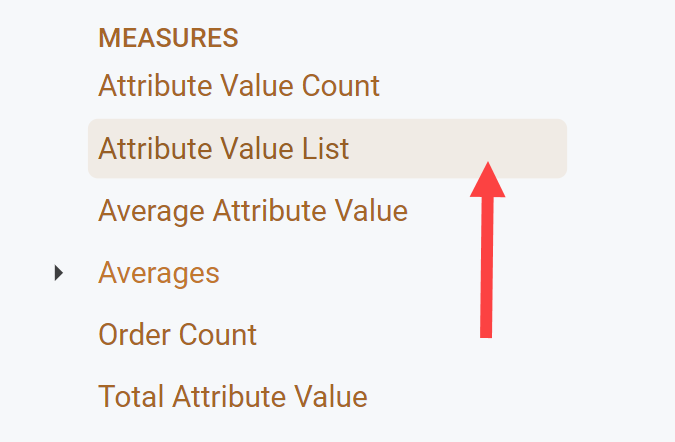
- In the Order Attributes fields on the left, click Attribute Value List from the Measures.
- Expand the settings icon on the the Value (String) column, or whatever data type you selected, and click Remove. This value column is not necessary because the Attribute Value List will display all values.
- Click Run to see the reformatted data table.
Update the Time Zone
All reports default to US Central Time (CST, or “America – Chicago”) to perform date comparisons.- Expand the options menu in the top right.
- Click Viewer time zone.

- Select a time zone from the pop-up that appears.
- Click Reload in the top right to update the report based on the new date comparison.\

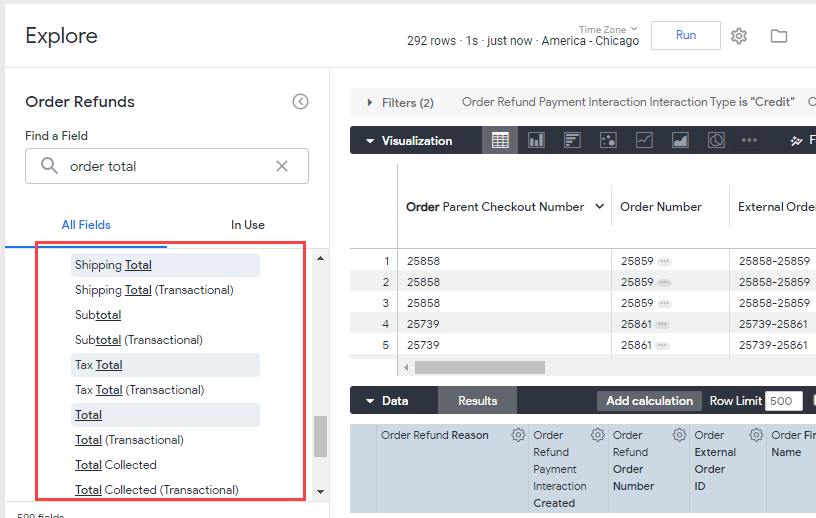
Reporting Currencies
Standard out-of-the-box reports and dashboards display all values in USD by default, and will convert any non-USD values when ingesting that data into the report. This conversion uses the exchange rate of the date that the originating event occurred (usually when the order was placed), as exchange rates are updated on a daily basis. If you want your standard reports and dashboards to use a non-USD currency, you can have your default set to a different currency during the implementation process. Kibo recommends making this change during implementation rather than after it goes live, as this will not convert any historical reporting data to the new currency value. Any data that is compiled by reports after the setting change will be in the new currency and any data compiled before the change will remain in USD. Alternatively, you can create custom reports based on “transactional” data fields instead. These fields will display values in their original currency without conversion, matching the order and shipment details in the Admin and Fulfiller UIs and API data. You can also use these fields to perform your own conversions if desired.