

2FA and OTP Authentication
You can trigger these authentication features on your storefront wherever you choose to in the buying journey—such as when the customer is creating an account, logging into their account, or immediately before checkout.- Two-Factor Authentication (2FA): This emails a 6-digit code to the customer after they attempt to log in with their username and password. This can be triggered upon every login, when a new device fingerprint is detected, or when they are accessing your site from a different region than their previous visit. This can also be triggered upon sign up.
- One-Time Password (OTP): This is an alternative login method that sends a temporary password to the customer as a 6-digit code. This may be useful during account signup to ensure that only users with valid email addresses can register for an account.
Enable Authentication Options
Before integrating these functions into your storefront, enable them in your site settings:- Go to System > Settings > General > Storefront.
- Scroll down to the the Customer Login Settings section.
- Enable 2FA and/or OTP options depending on how you want to authenticate customers.

- Always Require Two-Factor Authentication: Triggers 2FA on every login attempt or signup attempt. If enabled, the Fingerprint Change and Region Change options will be disabled.
- Two-Factor Authentication on Fingerprint Change: Triggers 2FA when a login attempt is made from a new or unverified device fingerprint, including if there is no pre-existing device fingerprint to compare against. This can be enabled alongside Requires 2FA on Region Change.
- Two-Factor Authentication on Region Change: Triggers 2FA when a login attempt is detected from a different geographic region than the last validated region. This can be enabled alongside Requires 2FA on Fingerprint Change.
- Allow Login using Email OTP: Allows customers to request an email with a one-time password to log in with. This can be enabled alongside any 2FA settings.
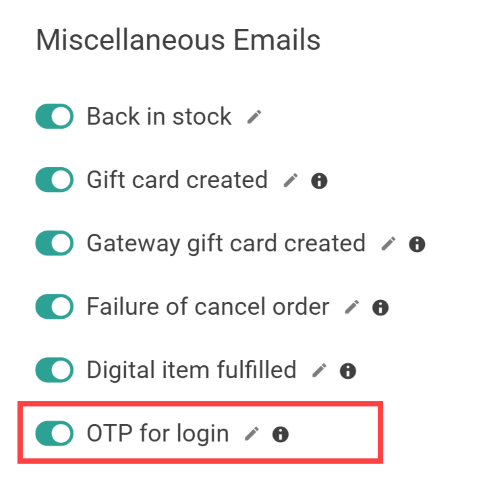
- Click the Emails tab and then toggle on OTP for login under Miscellaneous Emails.
- Subscribe to the Email Requested application event (in the Email category) in order to trigger your own communications if you prefer not to use Kibo’s emails.
- Click Save.
Call OTP from the Storefront
To implement OTP in your storefront:-
Provide a button or link on your storefront for the customer to request a code, which calls the Generate OTP Code endpoint (POST
.../api/commerce/customer/authtickets/otp/request). -
Include their User ID and email in the request body as shown below, as well as their device fingerprint and/or region. The email should generally be the address that the customer entered in the username field, or the address associated with their account if the username is not a valid address.
-
Once the customer enters a code on your storefront, call the Validate OTP endpoint (POST
.../api/commerce/customer/authtickets/otp/auth) with the below IDs and entered code value. -
A successful validation will return a 200 OK response with
"requires2fa" = falseand a new auth token, allowing the customer to proceed. A 401 Unauthorized error with"requires2fa" = trueinstead indicates that the code was invalid and they should try again.
Call 2FA from the Storefront
To implement 2FA on your storefront:-
When the user attempts to log in, call the Create User Auth Ticket API and provide the region and/or device fingerprint that you obtain from the user’s device.
-
The system will verify the region and/or device fingerprint against their previously validated records and update the user claims to indicate whether the
requires2faflag is true or false. Check these user claims after making the request to determine your next step. -
If 2FA is required, call the Generate 2FA Code endpoint (POST
.../api/commerce/customer/authtickets/2fa/request) and provide the customer’s User ID in the request body. The email with a code will be sent to the address associated with their account. -
Once the customer enters a code on your storefront, call the Validate 2FA and Create Auth Ticket endpoint (POST
.../api/commerce/customer/authtickets/2fa/auth). Provide the User ID and code that they entered in the request body. -
A successful validation will return a 200 OK response with
"requires2fa" = falseand a new auth token, allowing the customer to proceed. A 401 Unauthorized error with"requires2fa" = trueinstead indicates that the code was invalid and they should try again.
Bypass 2FA
The embedded ARC action allows dynamic control over 2FA requirements and can be used to bypass Two-Factor Authentication (2FA) flows during customer sign-up and sign-in processes.Reset Shopper Passwords
If a customer has forgotten their password or having other issues logging in, you can reset it from the Admin UI. Bear in mind that only registered shopper accounts have passwords; guest accounts cannot log in.- Go to Main > Customers > Customers.
- Browse or search for the account you want to reset the password for.
- Select the account.
- Click Reset Password next to the Account Status value.
- Confirm.
Disable Shopper Access
If needed, you can fully disable a customer’s access to their account. Keep in mind that you can only disable registered shopper accounts; guest accounts cannot log in. Furthermore, disabling an account only prevents the shopper from logging in with the email address associated with the account. It does not prevent that individual from registering for another account with a different address.- Go to Main > Customers > Customers.
- Browse or search for the shopper account you want to disable.
- Select the account.
- Select the Disable Account checkbox below the User Name field.
- Click Save.
Unlock Locked Accounts
If a shopper tries and fails to log in too many times, the account may become locked. To unlock it:- Go to Main > Customers > Customers.
- Browse or search for the shopper account you want to reset the password for.
- Select the account.
- Click Unlock Account next to the Account Status value.
- Confirm.