Use Cases
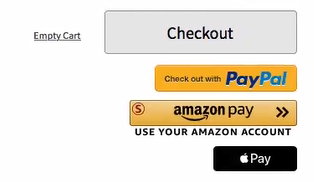
If you want to use a payment gateway that is not currently supported, create an app in the Kibo Dev Center, configure it as a payment gateway, and install that app to your tenant. Note that multiple instances of a gateway on the same site can be set up with different credentials. Both third-party gateways (e.g., PayPal and Pay With Amazon) and digital wallets (e.g., Apple Pay and Visa Checkout) are extensible but have important distinctions. Digital wallets store card information that they send to an external gateway for processing. Third-party gateways can function as a wallet but can also process the payment details themselves. For instance, PayPal can store card information and either process a payment or send it to Cybersource. These configurations can be tied together in the Payment Types settings menu.Set Up a Payment Gateway Connector
It is recommended to contact your Kibo enablement team to discuss your gateway needs before starting to create a new gateway. You will follow the below process:- Create an app in the Kibo Dev Center
- Configure your app as a gateway adapter
- Test the adapter
- Submit your app for certification
- Install your gateway adapter app
- Enable the gateway in your tenant
Create an App in the Kibo Dev Center
Creating an app in the Kibo Dev Center includes implementing custom endpoints that can be called from your storefront theme. For detailed instructions on forking the template and setting up the app, see the Payment Extensibility Starter Kit. Kibo can assist you and provide more information as needed.Configure Your App as a Gateway Adapter
Once you’ve created an Apple Pay gateway, configure the application as a payment gateway adapter:- In the Kibo Dev Center, select your account under the Developer Accounts list.
- Select Develop > Applications.
- Enter your application’s name in the search bar.
- Select the settings icon under the Actions column for your app.
- Click Edit.
- On the left hand side, select Packages > Capabilities.
- Click Add Capability.
- Select Payment Gateway Adapter from the drop down menu.
-
Click Ok. This displays the Configure Payment Gateway Adapter screen.
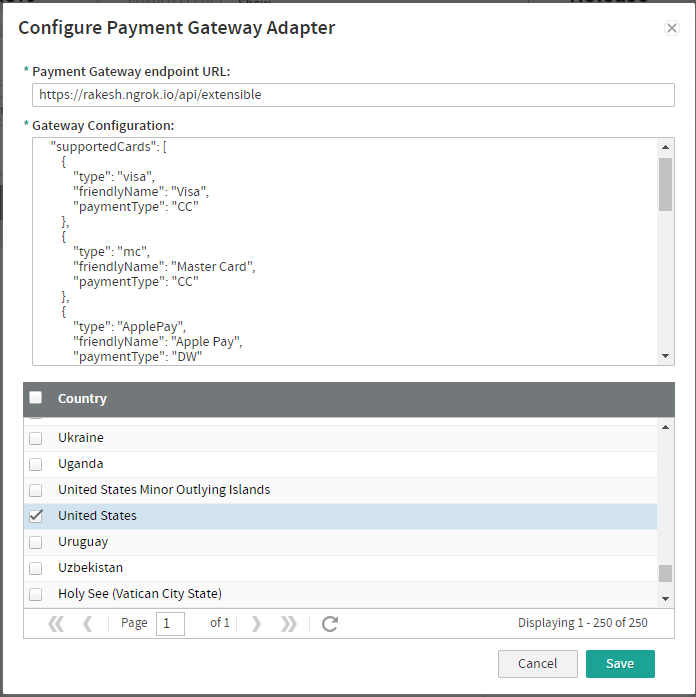
supportsGiftcardandschemaVersionfields to your gateway configuration after the administrationUi section as in the following example:ThesupportsGiftcardfield must be set to true, and theschemaVersionfield must be set to 1.0. - On the Configure Payment Gateway Adapter screen, enter your Payment Gateway endpoint URL. This field is used for payment gateway testing only. It indicates the endpoint for the payment gateway processor.
- In the Gateway Configuration field, a template is displayed for you to enter configurations for your payment gateway in JSON format.
-
Depending on what kind on payments your connector can process, you need to use the following configuration.
- Set
paymentTypefield (supportedCards.paymentType) to one of the below values based on payment type.- CreditCards: “CC’
- DigitalWallets: “DW”
- ThirdPartyPayments: “3P”
- Populate the features collection with at least one of the below values:
- “CreditCards”
- “DigitalWallets”
- “ThirdPartyPayments”
- Here’s an example:
- When setting administration UI fields for connector, use the
xtypefield to configure the type of field you want to display in the admin:- “textfield”
- “password”
- “dropdown”
- “radio”
- “email”
- “date”
- “checkbox”
- “number”
- Set
- Select the countries whose payments you want this payment gateway to process.
Test the Adapter
When complete, give the Kibo team access to your repo with the new gateway. Kibo will then set up a hosted development version of the gateway for you to test and sign off on.Submit Your App for Certification
If you are deploying this app to a production tenant, it must be certified. Certification ensures that your payment gateway app is PCI compliant, secure, and that it does not retain or leak any PCI data. Once you have tested the adapter, provide Kibo with the Application ID and Development account of the gateway application. Kibo Engineering will review the adapter and perform a PCI audit. This process usually takes about four weeks. Although the Dev Center includes a submission button at More > Submit for Certification, you do NOT have to perform this action if you have worked with Kibo enablement to set up and test the adapter.Install Your Gateway Adapter App
Once certified, the application can be installed on a production tenant. To install a gateway adapter from Dev Center:- In the Dev Center Console, select Develop > Applications.
- Search for your Application.
- Under the Actions column, select the settings icon.
- Select Edit.
- Select Install.
- Select your sandbox from the list.
- Select OK.
Enable the Gateway in Your Tenant
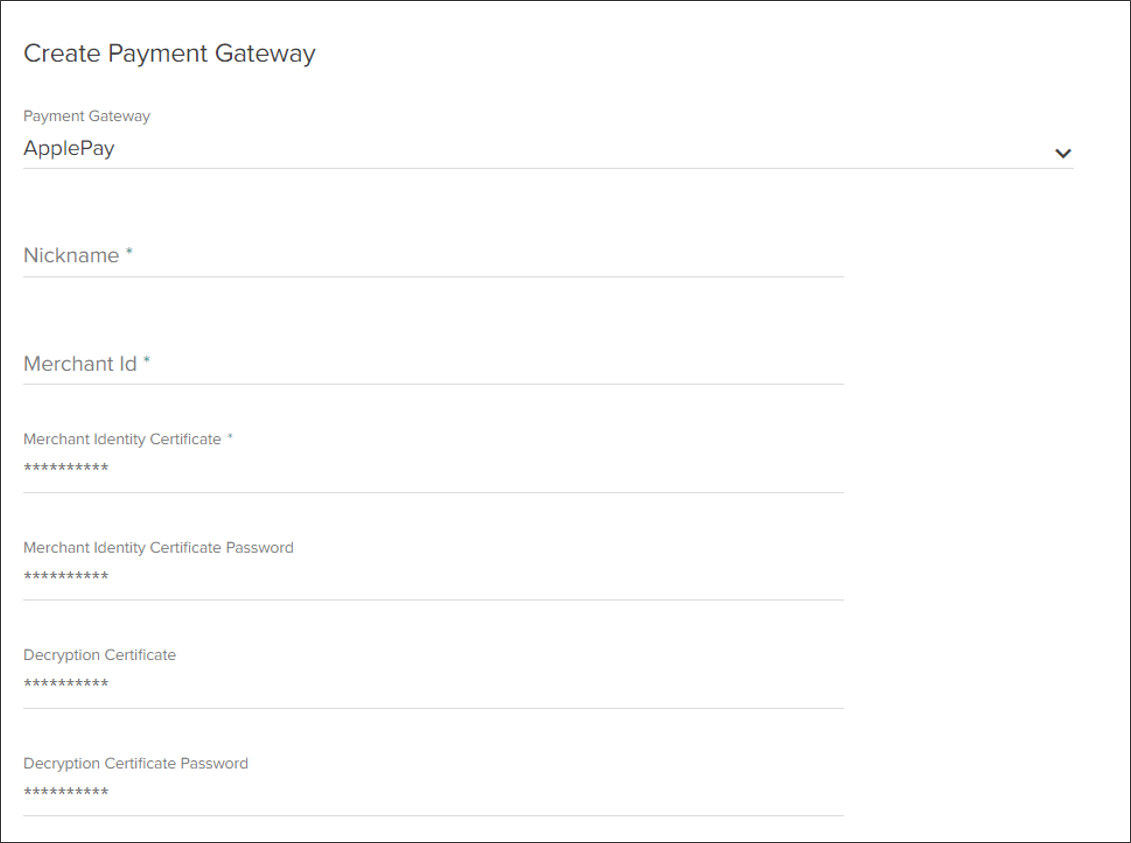
Once you’ve successfully created and installed your payment gateway adapter in your tenant, you need to enable that payment gateway in your tenant’s admin UI:- In the Admin UI, go to System > Settings > Payment Gateways.
- Select Create New Payment Gateway.
- In the Payment Gateway drop-down menu, select your app to enable it as a payment gateway.
Edit an Existing Gateway
Once a gateway has been created, you can always go back and edit it by clicking on it in the Payment Gateways menu.Configure Payment Types for Gateways
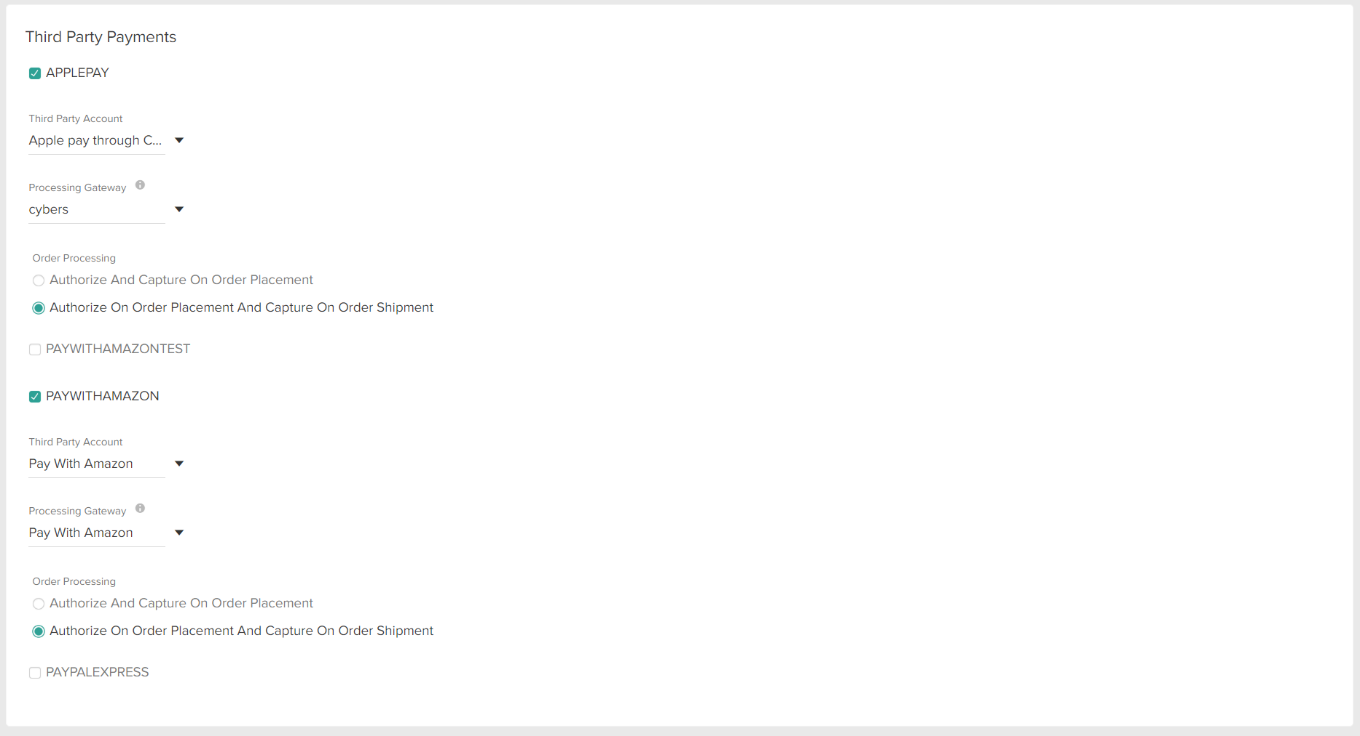
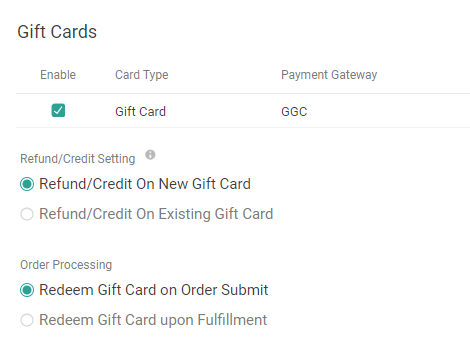
Go to the Payment Types settings menu of the site to configure payments types and processes relevant to the new gateways, particularly for third-party payments and gift cards. This is where “third party accounts” and “processing gateways” are defined, with the former being where the card information comes from and the latter being the service processing the payment. The processing gateway may be an optional field, depending on whether the account is acting as digital wallet or third party payment. If you are using Kount or Decision Manager for fraud management, then an update to the fraud cartridge will be required so that it can recognize the new payment type. This update must be performed by Kibo. Submit a Kibo Support ticket with information about the payment type whenever you implement a new third party gateway that will send payments to Kount or Decision Manager. This is also where you can specify when to capture the payment: either on order placement or shipment.