


Prerequisites
You must have the following accounts:- Kibo Commerce Account
- Contentstack Account
Install the App
For installation instructions, email the Contentstack support team and request access to the Kibo Commerce Contentstack integration source code.Configure the Integration
The following sections of this guide will walk through the different steps that must be performed to create a Kibo Commerce custom field extension:- Retrieve your Kibo Commerce App API credentials.
- Add the Kibo Commerce custom field extension to your account.
- Use the custom field.
- Add products in the custom field.
Retrieve API Credentials
To obtain your Kibo API credentials:- Log in to your Kibo Commerce Dev Center.
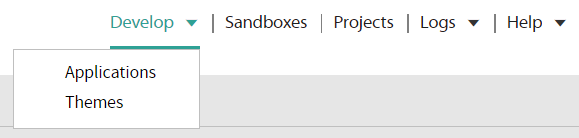
- Click Develop > Applications.
- Select an existing application or create an application for your sandbox or production environment.
- Click Create Application on the top right corner.

- Enter a Name and Application ID.
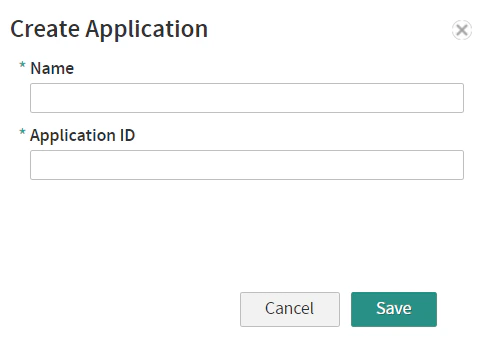
- Click Save.
- Copy the Application ID and Shared Secret to use later in your application.

Add the Custom Field Extension
The root folder of the source code that you get from the support team contains a redirect HTML file.- Upload this file as an asset in Contentstack by following steps mentioned in the Create/Upload asset article.
- After uploading the file, you’ll get a URL in the asset details section, make note of this URL.
- Log in to your Contentstack account.
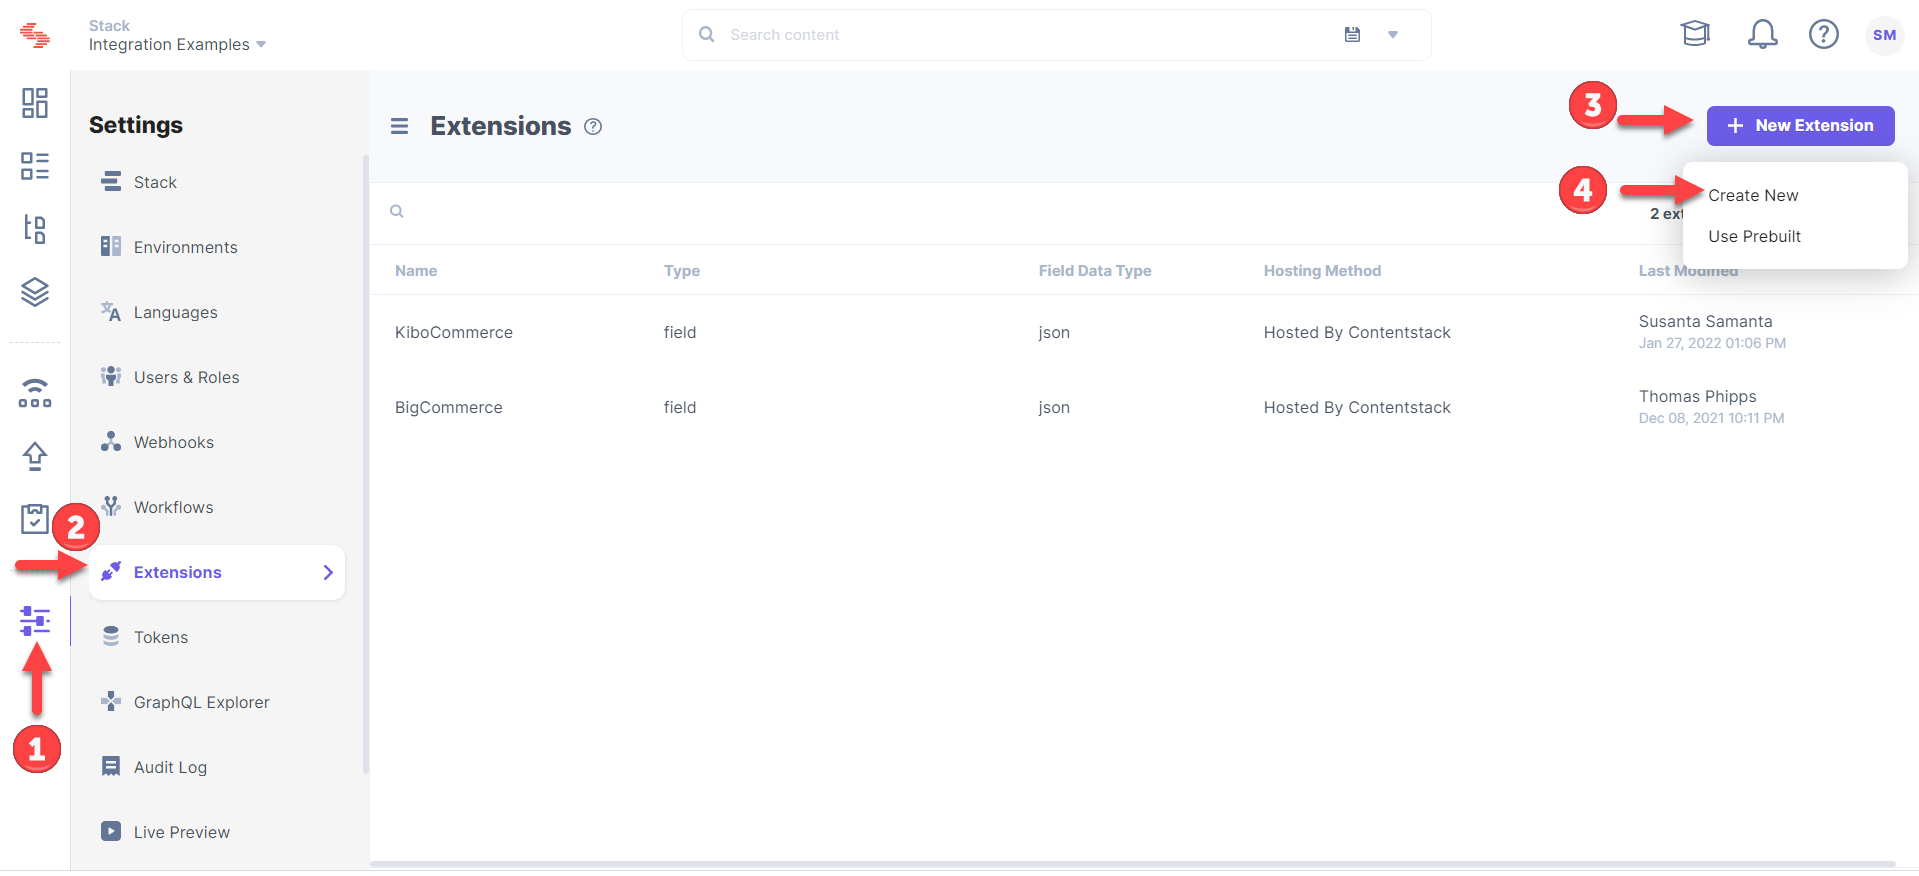
- Click the Settings icon on the left navigation panel.
- Select Extensions.
- Click + New Extension in the top right, then Create New.
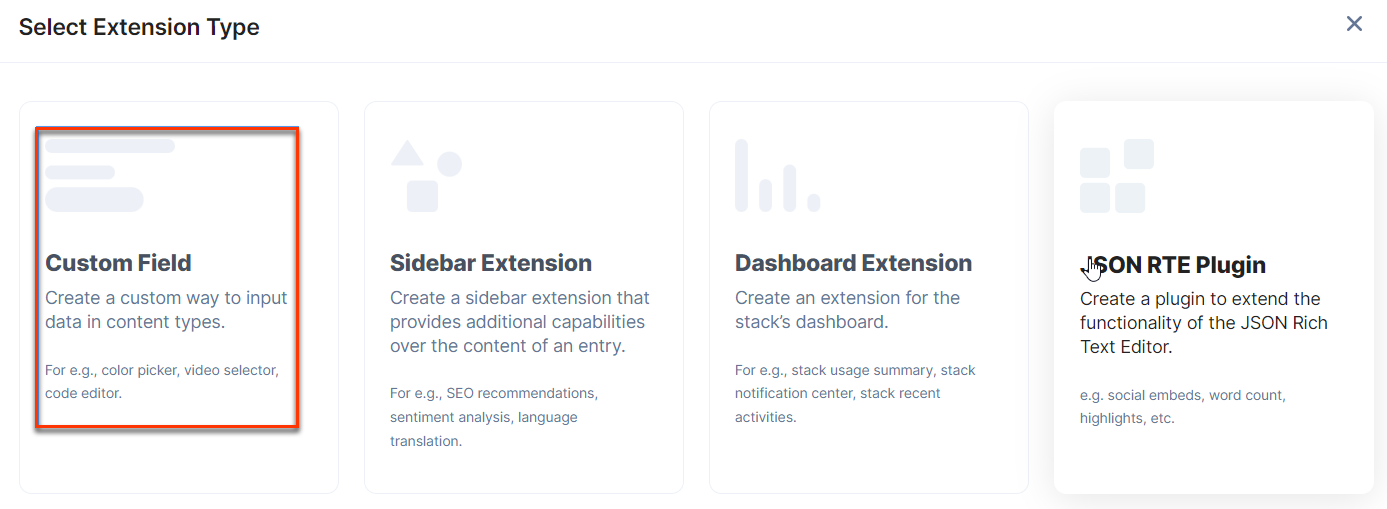
- In the Select Extension Type window, select Custom Field.
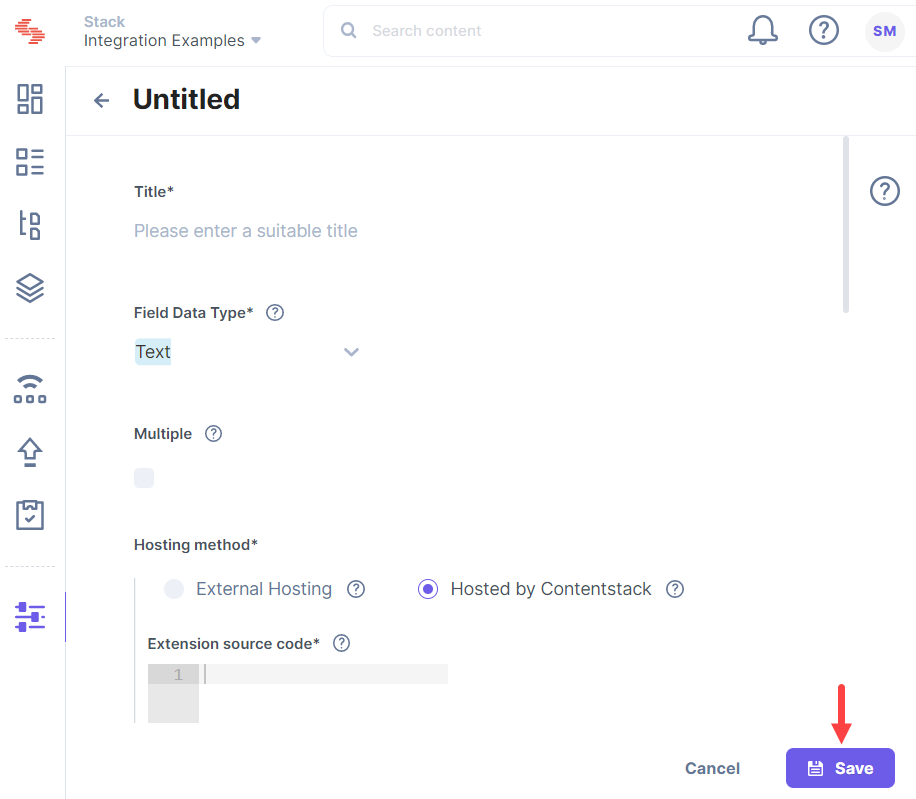
- On the Create New Extension page, enter the following values.
- Title (Required): Enter a title such as “Kibo Commerce” for your custom field.
- Field Data Type (Required): Select “JSON” as the data type in which the field input will be saved in Contentstack.
- Multiple (Optional): Leave this field unchecked.
- Hosting Method (Required): Select “Hosted by Contentstack” for this content type.
- Extension Source Code: Specify the extension code here. Copy the source code from the index.html file located in the root folder that you get from our Support team and paste it into the Extension source code field.
- Set up the Configuration Parameter such as in the below example:
These parameters are:
- apiHost**:** Host of your Kibo API environment.
- authHost: Host for Kibo API authentication, either a production (https://t00000.tp0.mozu.com) or sandbox (https://t00000.sandbox.mozu.com) environment. Replace the numeric placeholders with your Tenant ID and production pod.
- applicationId: The Application ID found in your Developer Console.
- sharedSecret: The Application Secret found in your Developer Console.
- type: The Kibo Data Object being fetched (which should be a product).
- pageCount: The number of items that the API will return for each page of your query (default is 10).
- redirectUrl: The URL to redirect.
- Click Save.
Use the Custom Field
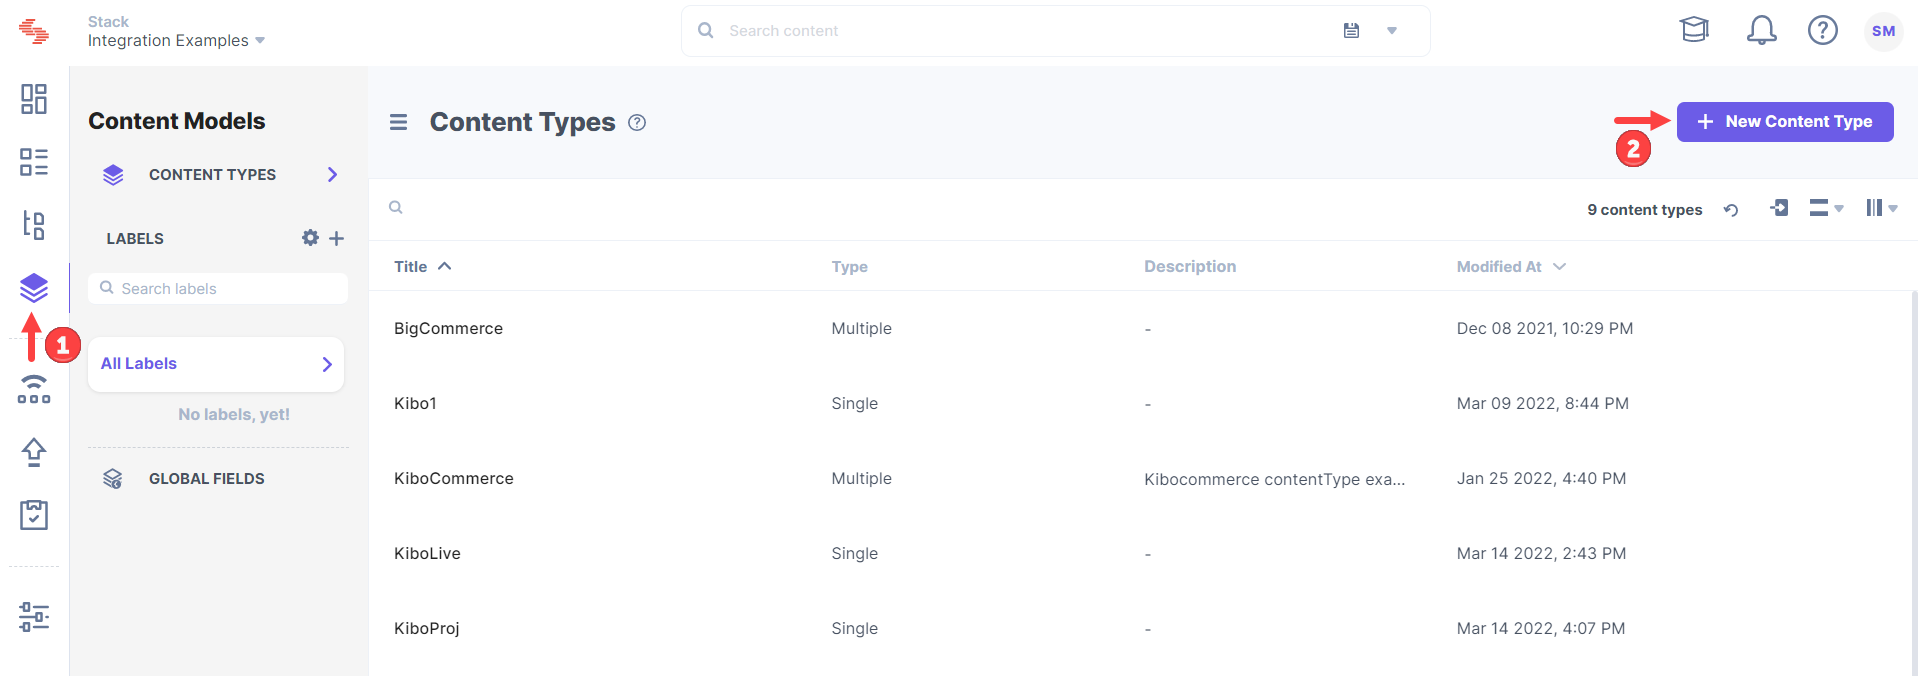
Once you have added a custom field, you can use it in your content type.- Click the Content Models icon on the left navigation panel.
- Click + New Content Type in the top right.
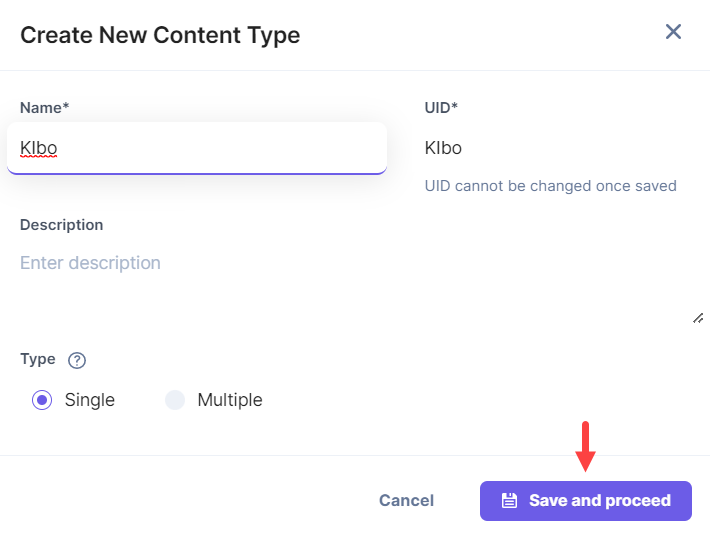
- Enter a Name, UID, and then click Save and proceed.
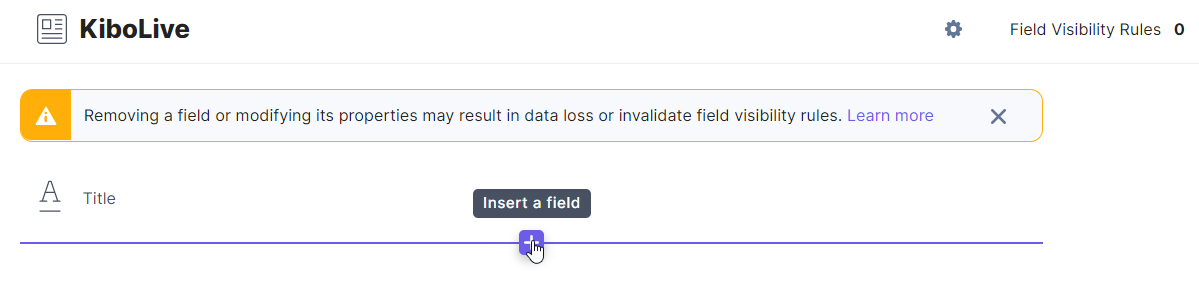
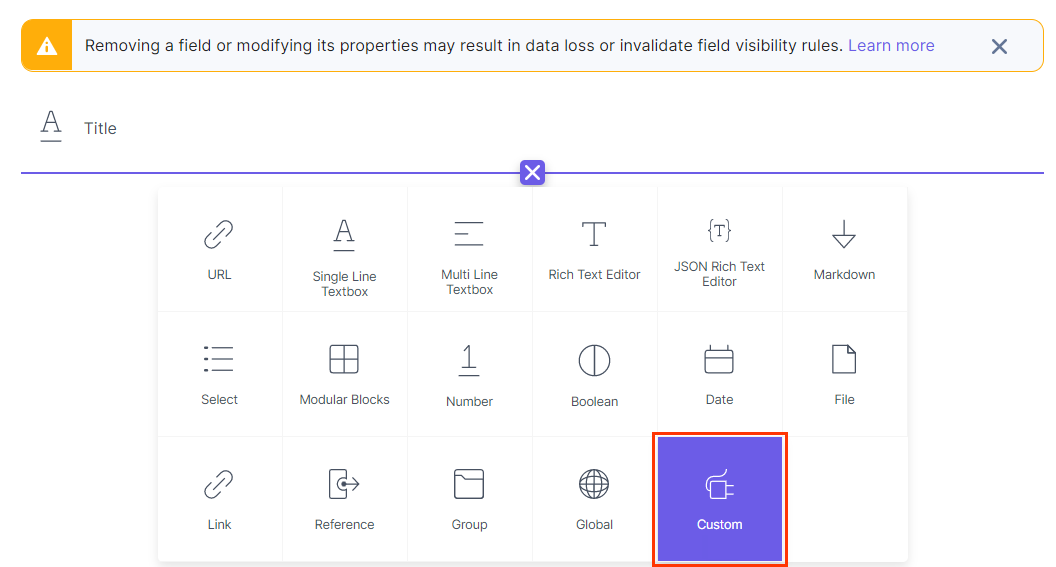
- Click Insert a field link (the + sign) and add the Custom field to it.
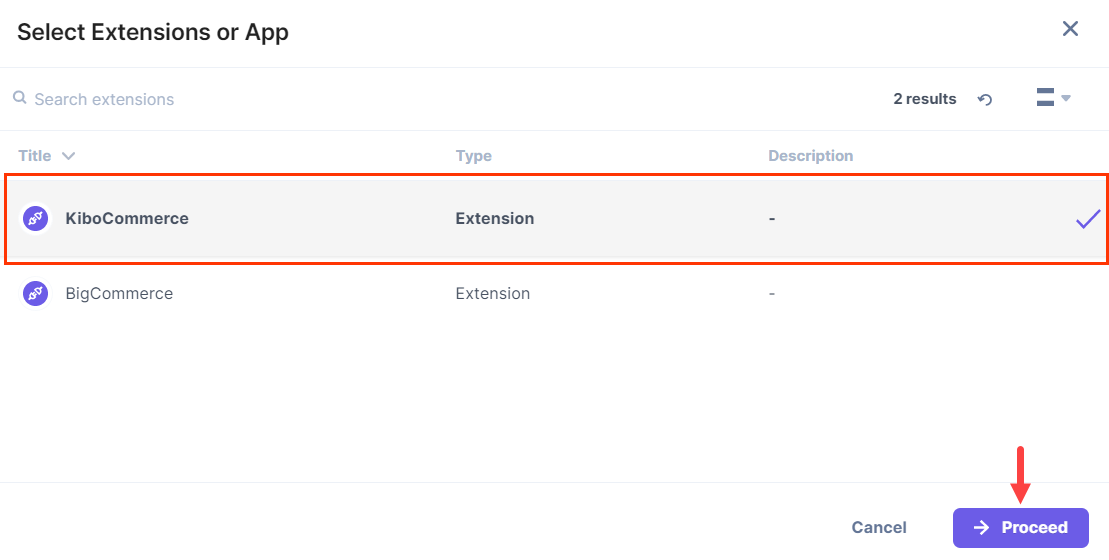
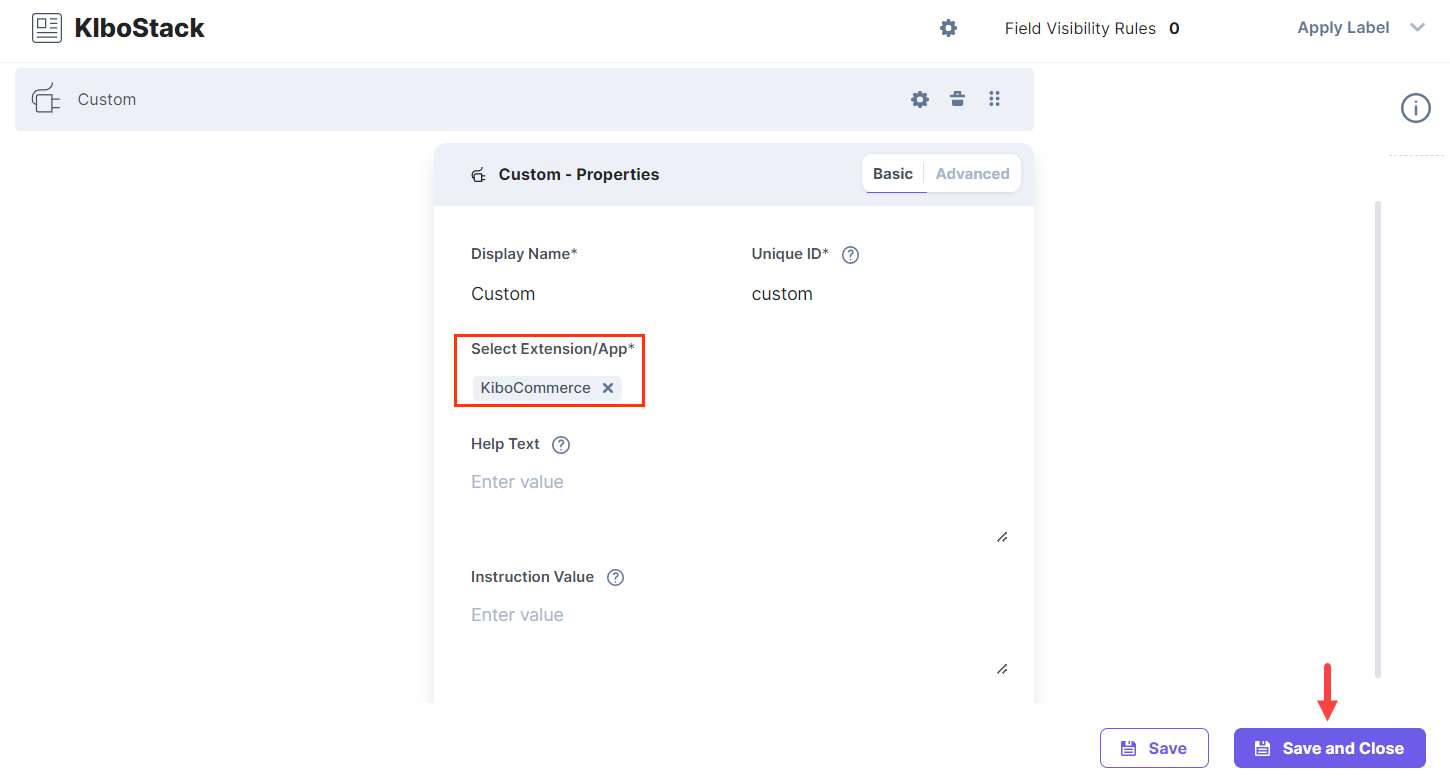
- Click Select Extension/App from the drop-down menu in Basic properties.
- Check the KiboCommerce extension field that you created and click Proceed.
- Click Save and Close.
- Create an entry for this content type and you will see the Kibo Commerce custom field.
Add Products in the Custom Field
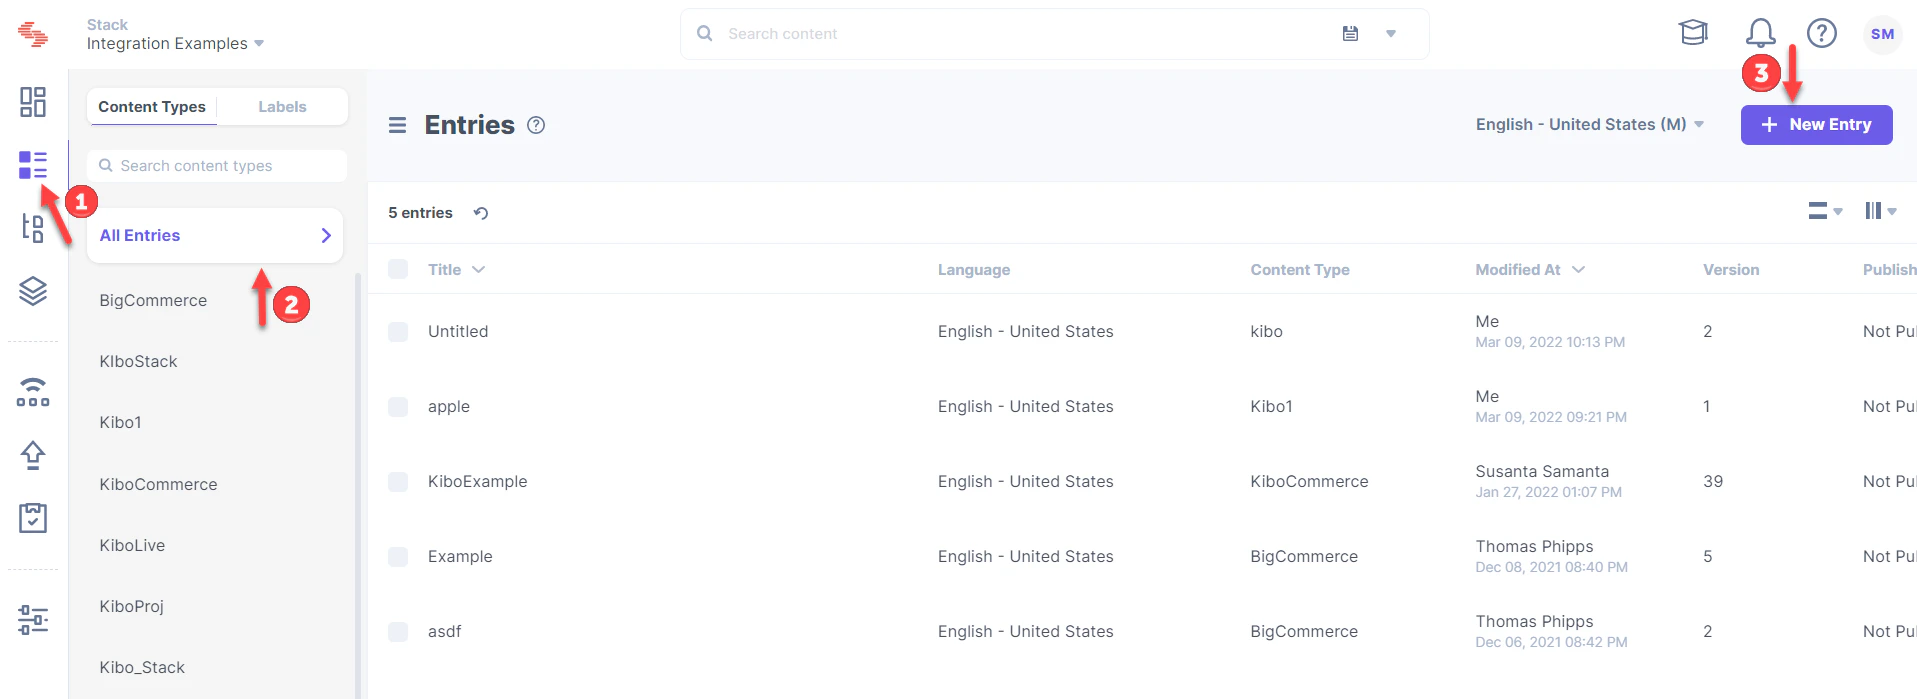
To add products to the custom field:- Click the Entities icon on the left navigation panel.
- Click All Entries and then + New Entry in the top right.
- Select the custom field and click Proceed.

- Select the corresponding Add Products to either add single or multiple products.
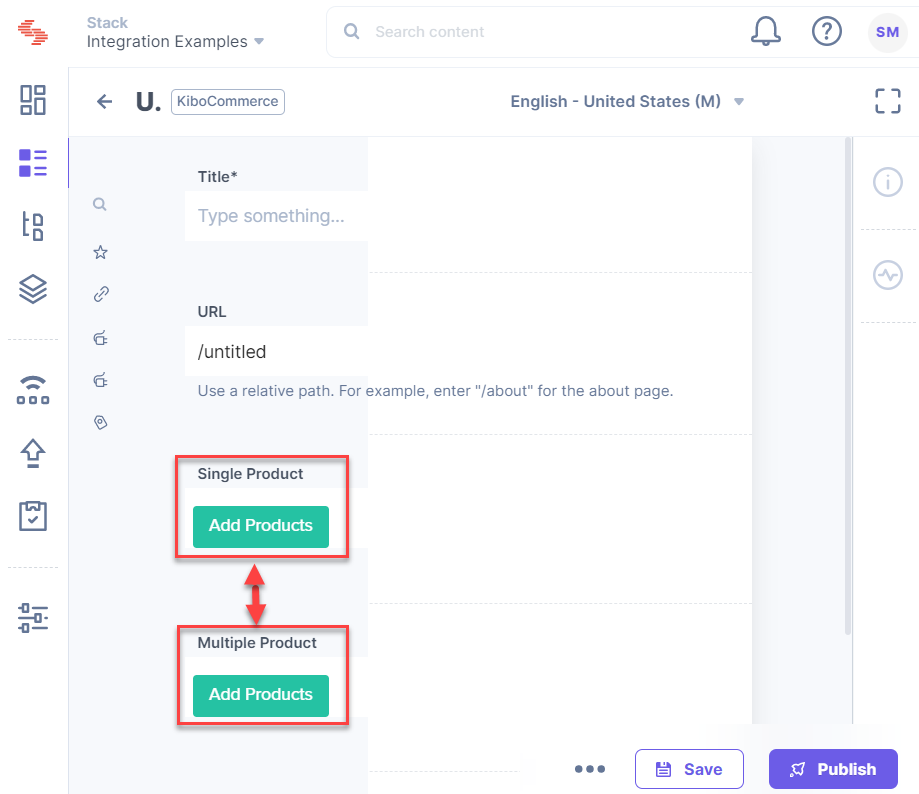
- Click Add Products to go to the KiboCommerce Extension window.
- Use the search bar at the top to search for the product of your choice.
- Select one or more products and click Add Product(s).

- Click Save.
