

Watch: Vendor Onboarding & Operator Approval
See the four-step vendor onboarding process and the operator review and approval workflow
Access the Vendor Module
- Sign in to Kibo Admin.
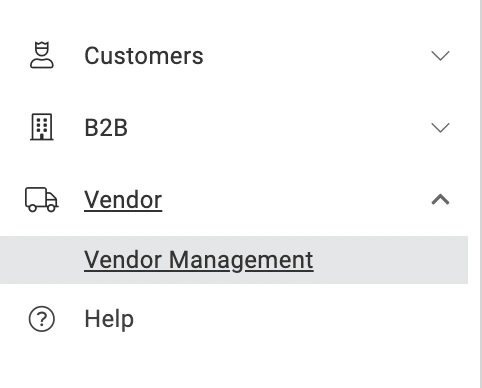
- In the left navigation, expand Vendor and click Vendor Management.
Vendor Listing
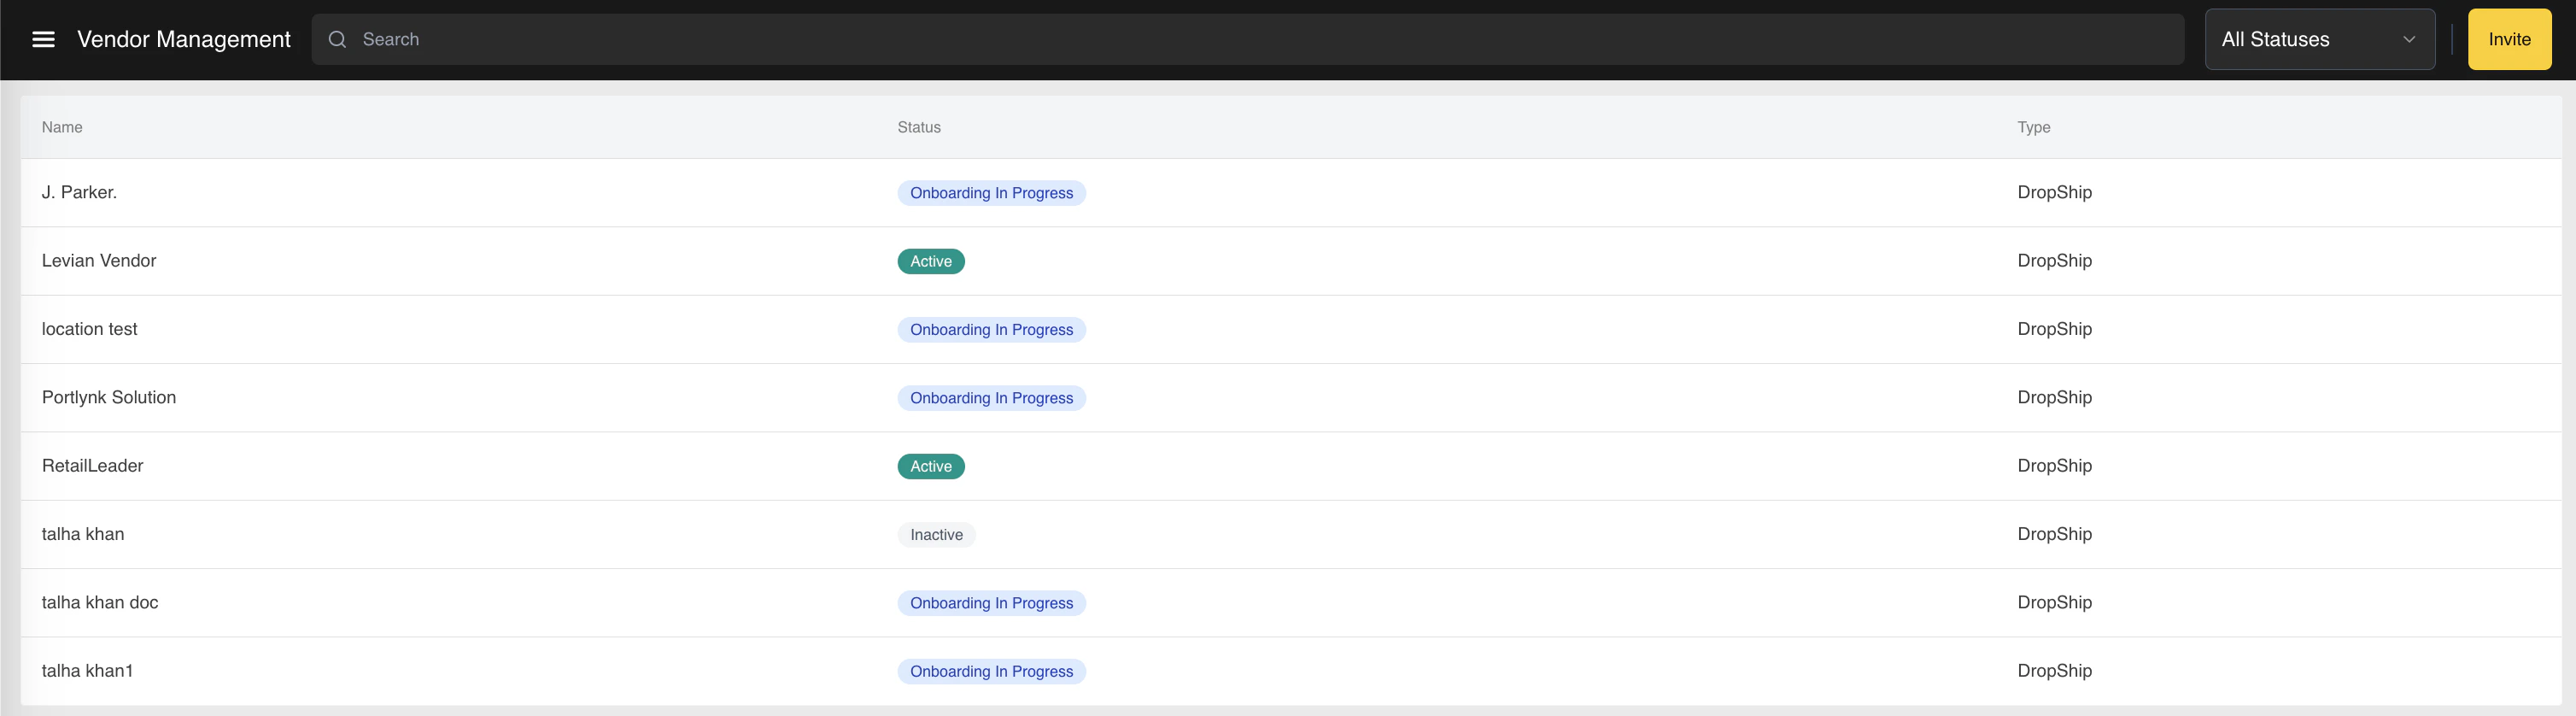
The Vendor Management page displays all vendors registered to the tenant. For a first-time user the listing is blank. Each row in the table shows:- Name — the vendor’s display name.
- Status — one of:
- Onboarding In Progress — the vendor has been invited (or has registered) but is not yet active.
- Active — the vendor has met activation requirements and orders can be routed to them.
- Inactive — the operator has turned the vendor off; they will not receive new orders.
- Type — the vendor’s classification. Currently restricted to Dropship.
Invite a New Vendor
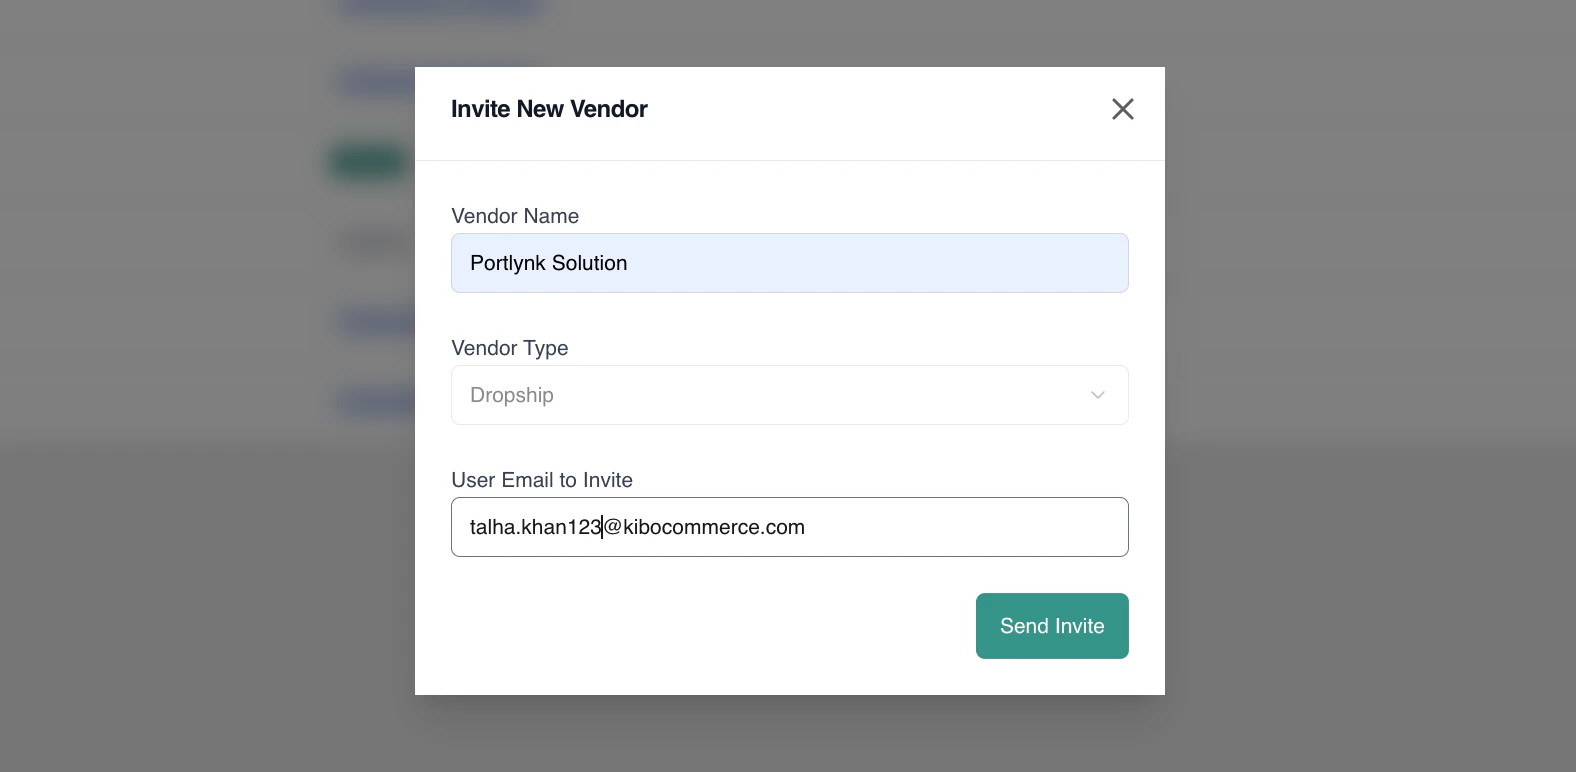
- Click Invite in the top-right corner of the Vendor Management page.
- Fill in the Invite New Vendor popup:
- Vendor Name — the display name for the vendor. Must be unique; a duplicate throws an error.
- Vendor Type — restricted to Dropship.
- User Email to Invite — the email address that will receive the invitation. Must be unique; a duplicate throws an error. This becomes the vendor’s primary admin login on registration.
- Click Send Invite.
Activation requirements: Before the operator can mark a vendor as Active, two conditions must be met: at least one item mapping must exist for the vendor, and the vendor’s Primary Contact must be on record (captured by the vendor in onboarding Step 1).
Review Vendor Documents
The vendor uploads compliance documents during onboarding Step 3 (Business Verification). On the operator side, those documents arrive on the Documents tab of the vendor record for review.- From the Vendor Management listing, click a vendor’s name to open their record.
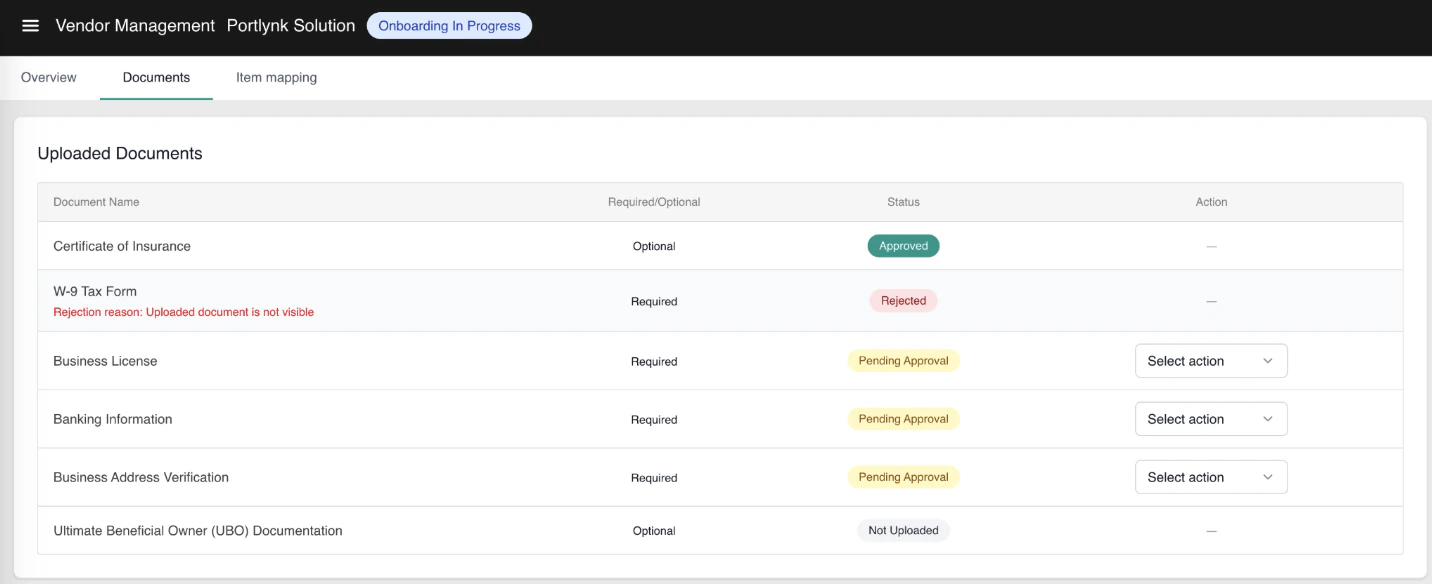
- Click the Documents tab. You will see every document the vendor has uploaded, with its required/optional flag and a status (Pending Approval, Approved, Rejected, or Not Uploaded).
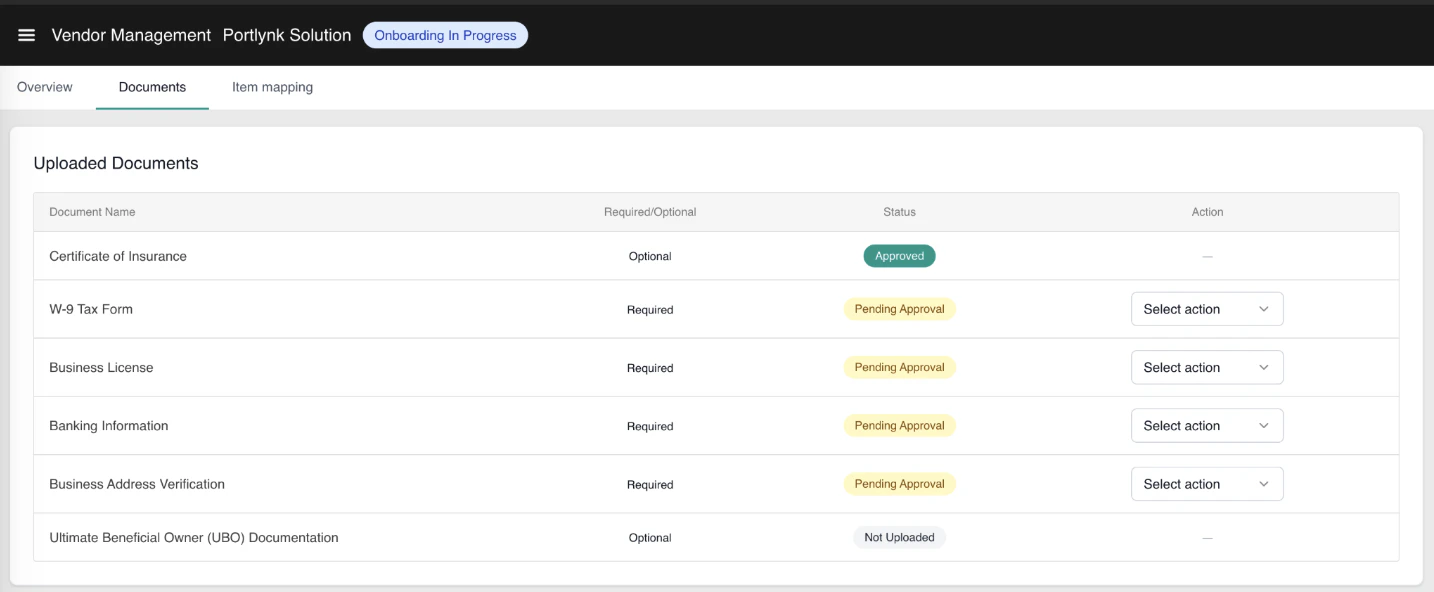
- Open the document by clicking the eye/view icon, then choose an action:
- Approve — marks the document as Approved. No further input required.
- Reject — opens a Reject Document popup. Enter a comment of at least 10 characters explaining the rejection. The reason will be surfaced to the vendor in red on their onboarding screen so they can re-upload.
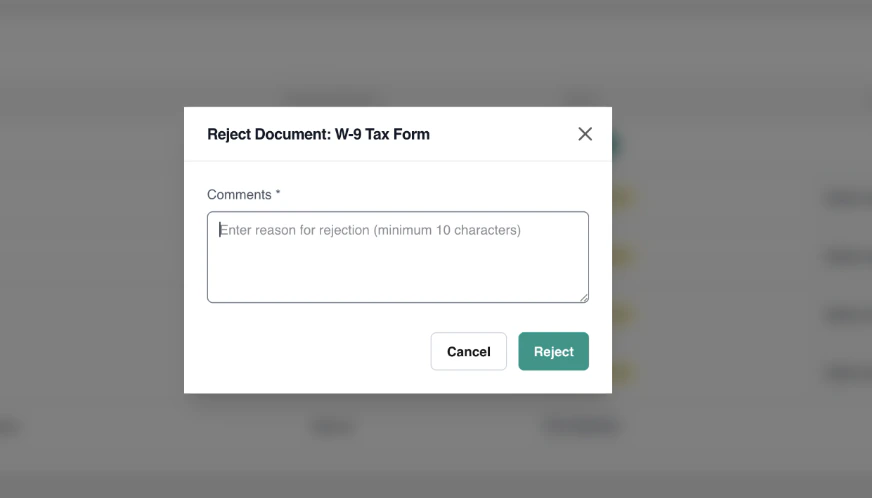
- After rejection the document’s row displays the rejection reason below the document title and the vendor is prompted to re-upload.
Note: The set of documents the vendor sees is configurable on the Operator Portal — operators define which documents are required vs. optional and can customize document titles.
Map Items and Set Contracted Prices
Item mapping links the operator’s catalog products (by UPC) to the vendor’s internal SKUs and captures the contract-level cost the operator will pay the vendor per unit. At least one mapping must exist before a vendor can be marked Active.Note: The vendor catalog needs to already exist within the Kibo system.
- On the vendor record, click the Item Mapping tab. The first time you open this tab the table is empty.
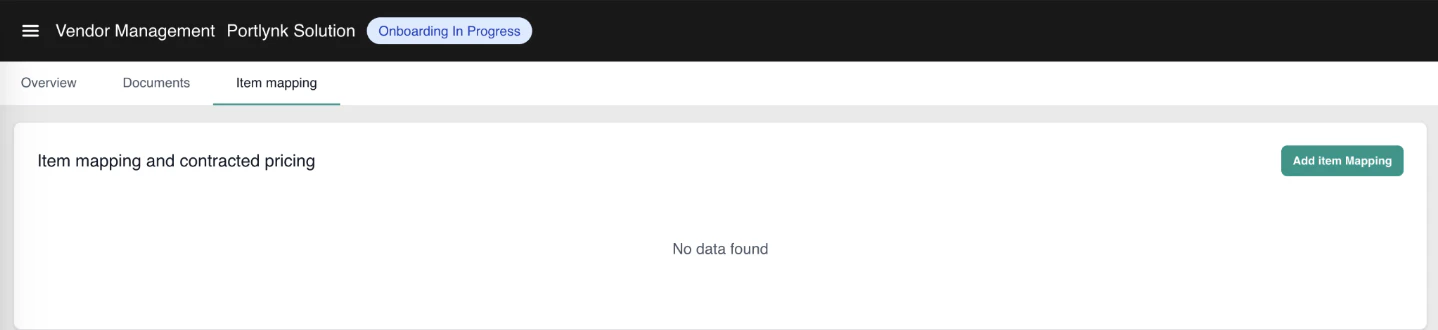
- Click Add Item Mapping in the top-right.
- In the popup, fill in:
- UPC — the operator’s Universal Product Code that identifies the catalog product.
- Vendor SKU — the vendor’s internal stock-keeping unit for the same physical product.
- Contracted Price — the negotiated unit cost the operator will pay the vendor. This is the price displayed on the vendor’s order items and on the resulting invoice — distinct from the storefront selling price the customer sees.
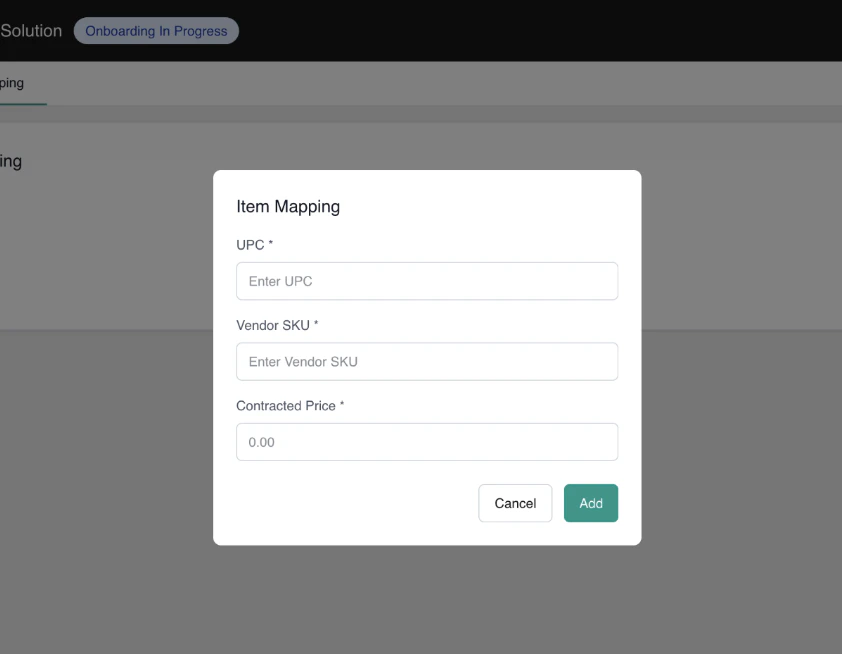
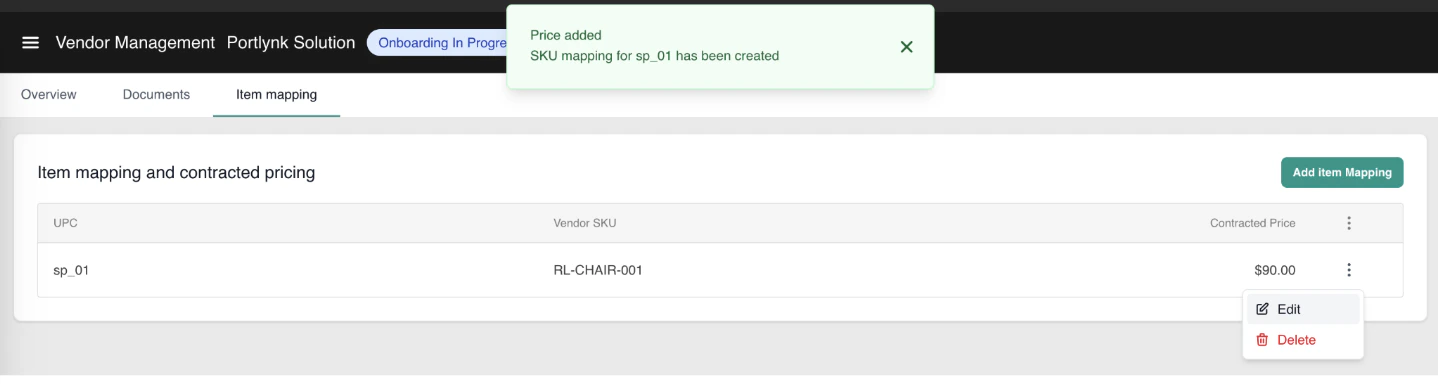
- Click Add to save.
- The mapping appears in the table, showing UPC, Vendor SKU, and Contracted Price. Use the action menu on each row to Edit or Delete an existing mapping.
Map Fulfillment Locations to a Vendor
The Mapped Locations section on the vendor’s Overview tab (below Vendor Settings) is the single place to control where a vendor fulfills from. It lists every location the vendor can fulfill from, with a running count (“Locations this vendor can fulfill from. X mapped.”), showing each location’s Name, Code, Address, and Type. The relationship is bidirectional: locations you map here appear in the vendor’s portal automatically, and locations the vendor creates in their portal appear here automatically — no approval step in either direction.Add a Location
- On the vendor’s Overview tab, find the Mapped Locations section and click + Add Location. [screenshot needed]
- In the Add Location modal, search by name, code, city, or type, or use Select all. Locations already mapped are greyed out and cannot be added twice.
- Select one or more locations and click Add. The mapping takes effect immediately — the locations appear in the table and in the vendor’s portal at once.
Remove a Location
- Click the delete icon on a location row and choose Remove.
- Confirm in the popup.
Activate or Deactivate a Vendor
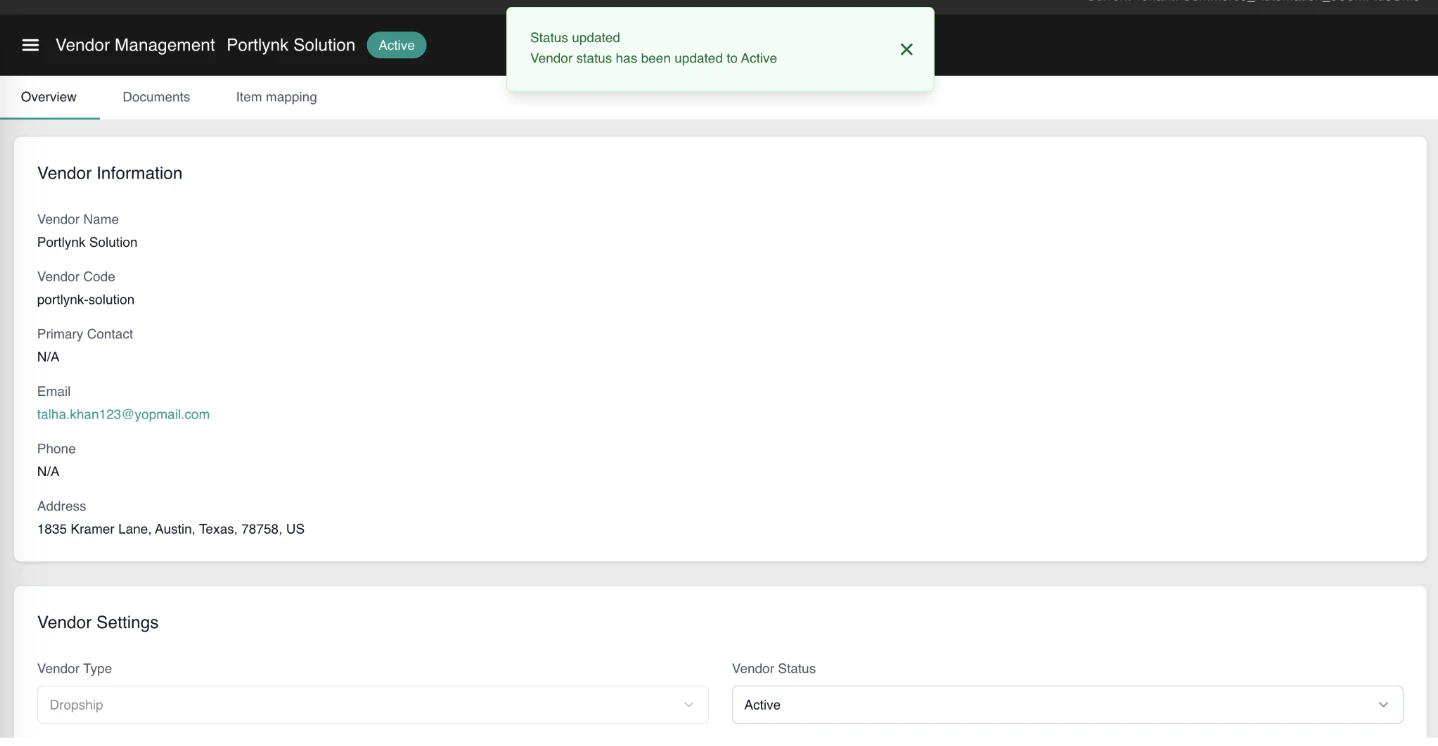
Once at least one item mapping exists and the vendor’s Primary Contact phone number is on file, you can activate the vendor.- On the vendor record, click the Overview tab.
- Scroll to Vendor Settings.
- Change Vendor Status from Onboarding In Progress to Active and confirm. A toast appears confirming the status change, and the status badge in the page header updates to Active.
From this point onward, orders routed to the vendor’s locations will flow through the Dropship fulfillment workflow. To deactivate a vendor, repeat the steps above and set the status to Inactive
Note: The dropship location group with its workflow assignment must also exist before activation, or vendor fulfillment will not route correctly. See Configure Dropship for the platform setup.