

Tree Navigation
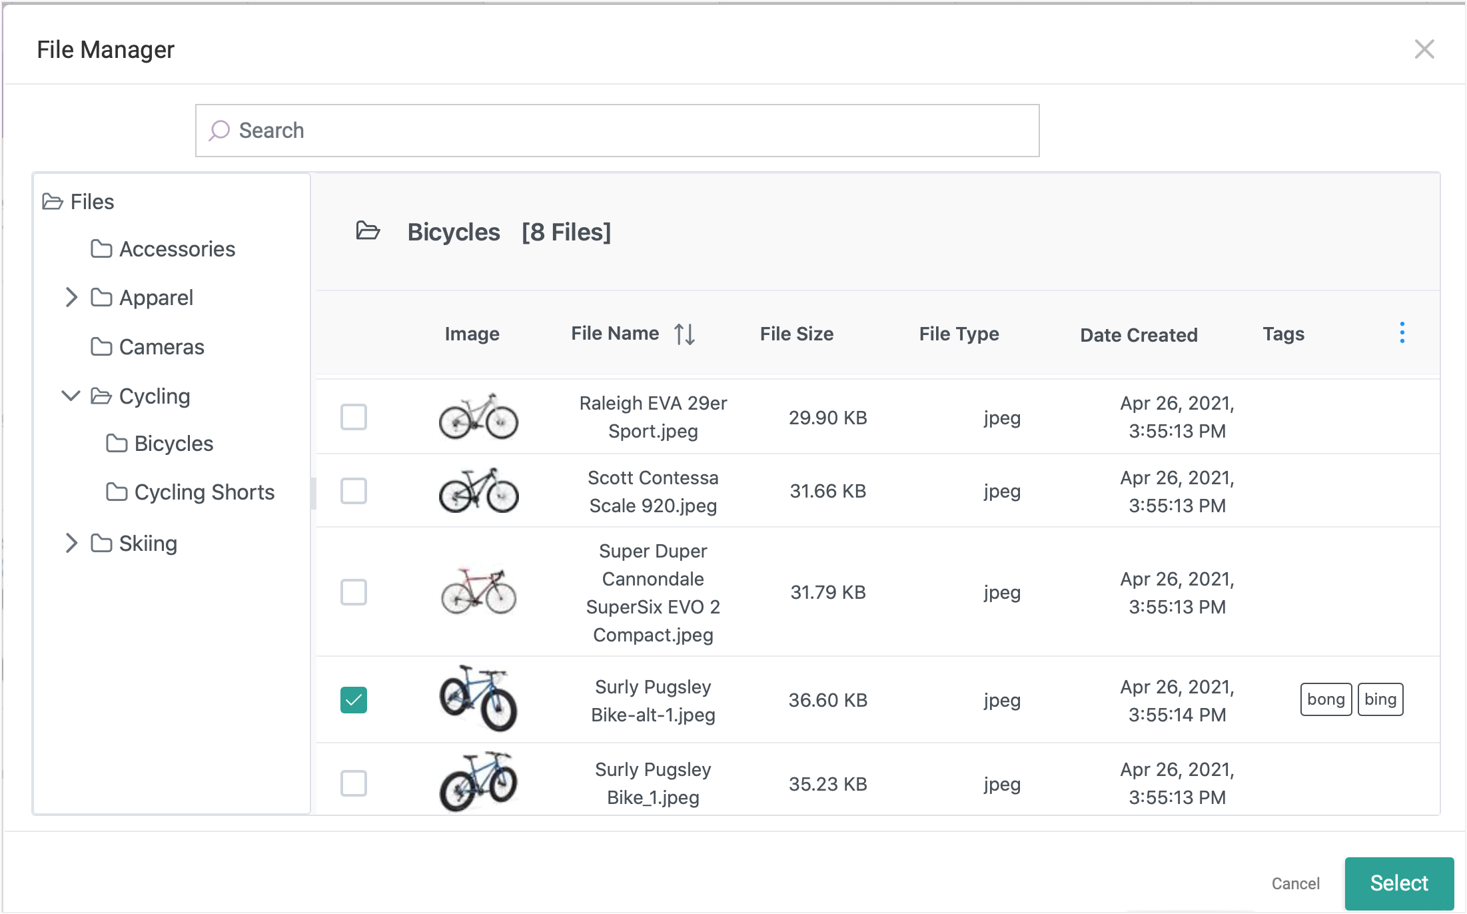
File Manager’s folder structure is a tree hierarchy, which is displayed on the left side of the UI and lists all folders within the master catalog. The current master catalog can be changed in the top header. Each master catalog can maintain a different tree and set of files. Clicking a folder on the left will display its files and information (image icon, date created, name, size, type, and any tags) in the main view of the UI.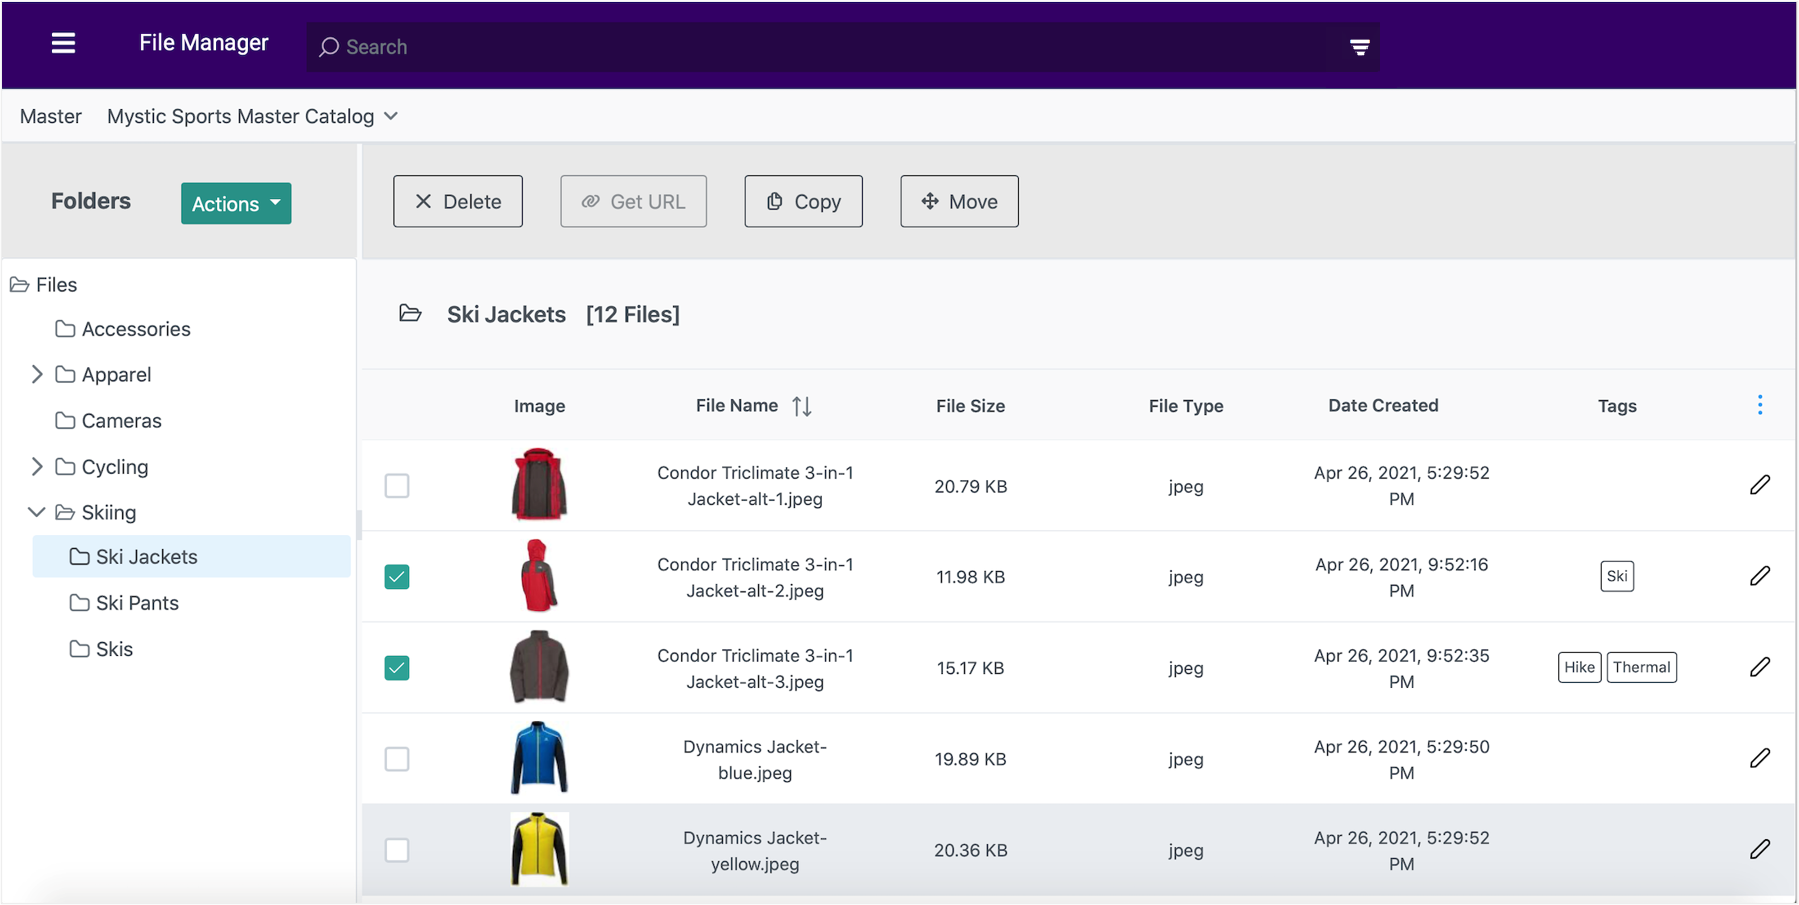
Manage Folders
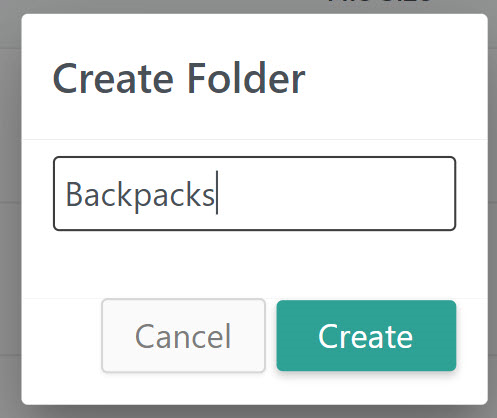
When you have selected a folder in the tree navigation menu, the Actions menu allows you to create a new folder, delete the selected folder, rename the selected folder, move the selected folder, or upload files to that folder. If a folder has not been selected, then the only available actions will be creating a new folder or uploading files to the root Files folder. This Files folder is the ancestor of all other folders you create, and will always exist in your file structure. The only actions that can be taken on Files are Create (to create a new child folder) and Upload (which will store the new files directly under the Files folder). Deleting a folder will delete all images within it.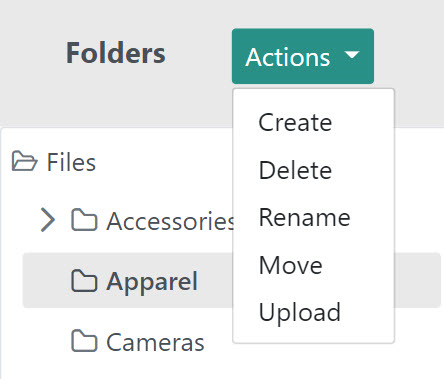
Upload Files
To upload files to a selected folder, click Upload from the folder actions in the tree navigation menu. If a folder is not selected, then uploaded files will be placed in the root Files folder. Click Choose to open your operating system’s file manager and select files from your computer, then click Upload once files have been chosen.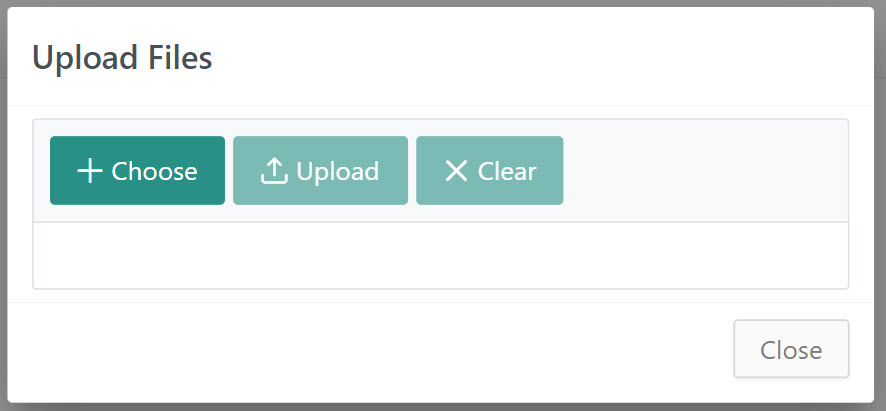
- You can add files of most file types up to 20 MB directly to File Manager for use in any catalog or site. There is no limit on the amount of files that can be uploaded at any time.
- You can upload .jpeg, .jpg, .png, and .tiff files. PDFs can be uploaded for storage purposes but will not be rendered as images. Video files are not supported.
- There is no character limit on file names, but tags have a limit of 100 characters.
- Duplicate file names in the same folder are not allowed. If you upload a file with the same name then File Manager will append a number to the name such as {NAME}_1.
- All files (such as images) you add through product settings pages are automatically added to File Manager under the Files root folder.
- You can visit File Manager at any time to view file names, file creation times, file sizes, URLs, and other details about your CDN files.
- Files on the CDN are cached for two weeks, but if your theme developer creates the links to the files using the make_url tag with the cdn mode, you can refresh the cache at any time using the Bust Cache feature available in General Settings.
Manage Files
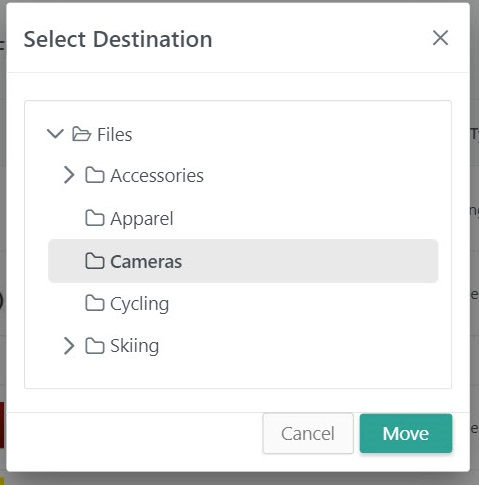
In the main file view of the UI, there are a set of buttons that allow you to perform the following options when a file is selected: Delete (which will remove the file from File Manager), Get URL (see the Link to an Uploaded File section), Copy (which will allow a file to be pasted to another location as a duplicate), and Move (which will change the file’s location).

Set Product Images
After files have been added to File Manager, they can be selected as product images as well as added to the storefront via widgets. When setting an image for a product in the catalog, click Upload from File Manager to select one of your files.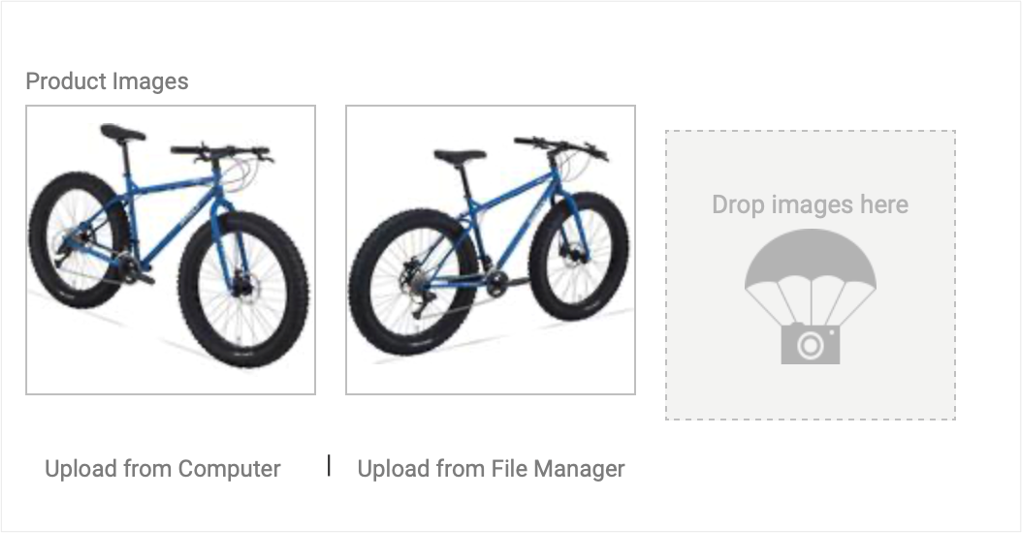
Link to an Uploaded File
After you upload a file to File Manager, you can access a unique URL on the CDN to link to the file. If you are a theme developer who wants to link to a CDN file in a Hypr template, the recommended method is to use themake_url tag.
- Go to Main > Content > Files.
- Navigate to or search for the file you want to link to, and select the file.
- Click the Get URL operation at the top.
- A pop-up will display two URLs for the file on the CDN, based on the file name and the ID. Copy whichever path you prefer to use.
- To link to the file in a Hypr template, use the make_url tag with the
cdnmode to have eCommerce generate a URL with a cache key appended (which allows you to refresh the cached version of the file using the Bust Cache feature in General Settings).
Upload a Custom Sitemap
For SEO reasons, you may wish to create your own sitemap and use it in place of the default sitemap. You can upload a custom sitemap using File Manager. After uploading your sitemap, you can point crawlers to it using redirects or by editing your site’srobot.txt file.
To upload a custom sitemap:
- Create your custom sitemap outside of the Kibo Composable Commerce Platform and name it
sitemap.xml. - Upload your custom sitemap to your site using File Manager.
Point Crawlers to Your Sitemap
After uploading your custom sitemap, you need to either add redirects or edit yourrobots.txt file to point crawlers to your sitemap.
To point crawlers to your custom sitemap using redirects:
- Go to Main > Content > Redirects.
- Select your site using the site selector drop-down.
-
Configure the following two redirects from the default sitemap to your custom sitemap:
- Enable Rewrite on the redirects to keep the source URL from changing during the redirect.
robots.txt file:
- Go to System > Settings > General Settings.
- Under Robots, upload a
robots.txtfile that includes the following line specifying the absolute path to your sitemap:
Bust Cache
Bust cache allows you to update the URL for image files in order to force your storefront to display the latest version instead of those that might be saved in cache. Access bust cache in the Admin General Settings at System > Settings > General Settings. Your theme developer must first enable the Bust Cache feature in your theme files before it has any effect on your CDN files.Enable Bust Cache
To enable bust cache, your theme developer must complete the following steps:-
Open a theme file that contains CDN content.
For example, opentemplates/modules/product/product-listing.hypr.livefor editing. -
Replace any Hypr tags that reference the file URL and object model with the
make_urlHypr tag. For example: ReplaceWithInclude Additional Fields You can include additional image fields (like themaxfield) by appending the fields to the end of the tag, betweenwithandas_parameter, as follows:
Result
The URL of the CDN file you apply themake_url tag to may look something like the following URL, where the number after mzCB is randomly generated each time you click Bust Cache in the Admin.
Enable Bust Cache for Non-CDN Files Uploaded in Your Theme
You also can enable bust cache directly on a link destination for non-CDN files that you upload through your theme, as follows:Result
Kibo eCommerce prepends a CDN location to the specified file and applies a CDN cache key so that the file is updated every time you click Bust Cache in the General Settings.Access the Cache Key Value Through JavaScript or in a Hypr Template
After you enable bust cache, you can access the cache key value (the randomly generated number appended to the CDN file URL) through JavaScript as shown in the following example:CDN Image Manipulation
When you use themake_url tag on an image hosted on the CDN, you can include the following additional fields at the end of the tag, between with and as_parameter, to process the image. You can also apply these fields as URL parameters appended to the image path after a ? character and separated by & characters.
To avoid incorrect image rendering, do not apply the image manipulation fields to images that contain a dimension greater than 30,000 pixels in length.
make_url Example
URL Parameter Example
Crops the image based on the specified coordinates. The reference point for positive coordinates is the top or left side of the image, and the reference point for negative coordinates is the bottom or right side of the image.
You can use this field to easily crop an equal amount of pixels from every edge of the image. For example,
crop=10,10,-10,-10 removes 10 pixels from all edges of the image (crop=0,0,0,0 leaves the image uncropped).
You can also use this field to specify a subset of the image. For example, crop=150,-300,-150,300 crops the following image as shown.
Using positive or negative coordinates is up to you. For example, you can crop the same subset of the example image using coordinates that are all positive, all negative, or a different combination from the one shown in the example, such as crop=+,+,-,-.
The only thing to remember is that you must always specify x2 to the right of x1 and y2 to the bottom of y1, otherwise no cropping takes effect.

quality | Adjusts the image compression for JPEG files (other image types do not support this field). Accepts values from 0-100, where 100 = highest quality, least compression. |