

Watch: Customer Attributes
See how to create and manage customer attributes
Create a Customer Attribute
To create a customer attribute:- Go to System > Schema > Customer Attributes.
- Click Create New Customer Attribute.
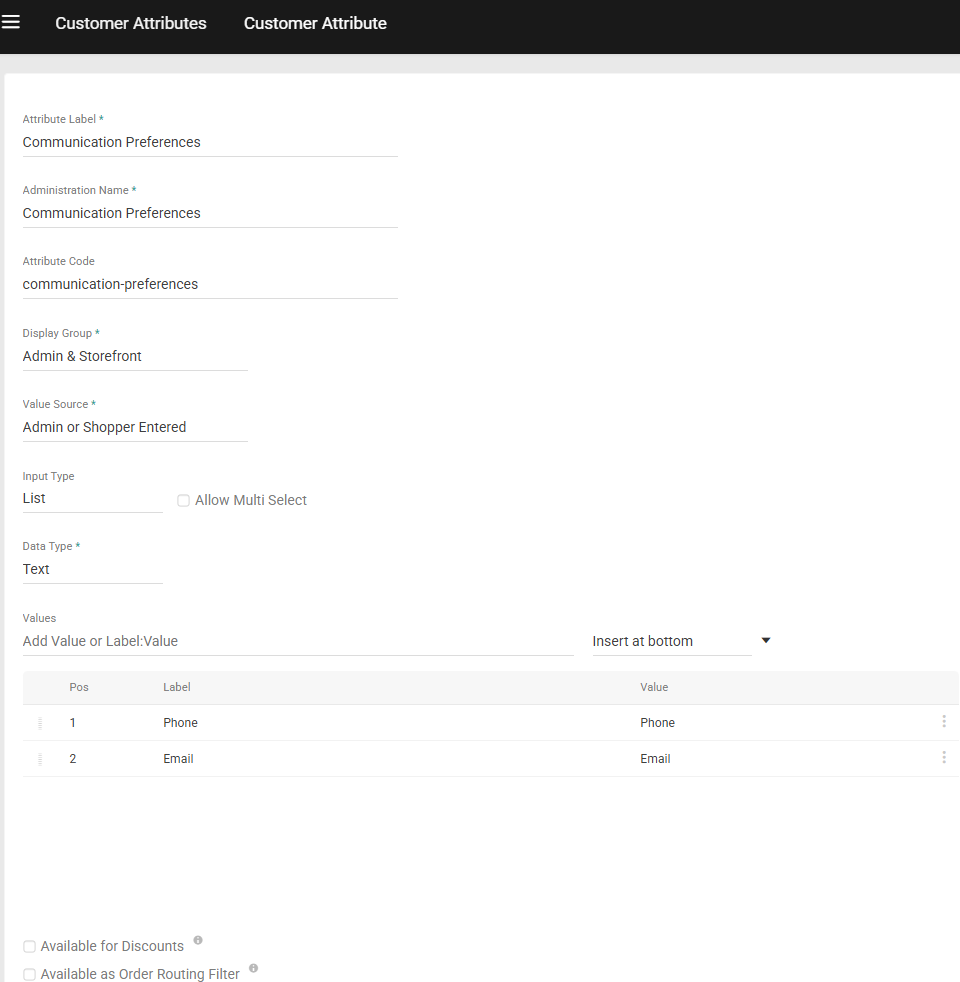
- Enter an Attribute Label. Keep in mind that this may appear on the storefront if you specify it to display there with the next step.
- If you want to give it a different name for administration purposes, edit the Administration Name. The default name is the Attribute Label.
- If you want to customize the Attribute Code, edit the value accordingly. This field automatically populates based on the Attribute Label.
- Select a Display Group. This field determines whether the attribute displays in the Admin UI only or in both the Admin and storefront.
- Select a Value Source to determine whether this attribute’s value can be set via the Admin UI and/or Storefront. If you chose the Admin Only display group, then Admin Entered is the only valid source.
- Select an Input Type.
- If you choose List, select a Data Type and enter the selection options in the Values field.To allow users to select multiple options from this list, select the Allow Multi Select checkbox.
- If you choose Text box, select a Data Type. Optionally, you can define input parameters in the Min char/val and Max char/val fields, or enter a regular expression in the Input validation field.
- If you choose Text area, you can optionally define a Max char value.
- If you choose Date, you can optionally define a start and/or end date for the selectable range.
- Toggle on Available for Discounts if you want this attribute to be available for use in discount conditions.
- Click Save.
Apply a Customer Attribute
If an attribute is set to either the Admin Entered or Admin & Shopper Entered value source:- Go to Main > Customers > Customers.
- Select the customer account to which you want to apply the attribute.
-
In the Customer Attributes section, select the value of your choice.
