restrictEdit flag is set to true on the order via API, then a user without the Override Order Update Restriction behavior will not be able to edit the order.
This includes creating a new shipment, reassigning or updating existing shipments, editing shipment items or notes or custom data, canceling shipment line items, and adding a payment. However, the user will still be able to initiate and process returns.
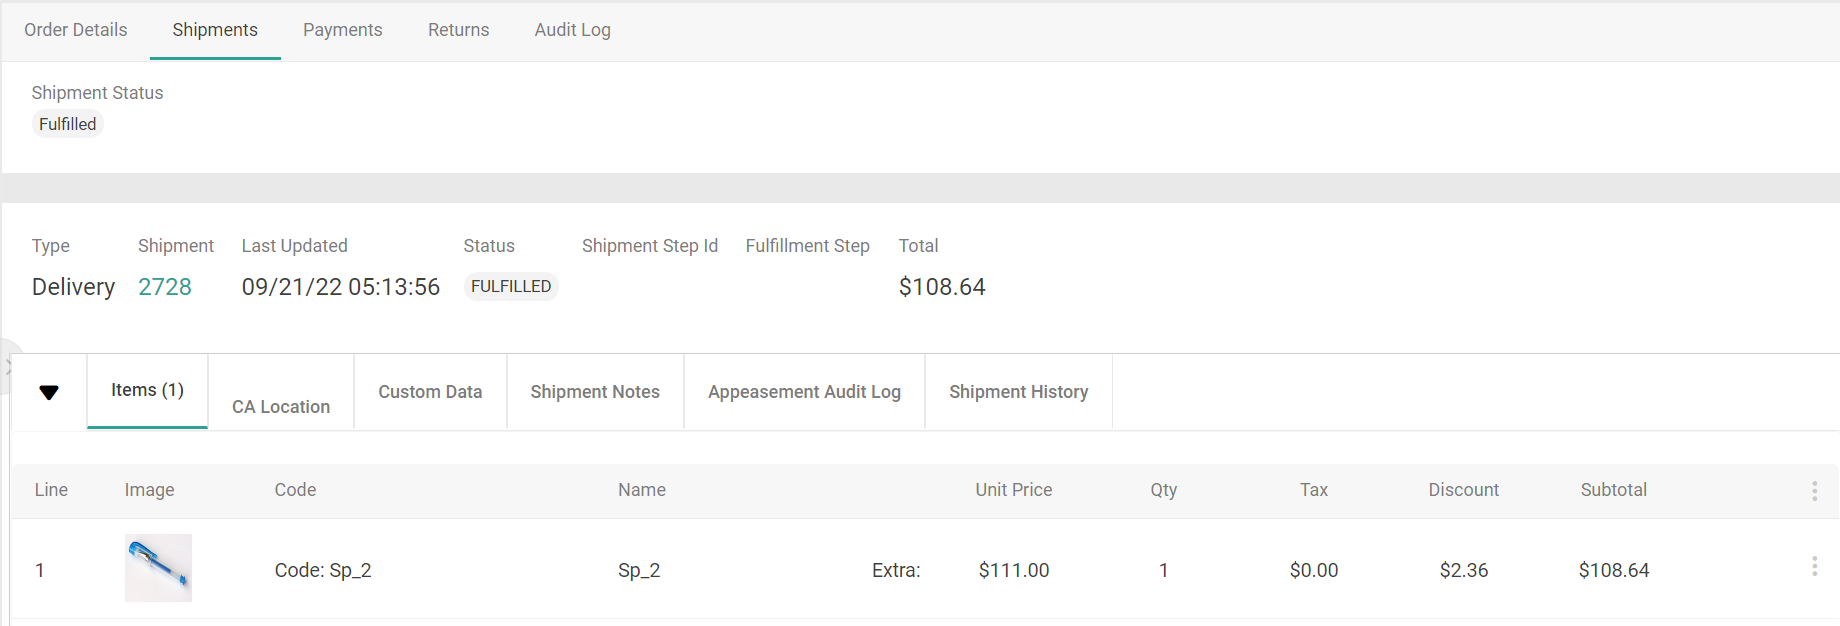
View Shipment Details
When viewing an order’s details at Main > Orders > Orders, the Shipments tab displays all shipments that belong to the order. If a shipment consists of multiple packages, then each package will have its own module with a table of its line items. The general shipment details include:- General overview information of the Shipment Number, Last Updated date, Total, and current Status (which indicates whether the shipment is Ready, Backorder, Fulfilled, Customer Care, Canceled, or Future).
- The shipment Type and Fulfillment Step, corresponding to the customer’s selected fulfillment method for the order and its current status in the workflow.
- Any shipment custom data (if applicable) in the Custom Data tab. Custom data is configured in key:value string format, and you can add new shipment-level custom data by clicking the Add button in this tab.
- Internal notes in the Shipment Notes tab. These are separate from order notes and not copied onto any child shipments or order-level logs. When a shipment is rejected (including when it is split, reassigned, or transferred), the location that rejected it is tracked in shipment notes. This helps prevent shipments from being manually reassigned to a location that previously rejected it.
- A record of all events and changes made to each shipment in the Shipment History tab, including shipment custom data. This matches the shipment log from the Fulfiller UI that tracks a shipment’s progress through fulfillment, edits to shipping or item details, and other updates.
- A list of all items canceled from the shipment in the Canceled Items tab (not shown below). This allows you to view a record of all items previously included on the order. If no canceled items exist for the shipment, this tab will not be displayed.
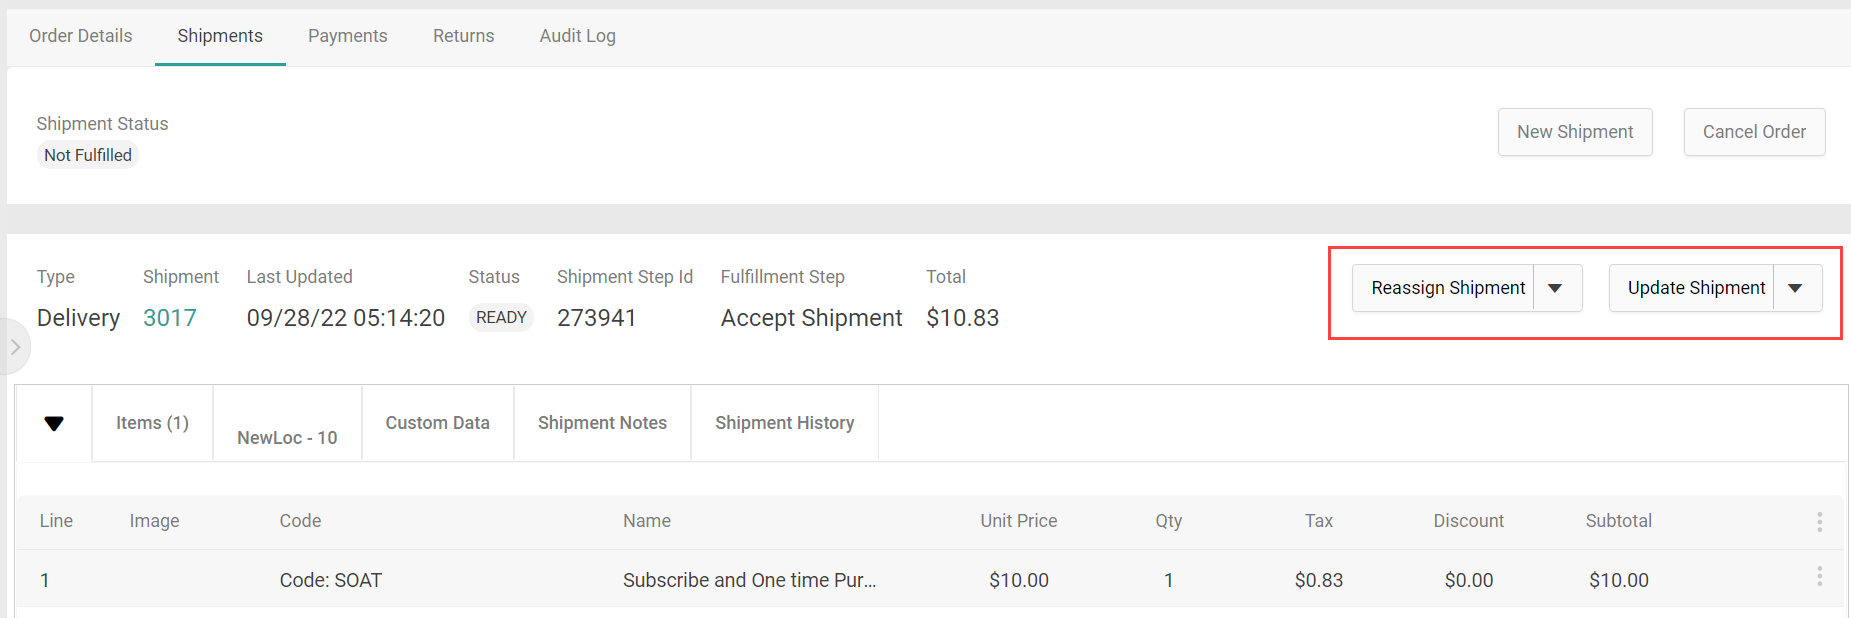
Reassign a Shipment
An entire shipment or select line items in a shipment can be reassigned to another location from the Shipments view. In the latter case, the selected line items will be split into a new shipment object while the old shipment will retain the unselected items.- Go to Main > Orders > Orders.
- Click the order you want to reassign a shipment of.
- Click the Shipments tab.
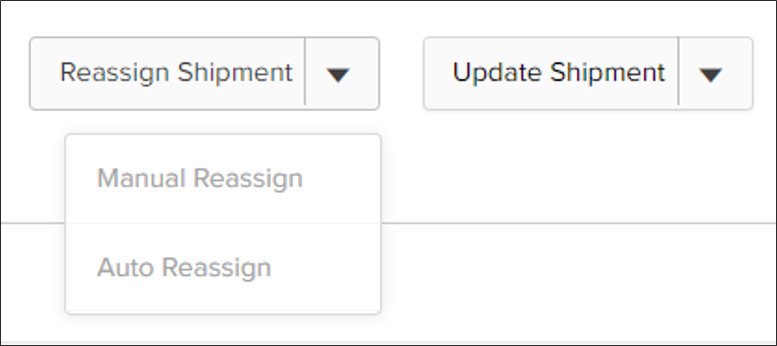
- Expand the Update Shipment drop-down.
- Click either Manual or Auto Reassign. This corresponds to the Reassign Shipment API call.
Manual Reassignment
The manual reassignment pop-up has two tabs, Inventory and All Locations. The Inventory tab displays each location’s inventory status for the shipment if that information is available, while the All Locations tab displays only the location names and codes. Each tab has a search box that you can use to perform an exact search for a location code or location name. This is not case-sensitive and results will persist if you switch between the tabs. In either tab of this pop-up:- Select the location you want to reassign the shipment to.
- Click Save.

Create New Shipment
You can create a new shipment to add items to an order without refreshing the order pricing or discounts. This is supported by all implementations that include eCommerce, but requires a catalog if your implementation is Order Management-only.- Go to Main > Orders > Orders.
- Click the order you want to add a shipment to.
- Click the Shipments tab.
- Click New Shipment. This will open the Shipment Creation Request modal.
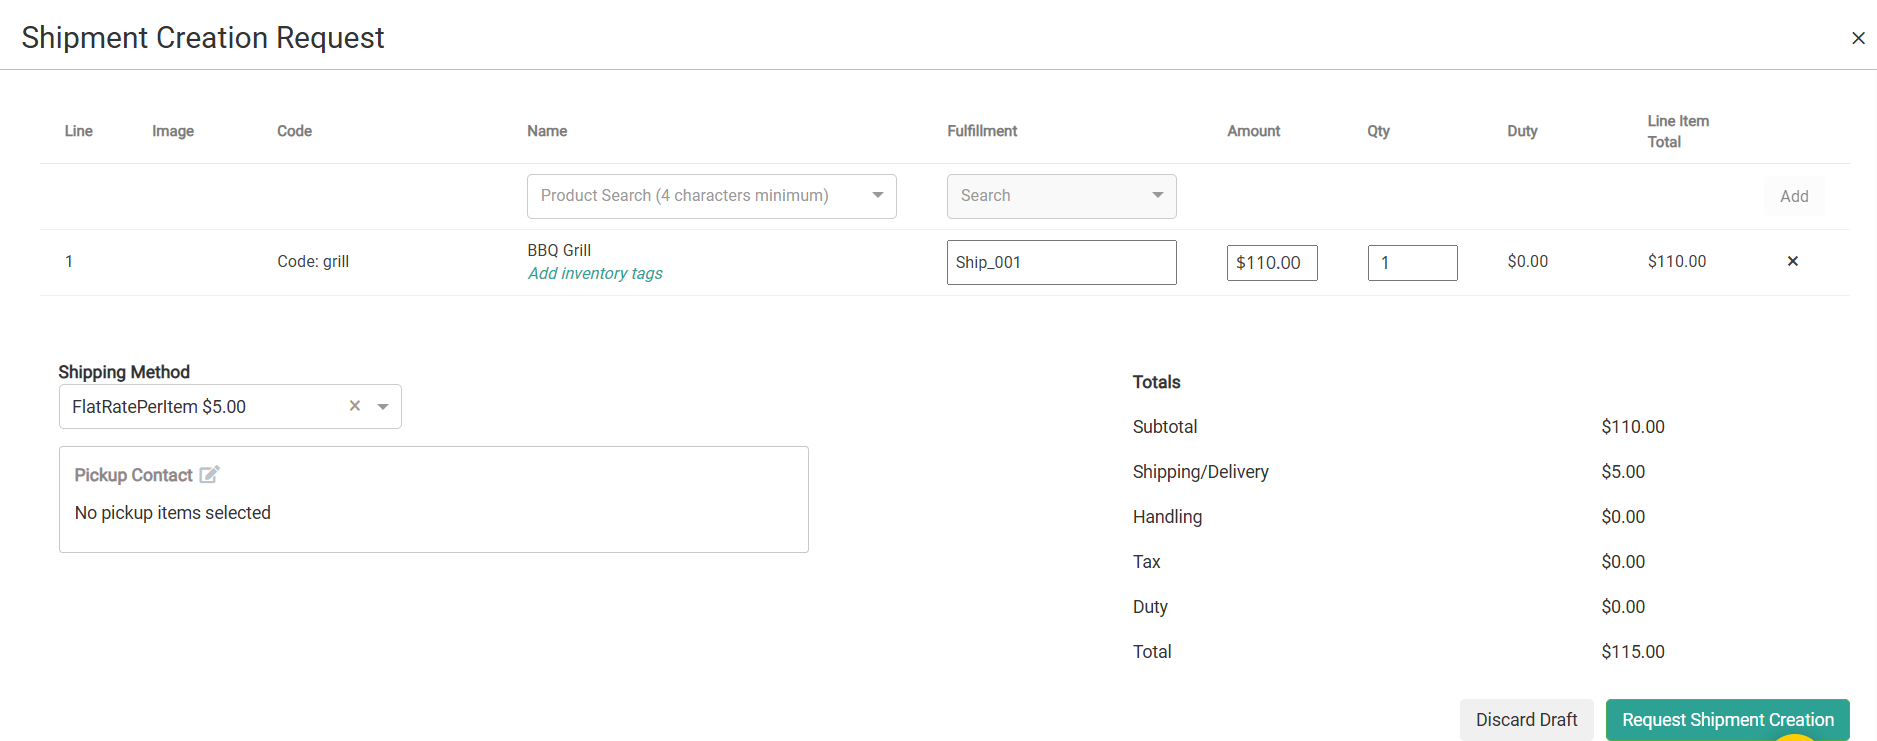
- Use the product search field under Name to add an item.
- Select the item’s Fulfillment method. There is a “Direct Ship” option for Ship to Home (STH) , “Delivery” option for delivery and individual location options for Buy Online Pickup in Store (BOPIS)
- If STH or Delivery, you should also select the Shipping Method from the dropdown below the table of line items.
- Inventory totals are displayed in the fulfillment options. The Direct Ship option will display an aggregate total, while the BOPIS options will display the total at that specific location. If the total includes future inventory, the value will be underlined and hovering over it will then reveal a breakdown of future and current inventory.

- Delivery fulfillment displays aggregated inventory across all locations without user-selectable location options, similar to existing Ship-to-Home (STH) functionality.
- Click Add to confirm the item.
- Repeat for any other items you want to add.
- Once all items have been added, click Request Shipment Creation to confirm. The new shipment will be routed or assigned to the specified pickup location.
Edit Shipment Subtotals
When viewing a shipment, you can make adjustments to the subtotals.- Go to Main > Orders > Orders.
- Click the order you want to edit a shipment of.
- Click the Shipments tab.
- The pricing breakdown of the items within that shipment are displayed below the line items.
- Click Edit to change these values.
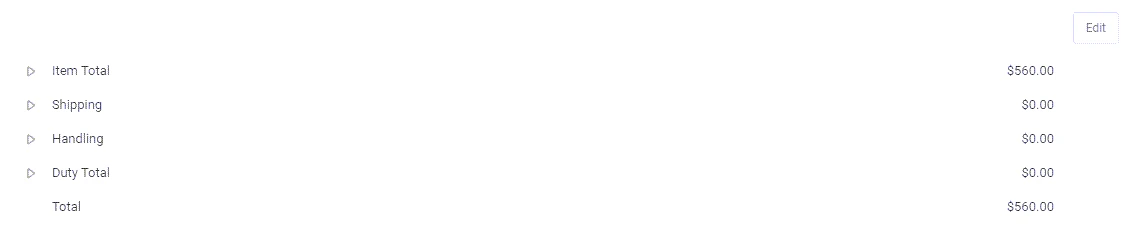
- Expand the Item Total, Shipping, Handling, and/or Duty Total sections to reveal the subtotal and tax value breakdown for each pricing element. Note that if the Disable Tax and Duty Adjustments site setting is enabled, then you will not be able to make edits to any of the tax or duty amounts through the Admin UI.
- Use the dropdown to select whether you want to Subtract from… or Add to… the current value.
- Use the radio buttons to indicate whether you want to make the adjustment based on an exact dollar value ($) or a percentage of the current value (%).
- Enter the value or percentage by in the text field. The new value will be calculated and previewed on the right. The below example would remove $12.00 from this shipment’s item subtotal, bringing it to a new value of $8.00:

- Click Save.
- Select a reason for the change in the modal that appears.
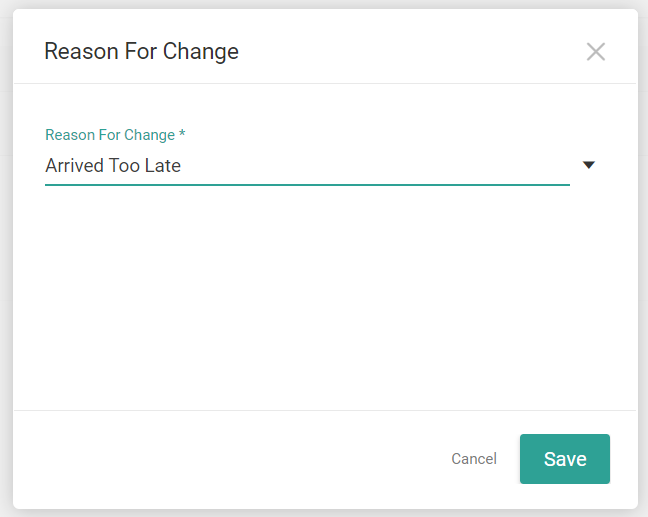
- Click Save again to finalize the edits.
Handling Fee Retention
KIBO Commerce allows merchants to enable retention to ensure handling fees are accurately preserved when individual items are cancelled or when a complete shipment is cancelled. To understand how these handling fees are initially applied and grouped, refer to Shipping Method and Fees.Order-Level Handling Fee Retention:
Order level Handling fee is preserved as follows:- Shipping (STH): Retained until all shipments with the same shipping method are cancelled.
- BOPIS: Retained until all shipments at the same location are cancelled.
- Delivery: Retained until all shipments with the same delivery method and location are cancelled.
Item-Level Cancellation:
- Partial Cancellation: If the quantity of an item is reduced, the associated product-level handling fee is reduced proportionally.
- Item Cancellation: Product-level fees are removed entirely once the individual item is fully cancelled.
- Retention: The $50.00 order handling fee is retained because the shipment and group still contain the other item, the Mixer.
- Cancellation: If the customer then cancels the Mixer, the shipment for Store Austin is now fully cancelled. Because there is no other target shipment for the Store Austin group, the $50.00 handling fee is removed. The $3.00 fee for the Store Texas shipment remains unaffected as it belongs to an entirely different group and shipment.
Mark as Shipped
To force fulfillment on a shipment and mark it as complete regardless of its current status in the Fulfiller UI:- Go to Main > Orders > Orders.
- Click the order you want to fulfill a shipment of.
- Click the Shipments tab.
- Expand the Update Shipment drop-down.
- Click Mark as shipped.
Edit Fulfilled Shipments
When a shipment has been fulfilled, its entry in the order’s shipments view will provide a reference of its fulfillment information. Information about the items in the shipment and the location it was shipped or picked up from can all be viewed from the tabs within the module.