-
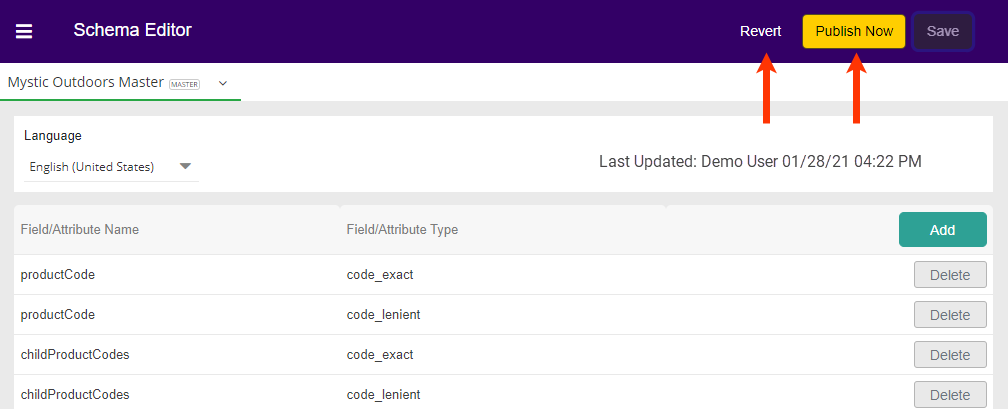
To add a new entry to the list of available fields, click Add above the list.
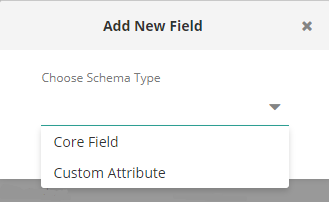
 Once you’ve clicked Add, a popup will appear with a drop-down menu where you can choose schema type, Core Field or Custom Attribute.
-
Select the Schema Type and then click Next.\
-
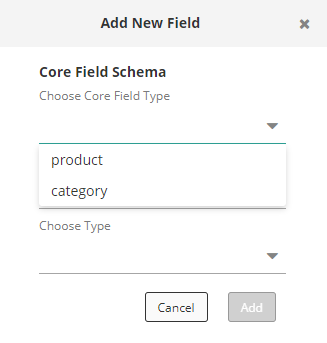
Choose a Core Field Type, either product or category.\
Available Fields
-
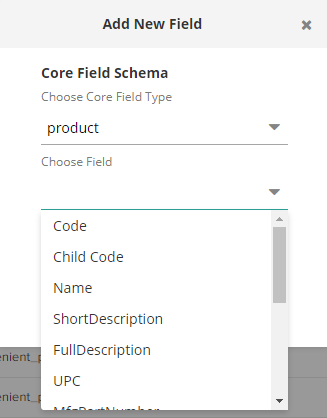
Select a field from the drop-down menu. This list is mapped to data in your uploaded catalog.\
-
Select a type from the drop-down menu. These are various analyzers for the field.\
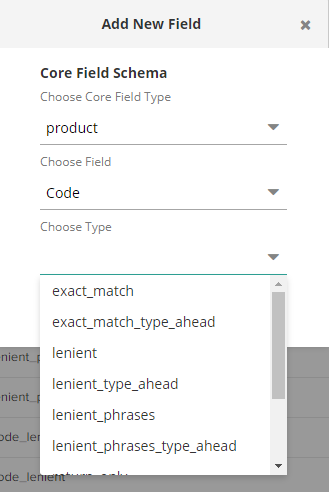
Example Analyzers
-
Once you have made this final selection, click Add. The popup window will close, and you will see your new entry in the list.\
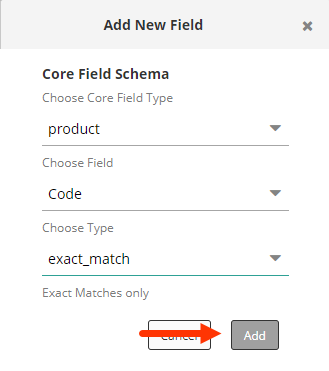
- To remove a list entry, click Delete at the end of the row.
Saving Changes
Any changes made to the Schema Editor will enable the Save button.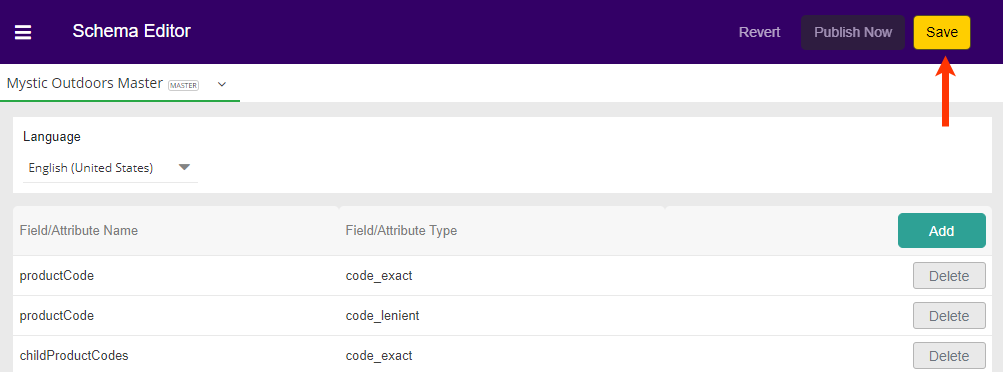
- To have your changes reflected in your site, click Publish Now.
- If you have made and saved changes in error (but not yet published), then you may click Revert to go back the prior saved changes. This will not revert to a former published version unless there have been no other saved changes.