Options include details about a product that shoppers can configure, such as size or color. You can use options in combination with Configurable Products with Options to generate new product variations (or unique SKU). Refer to Product Variations for more information.
Create Option Attributes
You must first create the option attribute before you can add it to product types, and assign option values to products.
To create an option attribute:
- Go to System > Schema > Product Attributes.
- Click Create New Attribute.
- In the Attribute Label field, enter the name of the option that shoppers will see.
- In the Administration Name field, enter the name that you will see in Admin.
- In the Attribute Code field, enter a code for your option.
- In the Input Type drop-down menu, select List.
List is the only input type that supports options.Once you create and save an attribute, you cannot change its input type.
- In the Attribute Type field, select Option:
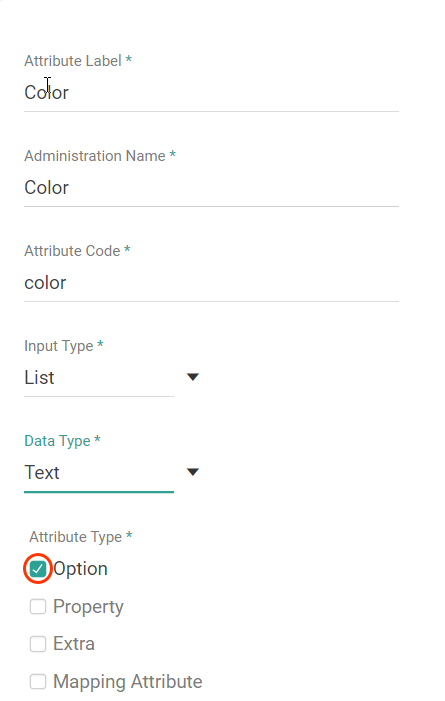
- Select the Data Type, which determines whether the values that shoppers select are text or numbers.
For example, you're creating a color option, and you want the values to be text for the different colors. - In the Values section, add all possible values for the option. You select the option values that a product can have when you add the option to the product type. You then choose the specific option values that a product has when creating the product.
Press Enter after entering each value. You must add the associated value for every list entry, and you can reorder the values after adding them.
You can use the order of the list values as the order of facet values on storefront pages by using the Attribute Definition facet value order. Refer to Attribute Definition Options in the Facet Value Order section of the Facets topic for more information about ordering the facet values according to the list values you specify on the attribute.
- Select the Search Options for the option:
- Available to Storefront Search: This determines whether the option's label or option's values are matched on when shoppers perform a search on the site. For example, you have a color option and one of its values is blue. If you select this checkbox and Search Value, and a shopper performs a search for the term "blue" on your site, the product will be returned in the search results even if the term "blue" is not contained in the product's name or description.
- Index Value with Case: This determines whether the attribute value is case-sensitive for filtering and faceting. When enabled, the attribute will be capitalized consistently across facets and other uses. The default is not case-sensitive.
- Available as Filter and Sort: This determines whether this option is available for filtering, sorting, dynamic category expressions, displayed on category pages, and as a facet in search results.
Having a large number of attributes available for filtering and sorting can reduce the performance of your site. Kibo eCommerce recommends only enabling this checkbox for the attributes that are most likely to be used for these purposes.
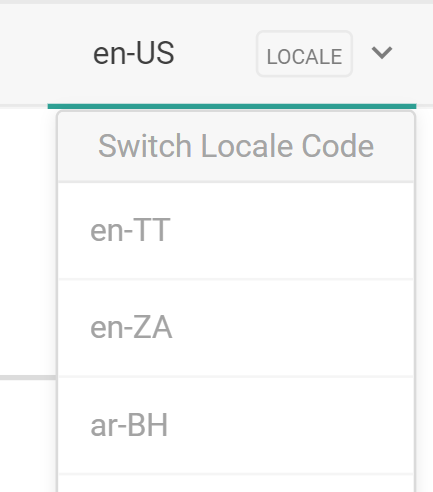
- If you have enabled multiple locales for this catalog, you can switch locales using the dropdown menu in the top right. This allows you to localize the attribute label and value labels for that language. The attribute name, code, and other settings (including adding new values) will not be displayed or editable, as those are only configurable on the default locale for the catalog.
- Click Save.


Add Options to Product Types
Once you create an option attribute, you can then add it to product types. This allows you to quickly select all applicable options for products belonging to the same product type.
For example, you created a color option, and you want its values to be applied to only shirts. You can add this color option to your shirt product type, so that any shirt products you create will have the same color option values from which you can select.
To add an option to a product type:
- Go to System > Schema > Product Types.
- Select the applicable product type.
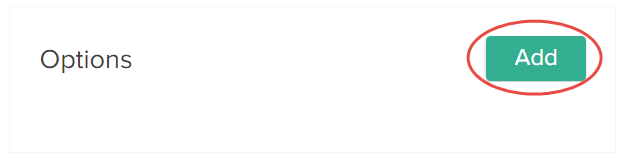
If you need to create a new product type, refer to Configure Product Types for more information. - In the Options section, click Add:
- In the Attribute list, select the applicable option:
Only attributes that you marked as an option when you created the attribute appear in this list.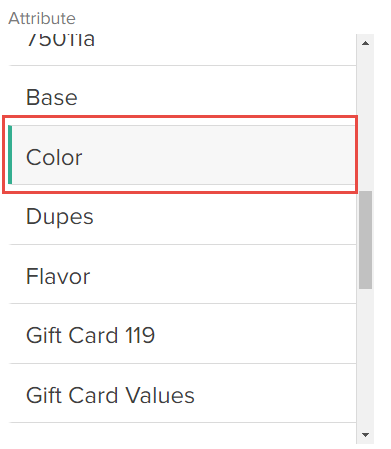
- In the Values list, select all applicable option values for the product type:
The selected values appear in the Selections list.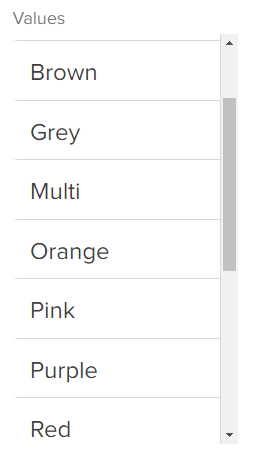
- Decide whether the option is Required by admin.
If you select this checkbox, when you create a new product and assign it to the product type, you must assign at least one selected option value to the product in order for Kibo eCommerce to consider the product valid for the product type. - Click Done to finish adding the option to the product type:


Assign Option Values to Products
Once you add an option to a product type and selected all applicable option values for the product type, you can then assign the option's values to a product.
For example, you added a color option and selected all applicable color values for the shirt product type. Then when you create a new shirt product, you can assign the applicable color values to that specific shirt product. When you assign option values to a product, you create a product variant for each assigned option value. Refer to Product Variations for more information.
To assign an option value to a product:
- Go to Main > Catalog > Products.
- Select the applicable product. If you need to create a new product, refer to Configure Products for more information.
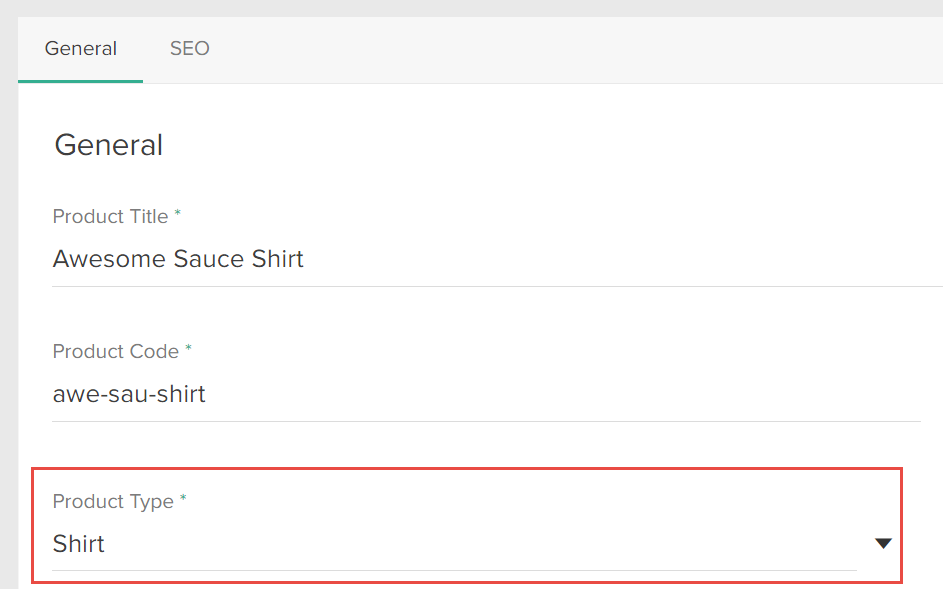
- (If applicable) If you haven't already done so, assign the applicable Product Type to the product:
- (If applicable) If you haven't already done so, set Product Usage to Configurable Product with Options. You must set the product usage to configurable product with options in order to assign option values to the product.
- In the Options section, set the Pricing Mode for the product variants. The pricing mode controls how you specify the price and weight for each product variant. Refer to Product Variant Pricing and Weight for more information.
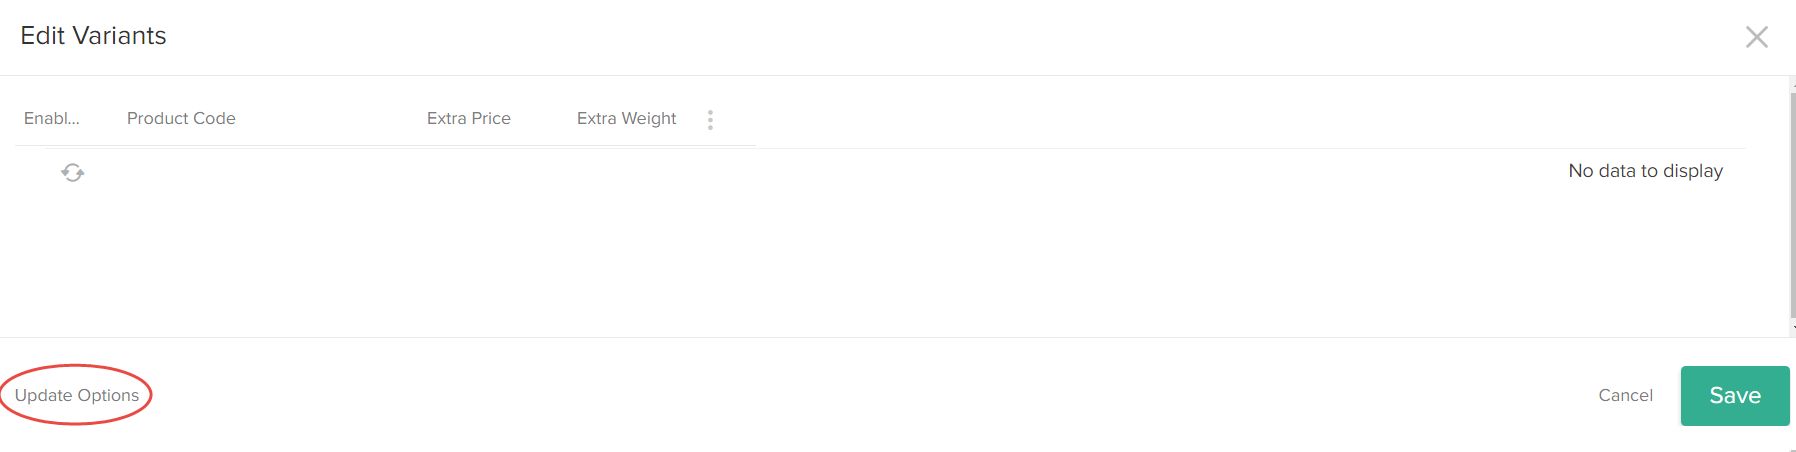
- Click Select Values. The Edit Variants window appears.
- In the Edit Variants window, select Update Options:
- In the Child Products window that appears, select all applicable option values that you want to assign to the product and click Save:
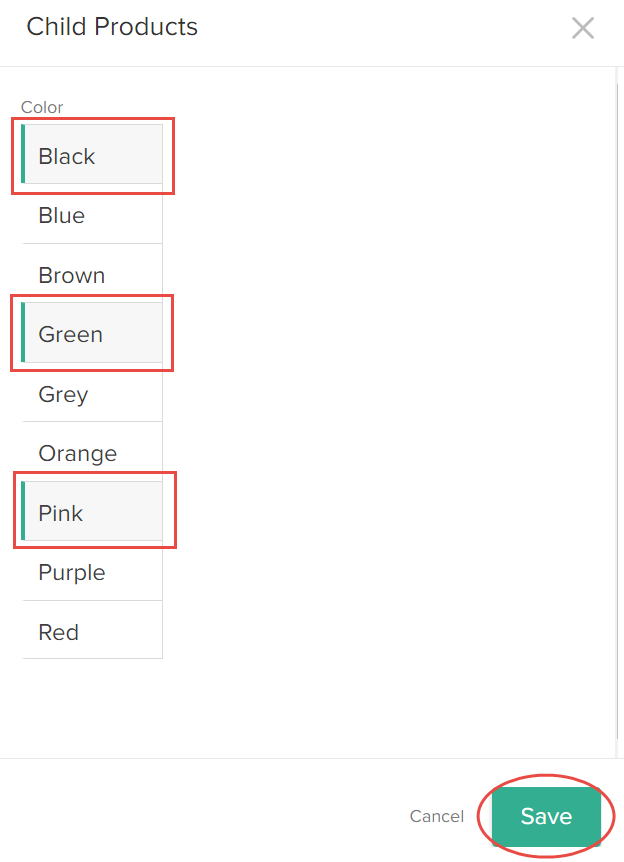
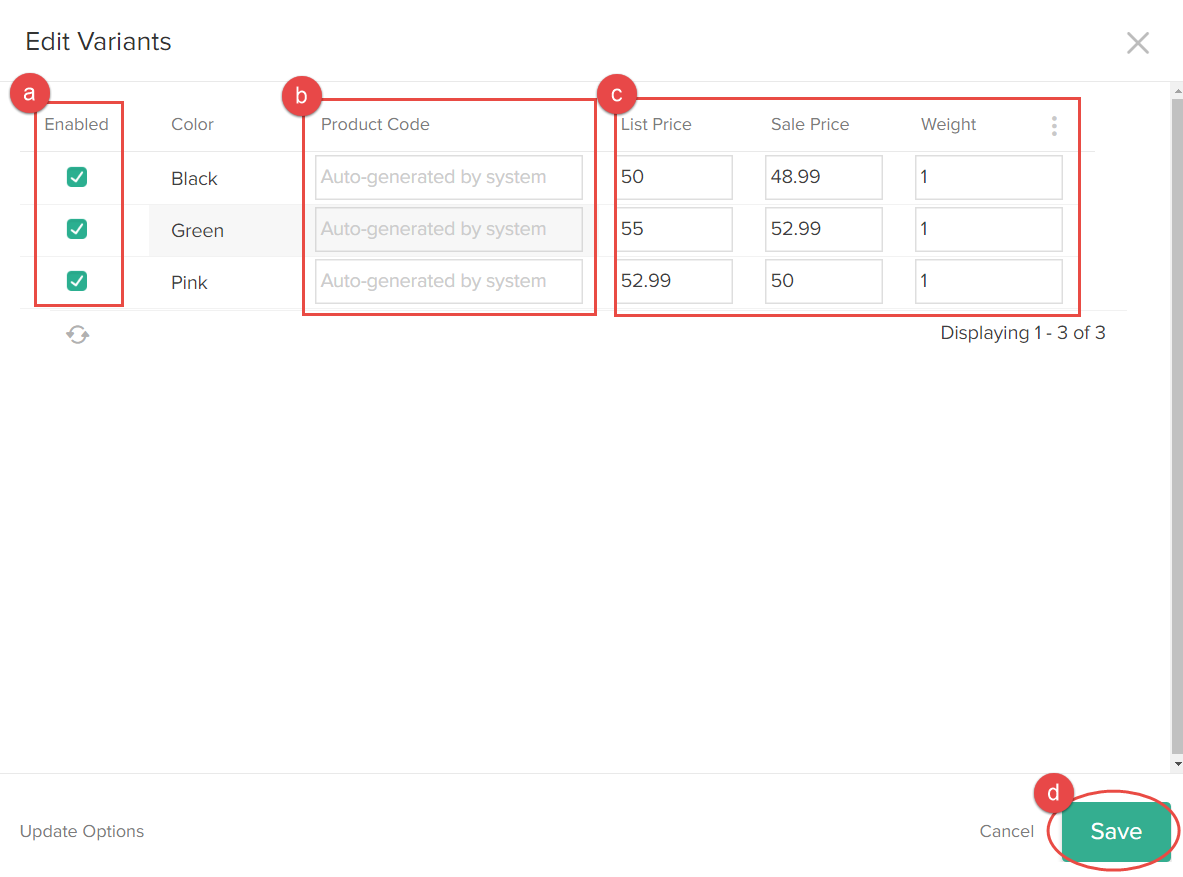
When you select an option value, Kibo eCommerce automatically creates a product variant for that option value. Refer to Product Variations for more information. - Back in the Edit Variants window, complete the following actions:
- Enable each product variant.
- (Optional) Specify a unique Product Code. If you choose to not specify a unique product code for the variant, Kibo eCommerce automatically creates a product code based on the base product's code. Refer to Product Variant Codes for more information.
- Depending on the Pricing Mode you previously selected, specify the price and weight of each product variant.
- Click Save.
- Click Save in the product editor to save your changes.


