Merchandizing Rules provide the ability to create and manage boost and bury conditions, sort definitions, and control how products are displayed in specific search scenarios. Rules can be applied to both Site and Category search types.
Create a Rule
Follow the below instructions to create a new merchandizing rule. To edit an existing merchandizing rule, simply click the rule in the table and you will be able to update these configurations.
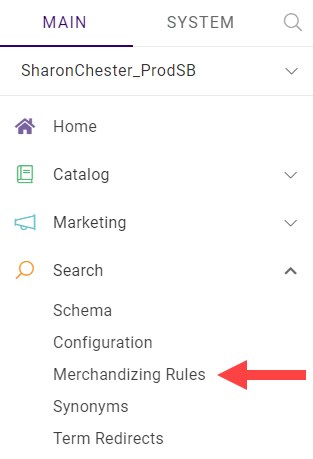
- Click MAIN in the left-hand navigation, click the Search drop-down menu, and then click Merchandizing Rules.
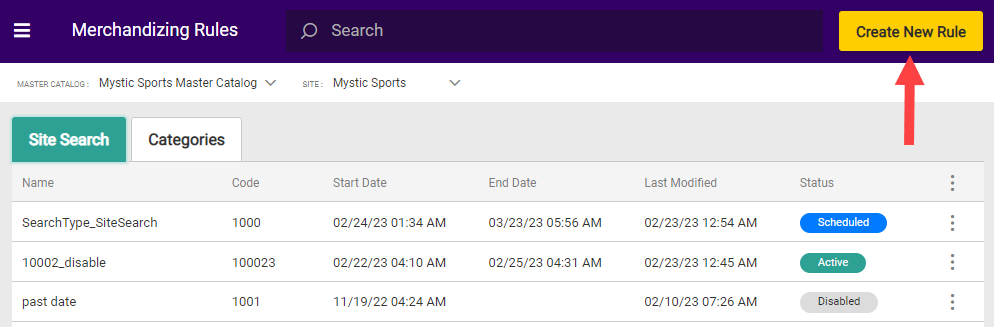
- Click the tab for the search type you want to create a rule for (Site Search or Categories) in the main part of the page, then click Create New Rule in the top right.
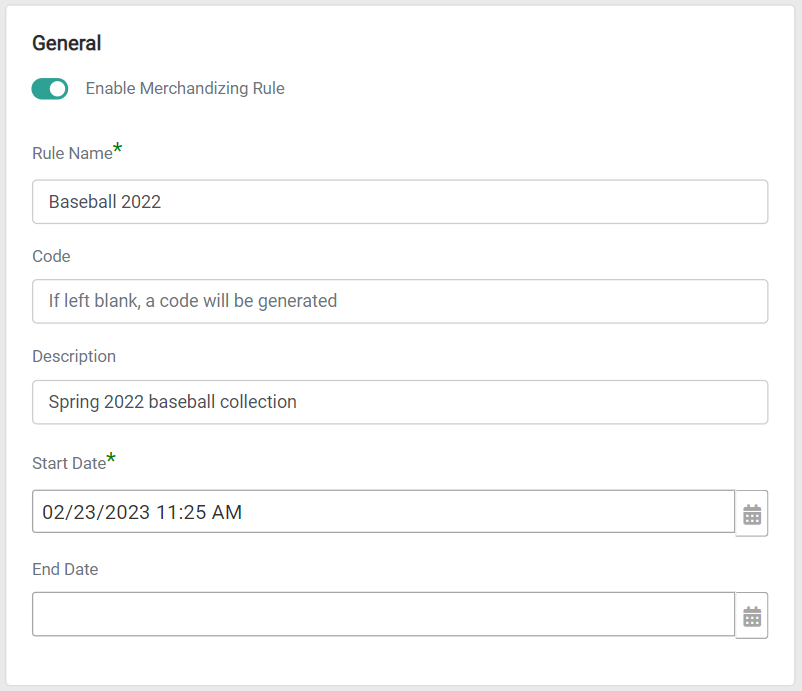
- Toggle whether you want the rule to be immediately enabled or not. If you are editing an existing rule, you can use this toggle to manually enable/disable a rule that was deactivated or activated by a campaign.
- Enter a name (required) and description (optional) of the rule.
- Schedule the rule by entering a start date and time (required) along with an end date and time. Rules remain active indefinitely if the end date is left blank. Information can be typed into the field or chosen from the calendar icon, which opens a date picker. Times are entered according to a 24-hour clock.


Criteria
The Criteria section will be different depending on whether you are creating a rule for Site Search or Categories.
Search Terms
If you are creating a Site Search merchandizing rule, use the Criteria section to enter specific terms that will trigger the rule.
- To add terms, type them into the field and press Enter after each one.
- To delete a term, click the X next to it.

Letter case doesn't affect the search terms entered. When a user searches using any of the terms associated with an active rule, the boost and bury conditions you create will affect the search results for the scheduled period.
Categories
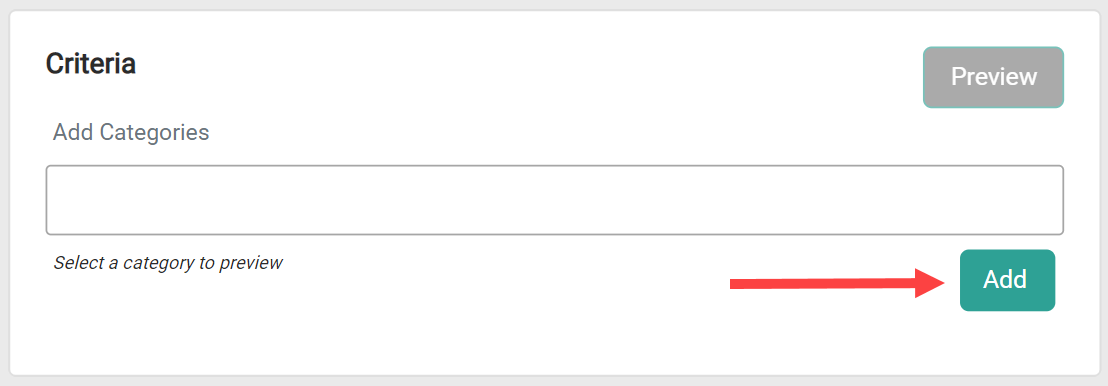
If you are creating a Categories rule, use the Criteria section to select which categories will trigger the rule.
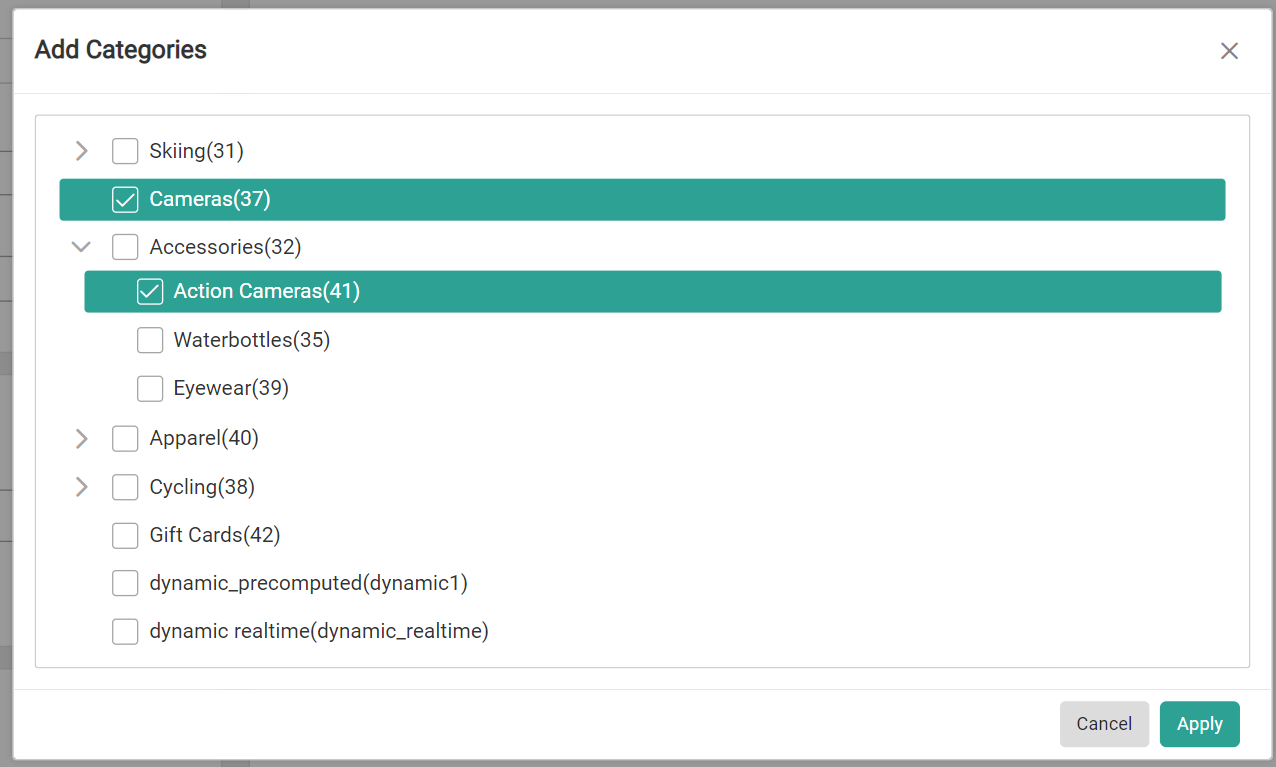
- Click Add to open a modal of all available categories.
- Select the categories you want the rule to apply to by checking the checkboxes, then click Apply. To deselect a category, uncheck the checkbox.


Boost/Bury Conditions
You can Boost or Bury any field attribute that you made available in the Schema Editor. This allows you to change the order certain products appear in search results relative to other products. The allowable boost/bury value is -10 to 10. Any positive value above 0 is a boost, while any negative value is a bury.
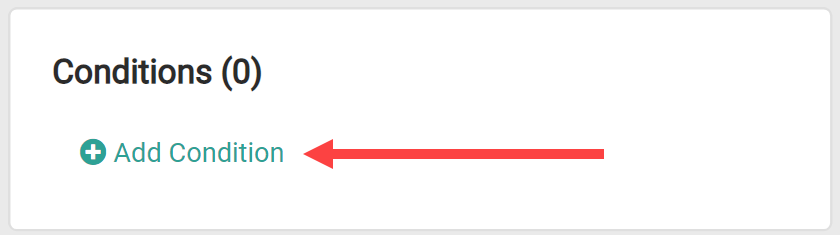
- To add a new entry, click Add Condition.
- Select the Field/Attribute, Operator, Value, and Boost/Bury value. You must enter the Value only in lowercase as shown below, or else it may cause errors.
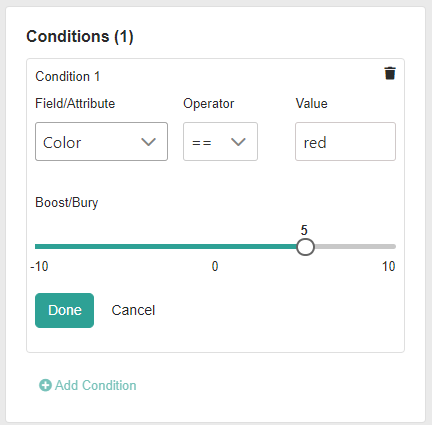
- Click Done.


Blocked Products
You can block individual products from showing up in search results by specifying them in this section.
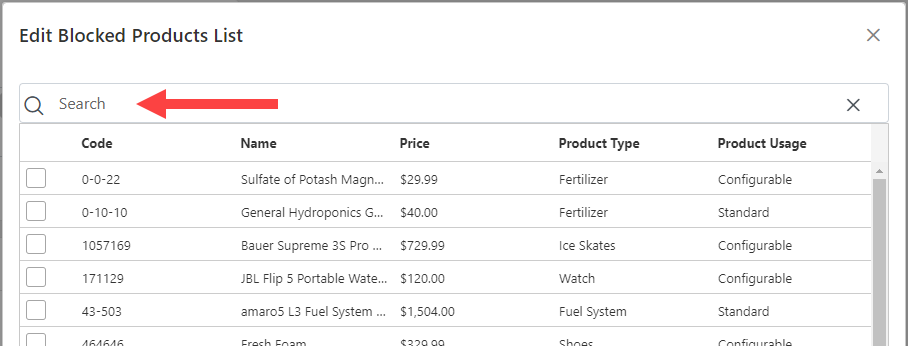
- To add a new entry, click Edit List.

- Search for the products you want to block. You can use the Name, Code, or Product Type as a search term.
- Select products by clicking the checkbox.
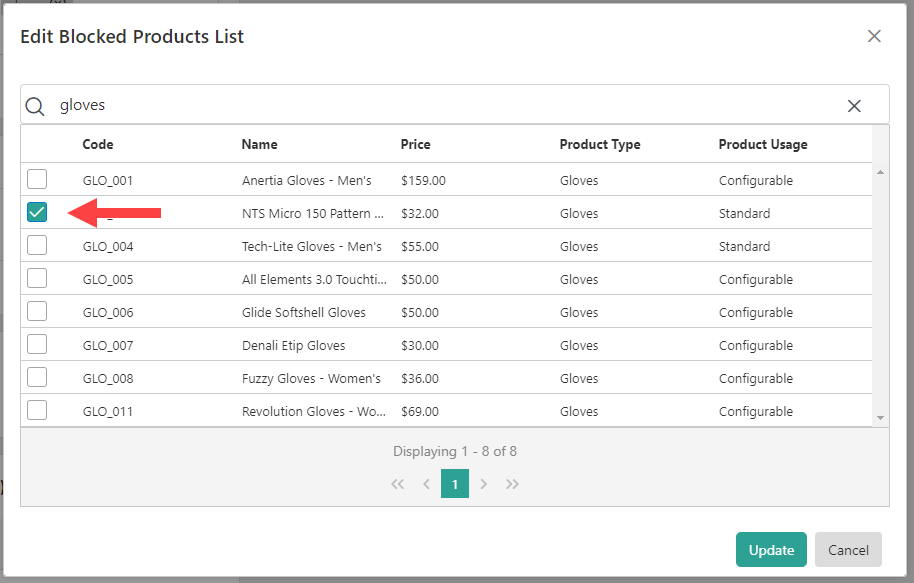
- Click Update. The selected products now appear as blocked.
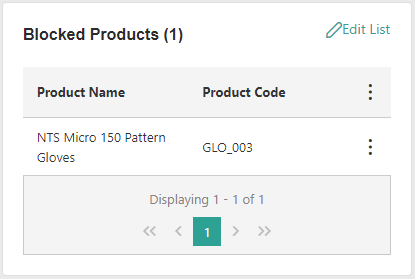


You can remove a product from this list by selecting Unblock Product in the options menu.

Preview a Merchandizing Rule
As you change various settings within a rule, you can preview the search results before saving. This is supported for both search term and category criteria. To preview results, select a search term, then click Preview.

In this example, a rule is being created to promote the gloves. The standard search configurations can be viewed by previewing the search term without any conditions.
The red gloves (Denali Etip Gloves) appears seventh in the list. Hovering over the information icon displays information about the ranking. You can view relevancy, personalization, and total score.

The goal for this rule is to move the Denali Etip Gloves up in the results. Therefore, the color red is given a boost of 10.

Once this boost value for the color is saved, you can preview the search results again. This time the Denali Etip Gloves product has moved up to the first spot within the search results, and hovering over the information popup verifies that the score for that product has increased.

Manually Change Search Results
You can also manually change results in preview to override any conditions you set. This can be done by modifying ranking, pinning, or manually adding products.
Ranking
To modify the ranking of a result, click and drag the resorting icon to the desired location.

Alternatively, you can edit the Rank text box to the desired value. The ranks of all other results will then adjust accordingly.

Adjusting the ranking of a result in this way locks all results that rank above it. In this example, changing the ranking of the Denali Etip Gloves to rank 3 locks the results in ranks 1 and 2. You can further modify the rankings of any results lower than this, but you cannot set them to rank 3 or above.
To reset this ranking back to the original state, click Reset Order in the options menu for the result.

Pinning
You can lock a single result in a position by clicking the pin icon on it. To reset the result, click the pin again.

It is not recommended to pin more than 10 or 20 products. If you want to promote a larger number of products, then boosting will be more efficient and have a lower impact on system load.
Unlike ranking modification, pinning a result does not lock all results above it. This can be to ensure that any other ranking modifications won't change the rank of the pinned item. In the above example, the NTS Micro 150 Pattern Gloves are pinned at rank 3. In this case, if you then manually change the ranking of the Denali Etip Gloves to rank 1, everything but the NTS Micro 150 Pattern Gloves are pushed down to the next rank.

Add Products
You can manually add products to your search results. This allows you to display additional products that wouldn't normally appear for a search term or category, such as if you wanted to list certain water bottles in addition to the search results for exercise shorts.
- Click Add Products in the top right of the preview pane.

- Search for the products you want to add. You can use the Name or Code as a search term.
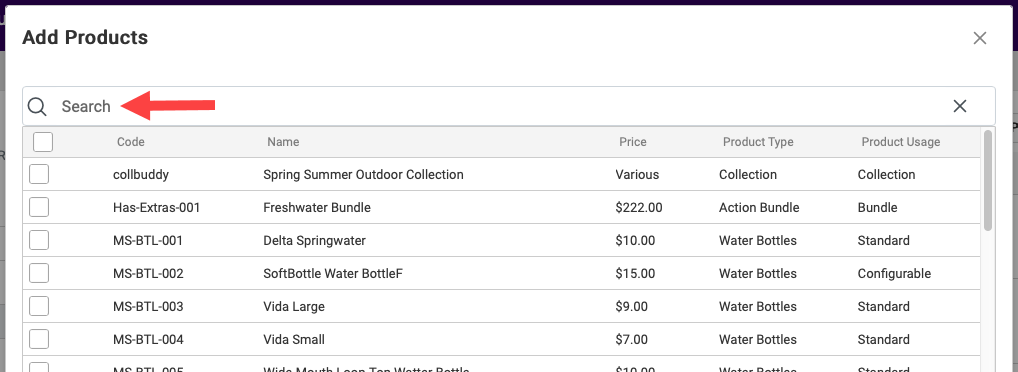
- Select products by clicking the checkbox.
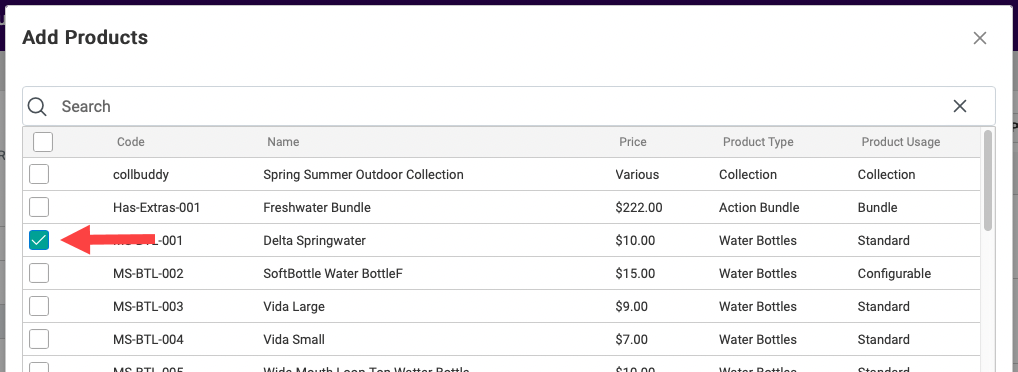
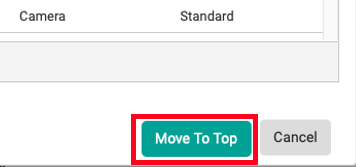
- Click Move To Top to update your search results with the additional products at the top of the list.


You can then pin or block these added products as needed just as you would for existing products. To remove all of your added products at once, click Reset All in the top right of the preview pane to restore the search results to their original state.