Campaigns allow you to design marketing strategies across your entire site by coordinating storefront product displays and promotions. This guide describes how to manage campaigns in the Admin UI. This includes creating promotions within a campaign and page variations for displaying content.
Example Campaign
For example, a Summer Savings campaign runs from June 1 - July 30 and features flip flops, swimwear, and barbecue gear. This campaign includes the following elements:
- There are multiple promotions running during this time period for the category and product levels:
- Category: All Women’s Flip Flops $5 Off during June 1st through 15th.
- Product: Smoky Joe Grill - 20% Off throughout the campaign.
- Shoppers can use the “FABSUMMER40" coupon code on any product in the above categories in the first launch week of the campaign.
- A banner image displays deals and trends on the storefront landing page and all content pages.
- This campaign is targeted to particular customer segments in promotions and site variations.
Campaign Homepage
At Main > Marketing > Campaigns, you can view the list of all existing campaigns and their current statuses (which are Scheduled, Active, Ended, or Disabled). The campaign code, name, and start/end dates are displayed by default, but you can customize the columns that are shown or hidden by using the dropdown menu in the top right corner of the table. To view, edit, or delete a campaign, expand the dropdown menu on the right.

By default, the table will not include campaigns that have ended. However, you can display them by using the Advanced Filter of the search bar.

Experiences
Before creating a campaign, it is important to understand how campaign experiences work. Experiences are the set of discounts and site content that support your campaign and form the shopper experience.
When adding experiences, you will configure the following in your campaign details:
- Set up discounts
- Set up page variations
- Set up merchandizing rules
Discounts
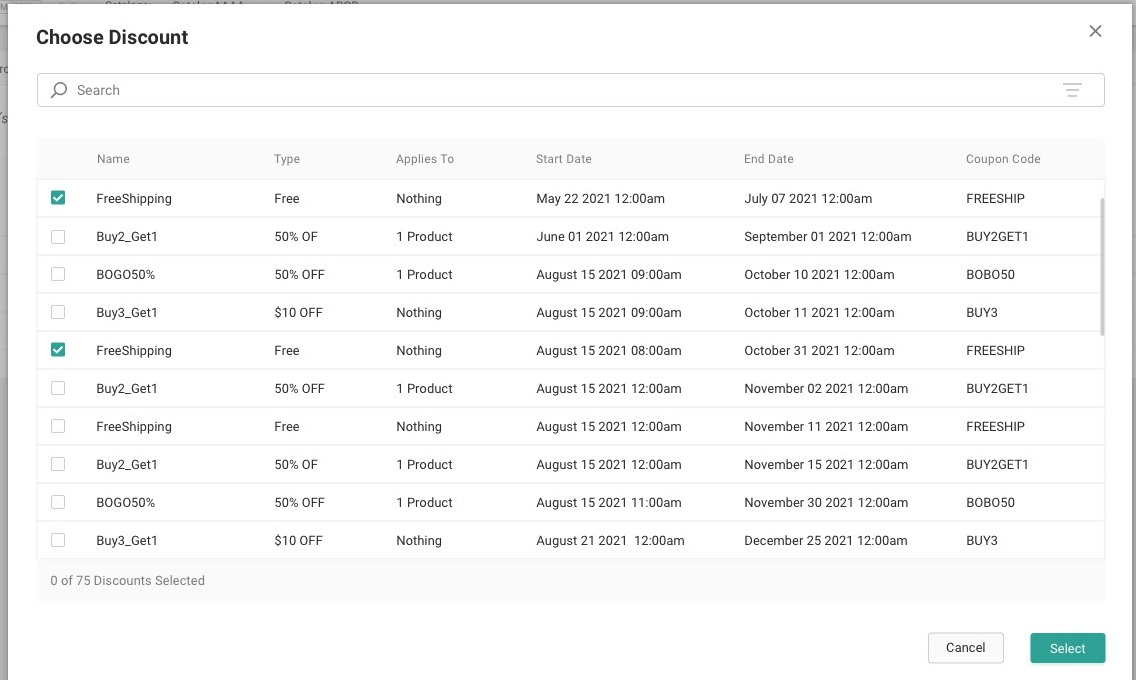
Discounts are often important to campaigns, as they supply the price reductions and coupon codes usually associated with a marketing campaign. However, you can still create a campaign without discounts - such as if a campaign is intended to highlight a certain set of products that are not necessarily on sale.
When creating a campaign, you can only add discounts whose active date ranges fit within the start/end dates of the campaign. Though not recommended, you can edit the discount to extend its active dates beyond the end date of the campaign. This discount will be highlighted in red to indicate that its dates are out of range for the campaign, but the discount will still be active and run for the entire length of its time frame.
Expand the dropdown menu on the right side of a listed discount to edit or remove it. Removing it from the campaign will not delete the discount in your system, and you can still access it in Main > Marketing > Discounts.

Site Variations
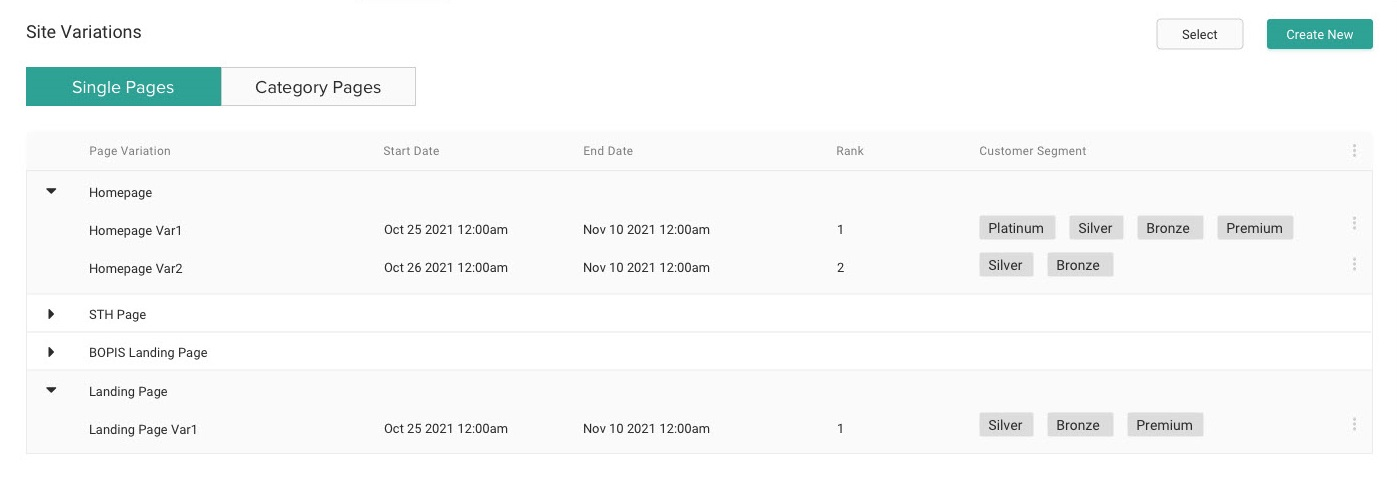
You can assign page variations to a campaign for your storefront to display themed versions of pages to support your campaign while it is active. This table will display variations under the template they belong to, their start/end dates, ranking preference, and associated customer segment. This allows you to use multiple variations of the same page template during your campaign, such as if you want certain customers to see an alternate version of the homepage or if you want different messaging to be displayed on the final day of the campaign to help drive last-day sales.
As with discounts, you can only add page variations whose active date ranges fits within the start/end dates of the campaign while you are initially creating the campaign. Later, you can edit the variation to extend its active dates beyond the end date of the campaign. This variation will be highlighted in red on the listing page to indicate that its dates are out of range for the campaign.
Expand the dropdown menu on the right side of a listed variation to edit or remove it.

Merchandizing Rules
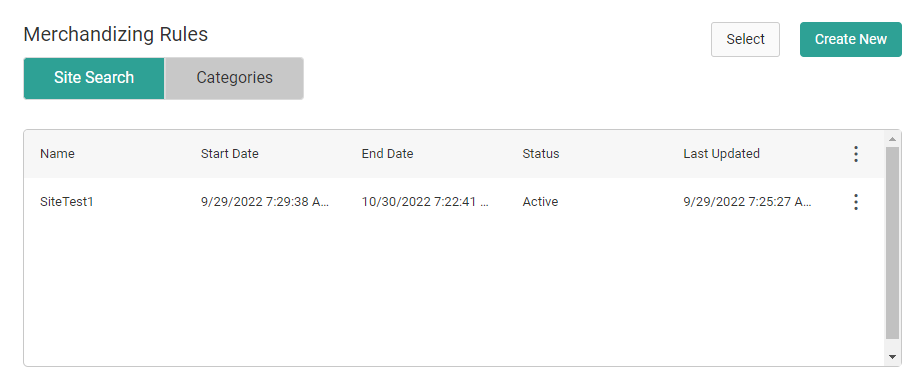
Merchandizing rules are part of the Search feature and provide the ability to create and manage boost and bury conditions, sort definitions, and control how products are displayed in specific search scenarios. They can be applied to both Site and Category search types, which are maintained as separate lists that you can switch between when viewing the merchandizing rules on the campaign. For more information, see the merchandizing rules guide.
When adding merchandizing rules to a campaign, the same active date range requirements will be used for merchandizing rules as with discounts and site variations. This means that you cannot add a merchandizing rule when initially creating the campaign if its active date range does not fit into the campaign's date range.
Expand the dropdown menu on the right side of a listed rule to edit or remove it. Removing it from the campaign will not delete the rule in your system, and you can still access it in Main > Search > Merchandizing Rules.
Create a Campaign
Campaigns are set up at the child catalog level and will be activated across all sites that belong to that child catalog, so make sure that you have selected your preferred catalog at the top of the page before creating a new campaign.
To create a campaign:
- Go to Main > Marketing > Campaigns.
- Click Create New Campaign in the top right.
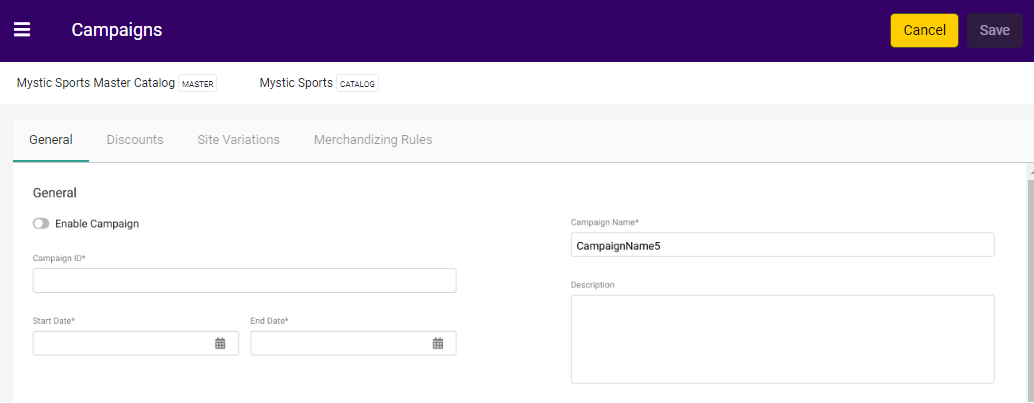
- Toggle whether you want the campaign to be immediately enabled or not.
- Enter an ID (code) and name for the campaign.
- Select a start and end date for the campaign. Note that if the campaign is disabled, then it will not automatically activate when the start date is reached.
- Enter an optional description if desired.
- Click Save. Note that the Discounts, Site Variations, and Merchandizing Rules tabs are disabled until you have saved the campaign with its general settings first.
- In the Discounts tab, add any discounts to the campaign. You can:
- Click Select to select an existing discount to add to the campaign.
- Click Create New to configure a new discount. This will open the Discounts page in a new tab, where you can click Create New Discount and follow the usual discount creation process. Then, go back to your Campaigns tab and select the new discount to add it to the campaign.
- In the Site Variations tab, add any page variations to the campaign. You can:
- Click Select to select an existing variation to add to the campaign.
- Click Create New to configure a new variation. This will open the Content Editor page in a new tab, where you can create page variations. Then, go back to your Campaigns tab and select the new variation to add it to the campaign.
- You can switch between Single Pages and Category Pages to view those different types of page variations. They display similar information, but the category page table includes the associated category code for each variation.
- In the Merchandizing Rules tab, add any Search merchandizing rules to the campaign. You can:
- Click Select to select an existing rule to add to the campaign.
- Click Create New to configure a new rule. This will open the Merchandizing Rules page in a new tab, where you can click Create New Rule and follow the usual rule creation process. Then, go back to your Campaigns tab and select the new rule to add it to the campaign.
- You can switch between Site Search and Categories to view those different types of merchandizing rules.

- Click Save again to finalize these configurations.


Edit or Delete a Campaign
Clicking on an existing campaign on the Campaigns home page will open the campaign configurations for editing. This includes changing the start/end dates, which allows you to stop an active campaign or modify a scheduled campaign, as well as adding or removing discounts, site variations, and merchandizing rules.
However, when you update a campaign's start/end dates then it is possible that the experience no longer lies within the timeline of the campaign. The experience will not be automatically updated, but these elements will be flagged on the campaign's Discounts and Site Variations configuration tabs for the user to update as needed.
You can delete a campaign by expanding the dropdown menu on the far right of the campaign listing on the home page and clicking Delete. When confirming, you must choose whether to keep the associated discounts and variations or delete them along with the campaign.

Activate or Deactivate a Campaign
While the campaign will automatically become active on your site once the start date is reached, you can also manually enable campaigns prior to that date. Likewise, the campaign will automatically end once the end date is reached but you can manually disable it prior to that date if desired.
To toggle a campaign:
- Go to Main > Marketing > Campaigns.
- Either click a campaign in the table or select View/Edit Campaign from the dropdown menu on the right.
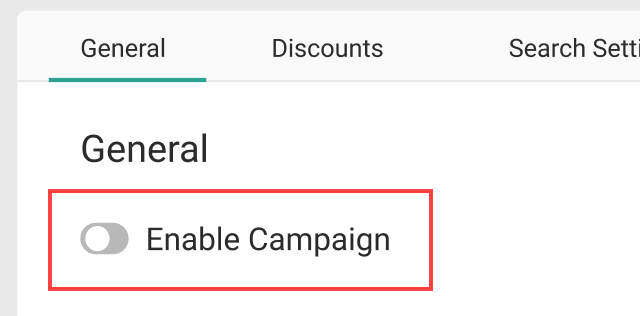
- Toggle the campaign to enable or disable it. If you make other edits to the campaign first, you must save those changes before you will be able to update this toggle.
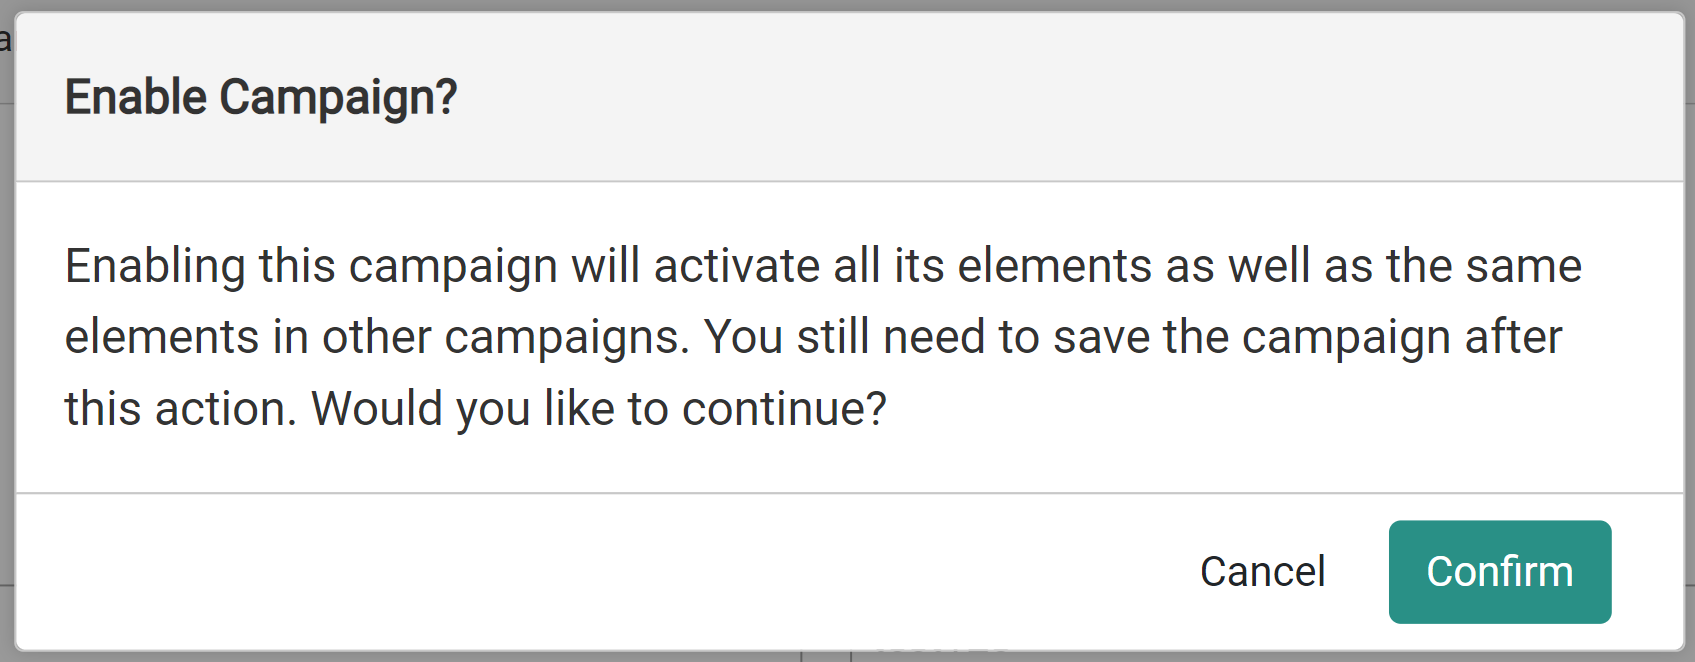
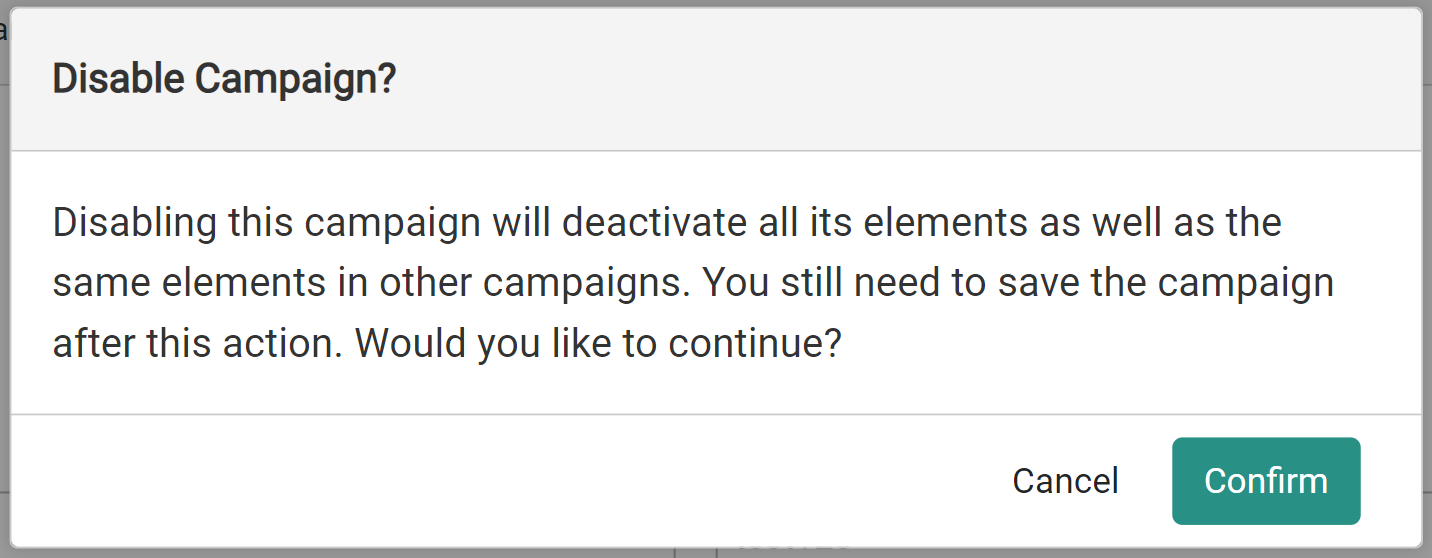
- This toggle will also enable or disable the experiences within the campaign including all discounts, merchandizing rules, and site variations (even if they are used in other campaigns as well). A pop-up will warn you about this behavior and ask you to confirm.
- Click Save in the top right.


If you need to manually enable or disable specific discounts, merchandizing rules, or page variations (such as if you disable a campaign but need to turn some of those experiences back on for other campaigns), then you can do so from the respective Discounts, Merchandizing Rules, and Content Editor UIs.