> ## Documentation Index
> Fetch the complete documentation index at: https://docs.kibocommerce.com/llms.txt
> Use this file to discover all available pages before exploring further.
# Extra Attributes
Extra attributes include add-on configurations that a shopper configures and usually includes an extra price, such as a monogram or gift wrapping.
You can also make another product an extra, known as a product extra, such as a camera mount that can be sold along with a camera.
## Create Extra Attributes
You must first create the extra attribute before you can add it to product types, and assign extra values to products.
To create an extra attribute:
1. Go to **System** > **Schema** > **Product Attributes**.
2. Click **Create New Attribute**.
3. In the **Attribute Label** field, enter the name of the extra that shoppers will see.
4. In the **Administration Name** field, enter the name that you will see in Admin.
5. In the **Attribute Code** field, enter a code for your extra.
6. Use the **Input Type** drop-down menu to select how the extra stores its values. For example, if you create an extra for monogramming then you may want the extra to store text inside of a box/field.
Once you create and save an attribute, you cannot change its input type.
7. In the **Attribute Type** field, select **Extra**:
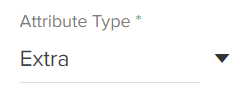 Depending on the input type you selected, this field either appears as a list of checkboxes or a drop-down menu. For the list input type, you can select multiple attribute types. Ensure that you at least select **Extra**.
8. (**If applicable**) In the **Data Type** field, select the data type of the extra's values.\
For example, you're creating a monogramming extra, and you want the values to be text for the monogram text shoppers will enter.\
For the list input type, you can select either **Text**, **Number**, or **Product**.
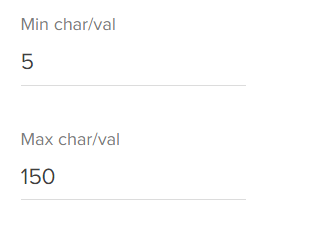
9. (**Text box only**) In the **Min char/val** and **Max char/val** fields, enter the minimum and maximum amount of characters allowed in the extra's value as applicable.
Depending on the input type you selected, this field either appears as a list of checkboxes or a drop-down menu. For the list input type, you can select multiple attribute types. Ensure that you at least select **Extra**.
8. (**If applicable**) In the **Data Type** field, select the data type of the extra's values.\
For example, you're creating a monogramming extra, and you want the values to be text for the monogram text shoppers will enter.\
For the list input type, you can select either **Text**, **Number**, or **Product**.
9. (**Text box only**) In the **Min char/val** and **Max char/val** fields, enter the minimum and maximum amount of characters allowed in the extra's value as applicable.
 10. (**Text box only**) In the **Input Validation** field, enter any RegEx which you want to use to validate the characters in the extra's value.
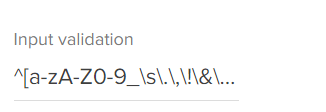 For example, you want to restrict the allowed characters to only letters, numbers, underscores, whitespace characters, and common punctuation marks. You can enter the following RegEx to accomplish this: `^[a-zA-Z0-9_\s\.\,\!\&\?]*$`.
11. (**Text area only**) In the **Max char.** field, enter the maximum amount of characters to which you want to limit the extra's text box value.
For example, you want to restrict the allowed characters to only letters, numbers, underscores, whitespace characters, and common punctuation marks. You can enter the following RegEx to accomplish this: `^[a-zA-Z0-9_\s\.\,\!\&\?]*$`.
11. (**Text area only**) In the **Max char.** field, enter the maximum amount of characters to which you want to limit the extra's text box value.
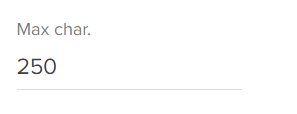 For example, you're creating a gift message extra and you want to limit the text box value to a maximum of 250 characters.
12. (**Date only**) In the **Valid Date Range** field, enter the start and end dates to restrict the dates that the extra's value can have.
For example, you're creating a gift message extra and you want to limit the text box value to a maximum of 250 characters.
12. (**Date only**) In the **Valid Date Range** field, enter the start and end dates to restrict the dates that the extra's value can have.
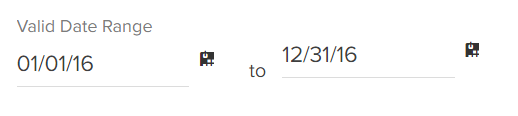 13. (**List only**) In the **Values** section, add all possible values for the extra. You can perform the following actions depending on the data type you selected:
* **Product Data Type:** Select all applicable products to add to the list:
13. (**List only**) In the **Values** section, add all possible values for the extra. You can perform the following actions depending on the data type you selected:
* **Product Data Type:** Select all applicable products to add to the list:
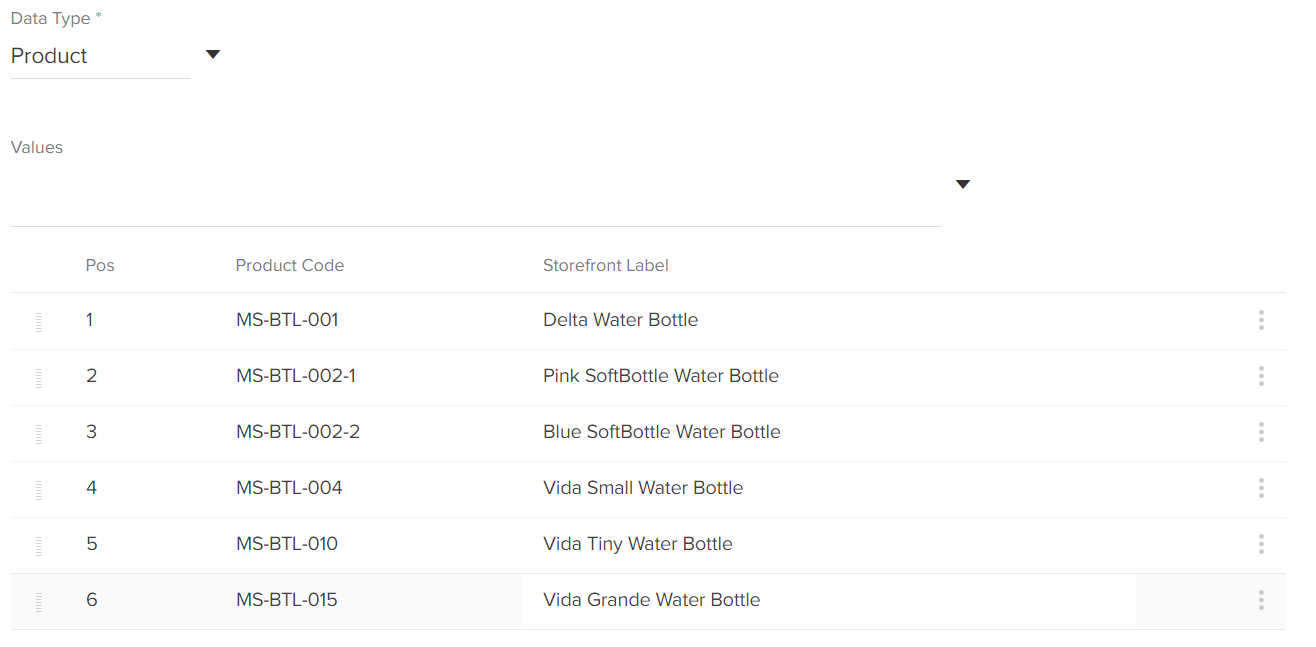 You can only add existing products that are associated with the same master catalog with which the extra attribute is associated. You can customize the label that appears for the product extra in your storefront using the **Storefront Label** field; otherwise the product's catalog name will appear in your storefront.
* **Number or Text Data Type:** Enter all applicable values to the list:
You can only add existing products that are associated with the same master catalog with which the extra attribute is associated. You can customize the label that appears for the product extra in your storefront using the **Storefront Label** field; otherwise the product's catalog name will appear in your storefront.
* **Number or Text Data Type:** Enter all applicable values to the list:
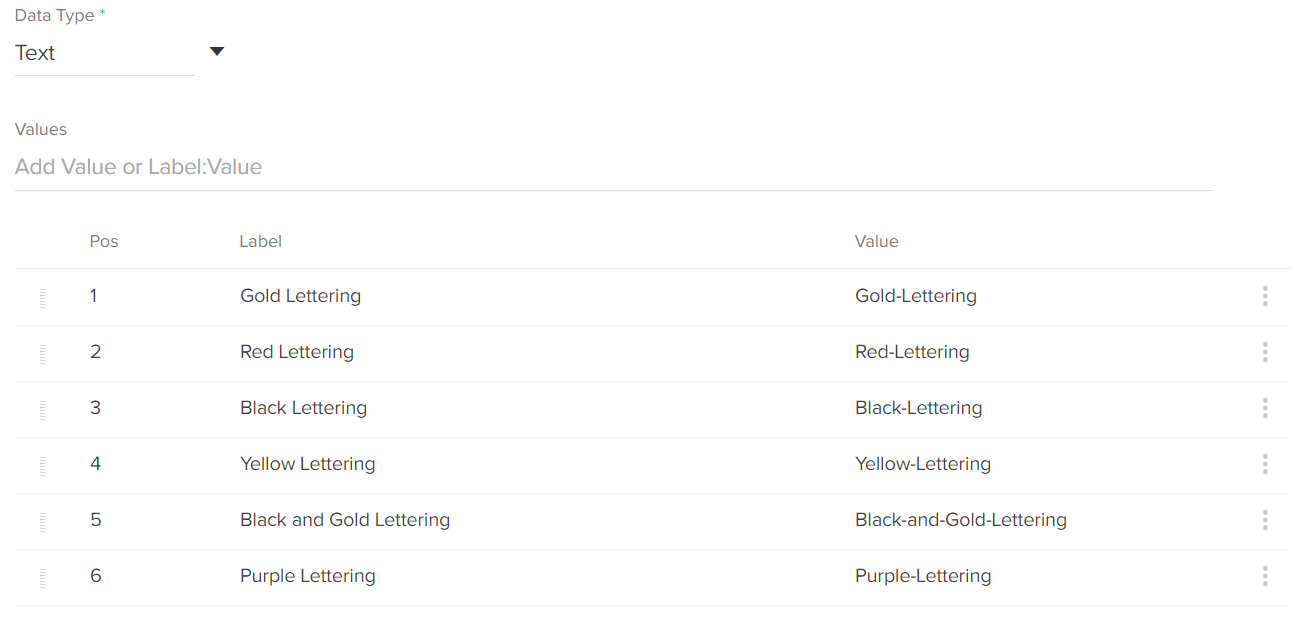 Press **Enter** after typing each value to add it to the list.
14. For either value data type, you can reorder the values after adding them.
You can use the order of the list values as the order of facet values on storefront pages by using the **Attribute Definition** facet value order. Refer to [Attribute Definition Options](/pages/facets#attribute-definition-options) in the Facet Value Order section of the Facets topic for more information about ordering the facet values according to the list values you specify on the attribute.
15. Select the **Search Options** for the extra:
* **Available to Storefront Search:** This determines whether the extra's label or extra's values are matched on when shoppers perform a search on the site. For example, you have a gift wrapping extra and one of its values is *Yes*. If you select this checkbox and **Search Label**, and a shopper performs a search for the term "gift wrapping" on your site, the product will be returned in the search results even if the term "gift wrapping" is not contained in the product's name or description.
* **Index Value with Case:** This determines whether the attribute value is case-sensitive for filtering and faceting. When enabled, the attribute will be capitalized consistently across facets and other uses. The default is not case-sensitive.
* **Available as Filter and Sort:** This determines whether this extra is available for filtering, sorting, dynamic category expressions, displayed on category pages, and as a facet in search results.
Having a large number of attributes available for filtering and sorting can reduce the performance of your site. Kibo eCommerce recommends only enabling this checkbox for the attributes that are most likely to be used for these purposes.
16. If you have enabled [](/pages/catalog-structure#multi-locale-catalogs "Catalog Structure")[multiple locales for this catalog](/pages/multi-locale-catalogs "Multi-Locale Catalogs"), you can switch locales using the dropdown menu in the top right. This allows you to localize the attribute label and value labels for that language. The attribute name, code, and other settings (including adding new values) will not be displayed or editable, as those are only configurable on the default locale for the catalog.
Press **Enter** after typing each value to add it to the list.
14. For either value data type, you can reorder the values after adding them.
You can use the order of the list values as the order of facet values on storefront pages by using the **Attribute Definition** facet value order. Refer to [Attribute Definition Options](/pages/facets#attribute-definition-options) in the Facet Value Order section of the Facets topic for more information about ordering the facet values according to the list values you specify on the attribute.
15. Select the **Search Options** for the extra:
* **Available to Storefront Search:** This determines whether the extra's label or extra's values are matched on when shoppers perform a search on the site. For example, you have a gift wrapping extra and one of its values is *Yes*. If you select this checkbox and **Search Label**, and a shopper performs a search for the term "gift wrapping" on your site, the product will be returned in the search results even if the term "gift wrapping" is not contained in the product's name or description.
* **Index Value with Case:** This determines whether the attribute value is case-sensitive for filtering and faceting. When enabled, the attribute will be capitalized consistently across facets and other uses. The default is not case-sensitive.
* **Available as Filter and Sort:** This determines whether this extra is available for filtering, sorting, dynamic category expressions, displayed on category pages, and as a facet in search results.
Having a large number of attributes available for filtering and sorting can reduce the performance of your site. Kibo eCommerce recommends only enabling this checkbox for the attributes that are most likely to be used for these purposes.
16. If you have enabled [](/pages/catalog-structure#multi-locale-catalogs "Catalog Structure")[multiple locales for this catalog](/pages/multi-locale-catalogs "Multi-Locale Catalogs"), you can switch locales using the dropdown menu in the top right. This allows you to localize the attribute label and value labels for that language. The attribute name, code, and other settings (including adding new values) will not be displayed or editable, as those are only configurable on the default locale for the catalog.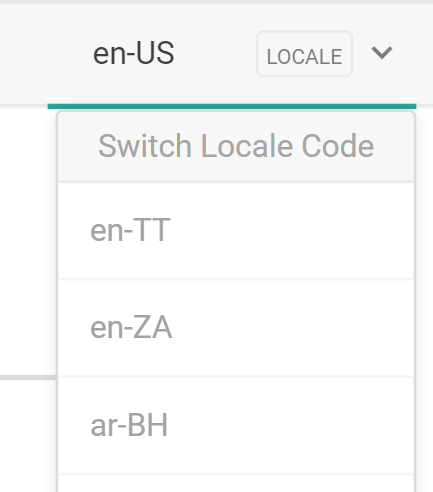 17. Click **Save**.
## Add Extras to Product Types
Once you create an extra attribute, you can then add it to product types. This allows you to quickly select all applicable extras for products belonging to the same product type.
For example, you created a monogramming extra, and you want its values to be applied to only shirts. You can add this monogramming extra to your shirt product type, so that any shirt products you create will have the same extra values from which you can select.
To add an extra to a product type:
1. Go to **System** > **Schema** > **Product Types**.
2. Select the applicable product type.\
If you need to create a new product type, refer to [Configure Product Types](/pages/configure-product-types) for more information.
3. In the **Extras** section, click **Add**:
17. Click **Save**.
## Add Extras to Product Types
Once you create an extra attribute, you can then add it to product types. This allows you to quickly select all applicable extras for products belonging to the same product type.
For example, you created a monogramming extra, and you want its values to be applied to only shirts. You can add this monogramming extra to your shirt product type, so that any shirt products you create will have the same extra values from which you can select.
To add an extra to a product type:
1. Go to **System** > **Schema** > **Product Types**.
2. Select the applicable product type.\
If you need to create a new product type, refer to [Configure Product Types](/pages/configure-product-types) for more information.
3. In the **Extras** section, click **Add**:
 4. In the **Attribute** list, select the applicable extra:
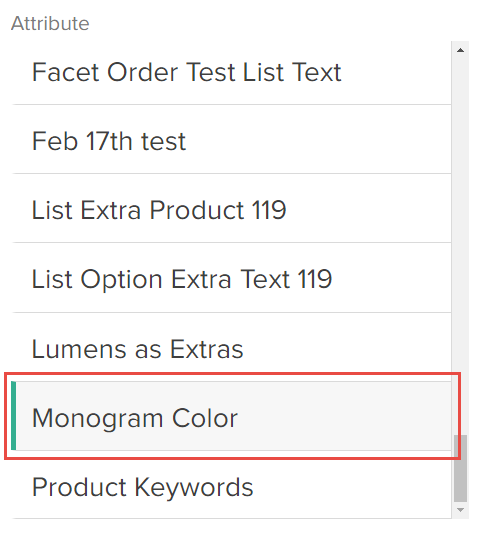 Only attributes that you marked as an extra when you created the attribute appear in this list.
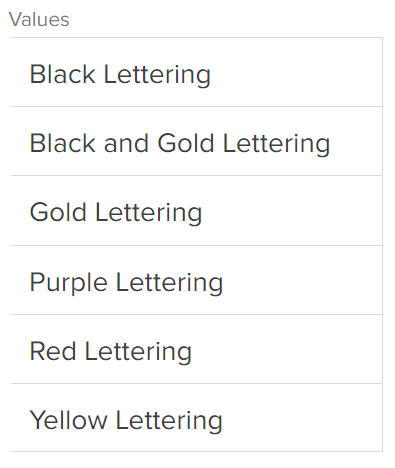
5. In the **Values** list, select all applicable property values for the product type:
Only attributes that you marked as an extra when you created the attribute appear in this list.
5. In the **Values** list, select all applicable property values for the product type:
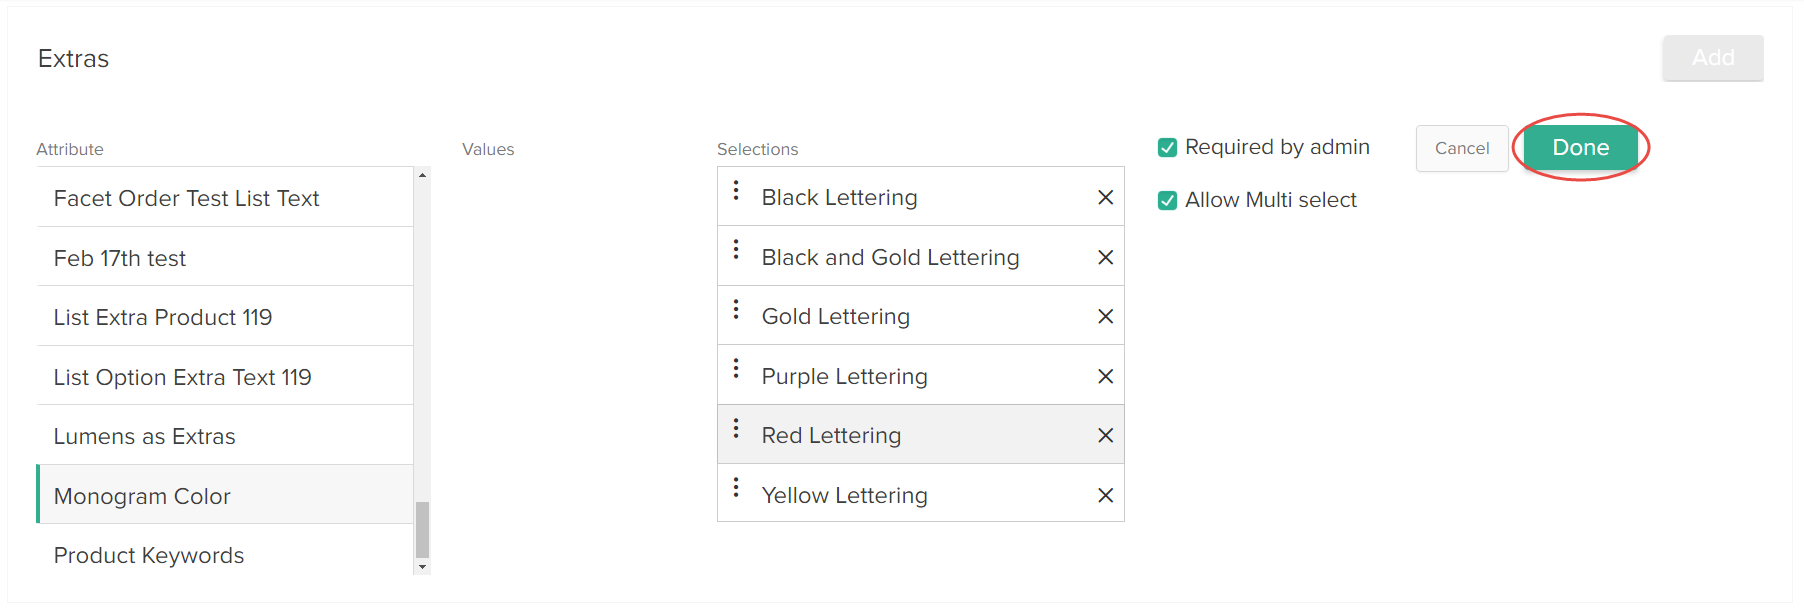
 The selected values appear in the Selections list:
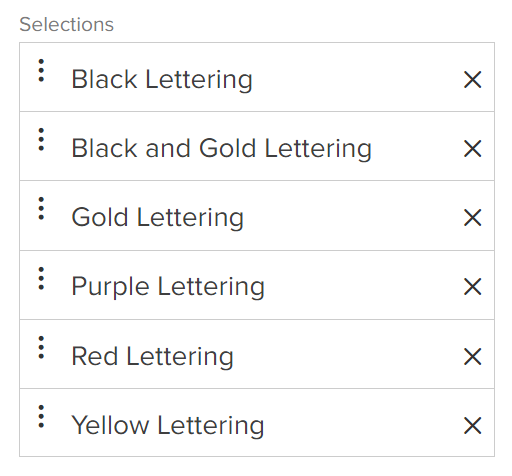 You can reorder the values in the Selections list.
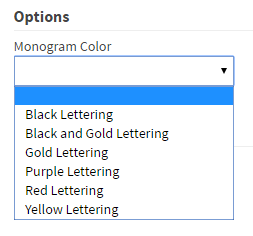
The order of the extra values in the Selections list is the order that Kibo eCommerce displays them on your storefront, for example:
You can reorder the values in the Selections list.
The order of the extra values in the Selections list is the order that Kibo eCommerce displays them on your storefront, for example:
 6. Decide whether the extra is **Required by admin**.\
If you select this checkbox, when you create a new product and assign it to the product type, you must assign at least one selected extra value to the product in order for Kibo eCommerce to consider the product valid for the product type.
7. Decide whether to **Allow Multi Select** for the extra.\
If you select this checkbox, you can select multiple values for the extra when creating a product.
8. Click **Done** to finish adding the extra to the product type:
6. Decide whether the extra is **Required by admin**.\
If you select this checkbox, when you create a new product and assign it to the product type, you must assign at least one selected extra value to the product in order for Kibo eCommerce to consider the product valid for the product type.
7. Decide whether to **Allow Multi Select** for the extra.\
If you select this checkbox, you can select multiple values for the extra when creating a product.
8. Click **Done** to finish adding the extra to the product type:
 ## Assign Extra Values to Products
Once you add an extra to a product type and selected all applicable extra values for the product type, you can then assign the extra's values to a product.
For example, you added a monogram text color extra and selected all applicable monogram text color values for the shirt product type. Then when you create a new shirt product, you can assign all applicable monogram text color value to that specific shirt product.
To assign an extra value to a product:
1. Go to **Main** > **Catalog** > **Products**.
2. Select the applicable product.\
If you need to create a new product, refer to [Create Products](/pages/configure-products#create-products) for more information.
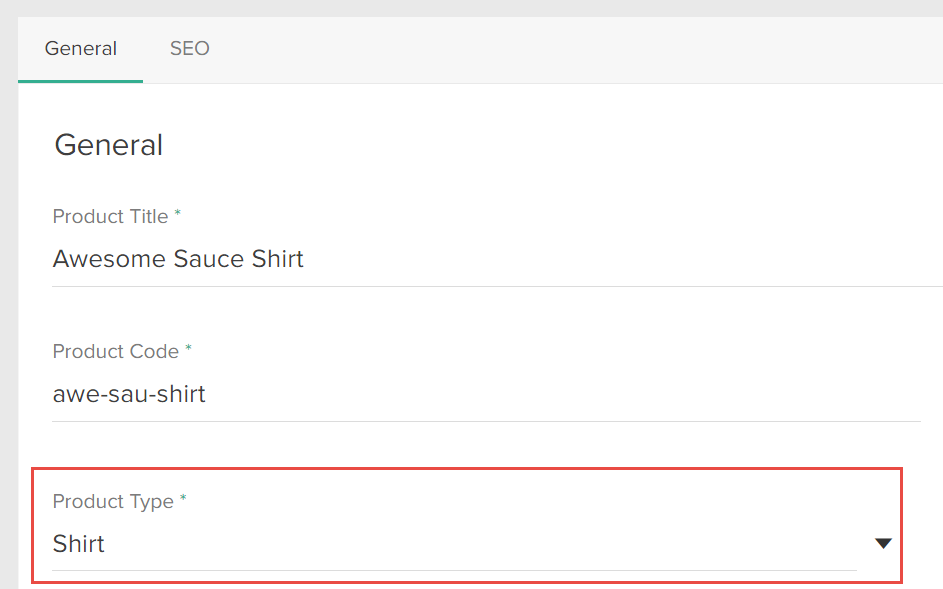
3. (**If applicable**) If you haven't already done so, assign the applicable **Product Type** to the product:
## Assign Extra Values to Products
Once you add an extra to a product type and selected all applicable extra values for the product type, you can then assign the extra's values to a product.
For example, you added a monogram text color extra and selected all applicable monogram text color values for the shirt product type. Then when you create a new shirt product, you can assign all applicable monogram text color value to that specific shirt product.
To assign an extra value to a product:
1. Go to **Main** > **Catalog** > **Products**.
2. Select the applicable product.\
If you need to create a new product, refer to [Create Products](/pages/configure-products#create-products) for more information.
3. (**If applicable**) If you haven't already done so, assign the applicable **Product Type** to the product:
 4. (**If applicable**) If you haven't already done so, assign the applicable **Product Usage** to the product.
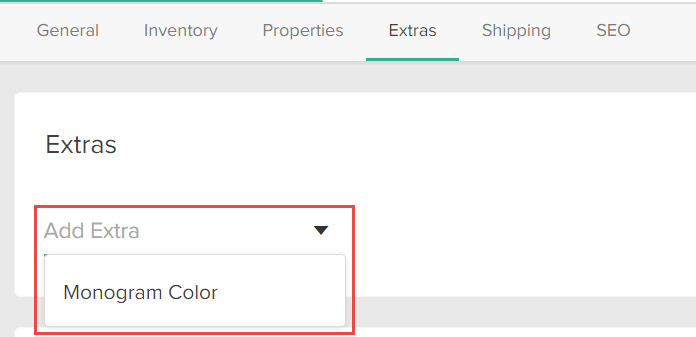
5. Under the **Extras** section, select the applicable extra for the product:
4. (**If applicable**) If you haven't already done so, assign the applicable **Product Usage** to the product.
5. Under the **Extras** section, select the applicable extra for the product:
 6. For each selected extra, select all applicable extra values to assign to the product:
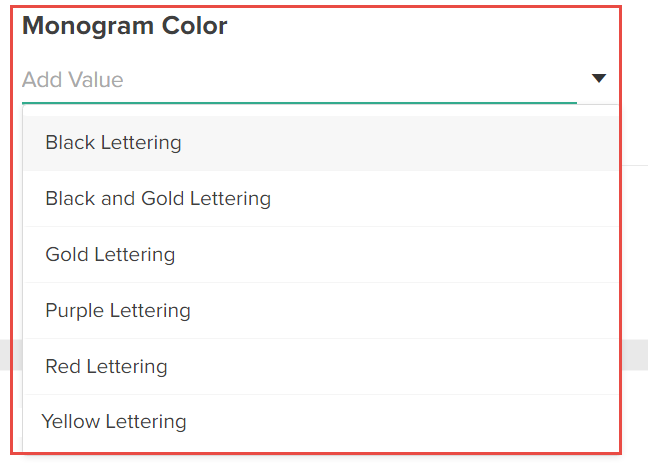 7. For each selected extra value, specify the following:
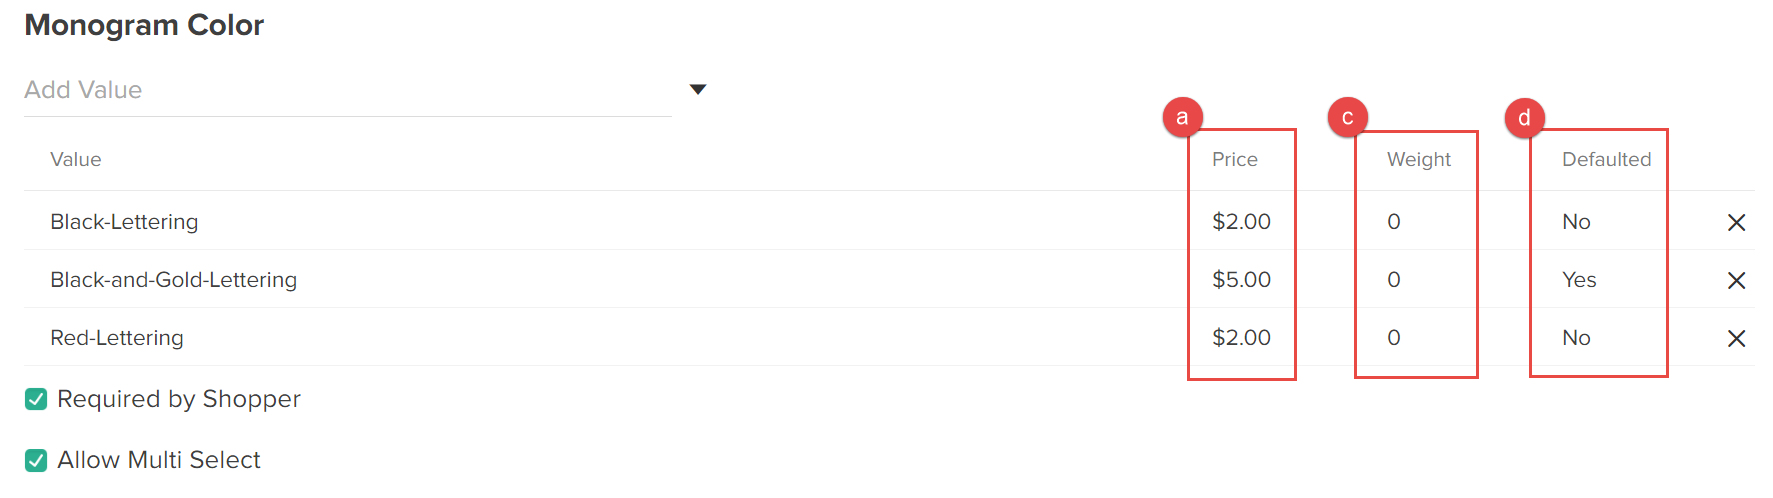 1. **Price:** The price a shopper must pay for the extra value.
2. **Quantity** (**Product data type only**): The quantity of the product extra that a shopper must purchase. If you track inventory for the product, keep this quantity in mind when tracking inventory quantities for the product. Refer to [Inventory Management](/concept-guides/inventory) for more information.
3. (**If applicable**) **Weight:** The weight of the extra value.
4. **Defaulted:** If selected, Kibo eCommerce automatically selects the extra value on the product details page in your storefront.
8. Decide whether the following settings are applicable for the extra:
* **Required by Shopper:** If selected, shoppers must select a value for the extra in order to add the product to their cart. If you enable this setting and the extra is out of stock, eCommerce displays an out of stock message on the base product's display page in the storefront and shoppers cannot purchase the base product.
* **Allow Multi Select:** (**List input type only**) If selected, shoppers can select multiple values for the extra.
9. Click **Save** in the product editor to save your changes.
1. **Price:** The price a shopper must pay for the extra value.
2. **Quantity** (**Product data type only**): The quantity of the product extra that a shopper must purchase. If you track inventory for the product, keep this quantity in mind when tracking inventory quantities for the product. Refer to [Inventory Management](/concept-guides/inventory) for more information.
3. (**If applicable**) **Weight:** The weight of the extra value.
4. **Defaulted:** If selected, Kibo eCommerce automatically selects the extra value on the product details page in your storefront.
8. Decide whether the following settings are applicable for the extra:
* **Required by Shopper:** If selected, shoppers must select a value for the extra in order to add the product to their cart. If you enable this setting and the extra is out of stock, eCommerce displays an out of stock message on the base product's display page in the storefront and shoppers cannot purchase the base product.
* **Allow Multi Select:** (**List input type only**) If selected, shoppers can select multiple values for the extra.
9. Click **Save** in the product editor to save your changes.