> ## Documentation Index
> Fetch the complete documentation index at: https://docs.kibocommerce.com/llms.txt
> Use this file to discover all available pages before exploring further.
# Customer Attributes
Customer attributes are attributes that you can apply to customer accounts to add further definition for special uses, such as marketing campaigns, or discounts. These are primarily used by instances of the Kibo Composable Commerce Platform with the Kibo eCommerce solution, rather than Order Management-only implementations.
See how to create and manage customer attributes
You can configure customer attribute values to display only in Admin, or in both Admin and on the storefront. You can also specify whether the definition or selection of associated values can be done by shoppers, administrators, or both. You can choose various input and data types with various input parameters.
## Create a Customer Attribute
To create a customer attribute:
1. Go to **System** > **Schema** > **Customer Attributes**.
2. Click **Create New Customer Attribute**.
3. Enter an **Attribute Label**. Keep in mind that this may appear on the storefront if you specify it to display there with the next step.
* If you want to give it a different name for administration purposes, edit the **Administration Name**. The default name is the **Attribute Label**.
* If you want to customize the **Attribute Code**, edit the value accordingly. This field automatically populates based on the **Attribute Label**.
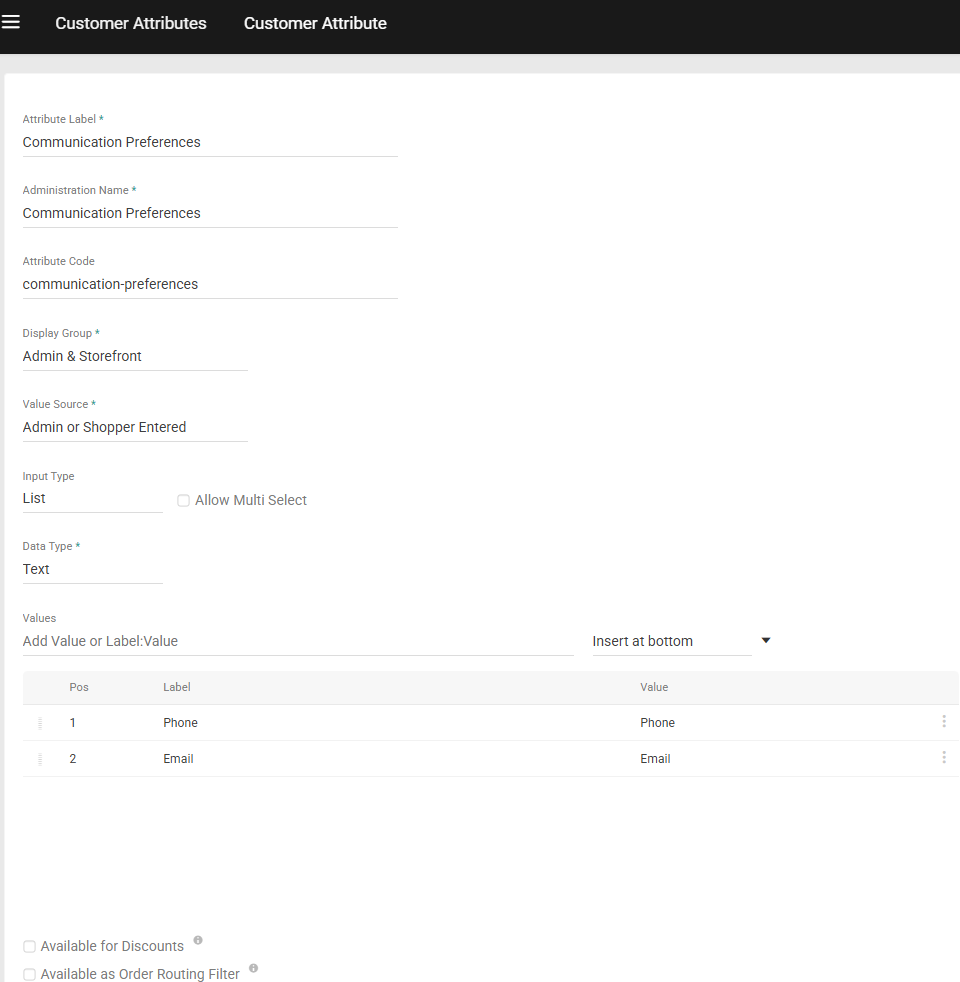
4. Select a **Display Group**. This field determines whether the attribute displays in the Admin UI only or in both the Admin and storefront.
5. Select a **Value Source** to determine whether this attribute's value can be set via the Admin UI and/or Storefront. If you chose the Admin Only display group, then Admin Entered is the only valid source.
6. Select an **Input Type**.
* If you choose **List**, select a **Data Type** and enter the selection options in the **Values** field.To allow users to select multiple options from this list, select the **Allow Multi Select** checkbox.
* If you choose **Text box**, select a **Data Type**. Optionally, you can define input parameters in the **Min char/val** and **Max char/val** fields, or enter a regular expression in the **Input validation** field.
* If you choose **Text area**, you can optionally define a **Max char** value.
* If you choose **Date**, you can optionally define a start and/or end date for the selectable range.
7. Toggle on **Available for Discounts** if you want this attribute to be available for use in [discount conditions](/pages/configure-discounts#attribute-conditions "Configure Discounts").
8. Click **Save**.
For example, you might create a customer attribute called Communication Preferences that you want to use in order to keep track of how your customers prefer to be contacted. When creating the customer attribute, you can specify the following:
 ## Apply a Customer Attribute
If an attribute is set to either the **Admin Entered** or **Admin & Shopper Entered** value source:
1. Go to **Main** > **Customers** > **Customers**.
2. Select the customer account to which you want to apply the attribute.
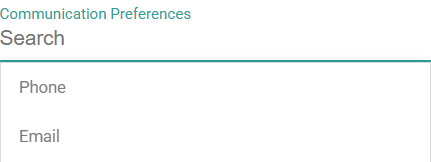
3. In the **Customer Attributes** section, select the value of your choice.
## Apply a Customer Attribute
If an attribute is set to either the **Admin Entered** or **Admin & Shopper Entered** value source:
1. Go to **Main** > **Customers** > **Customers**.
2. Select the customer account to which you want to apply the attribute.
3. In the **Customer Attributes** section, select the value of your choice.